

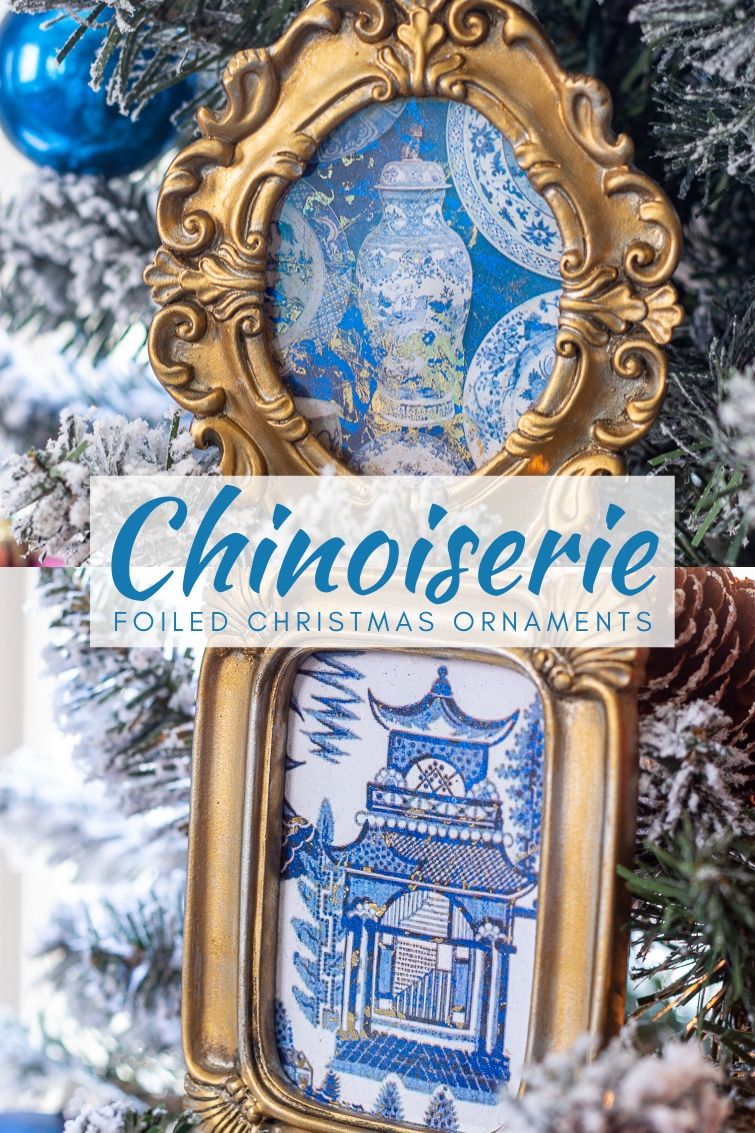
Learn how to make metallic foiled Christmas ornaments using a heat gun, reactive foil and pretty patterned paper. They look stunning in gilded decorative frames on a Christmas tree.
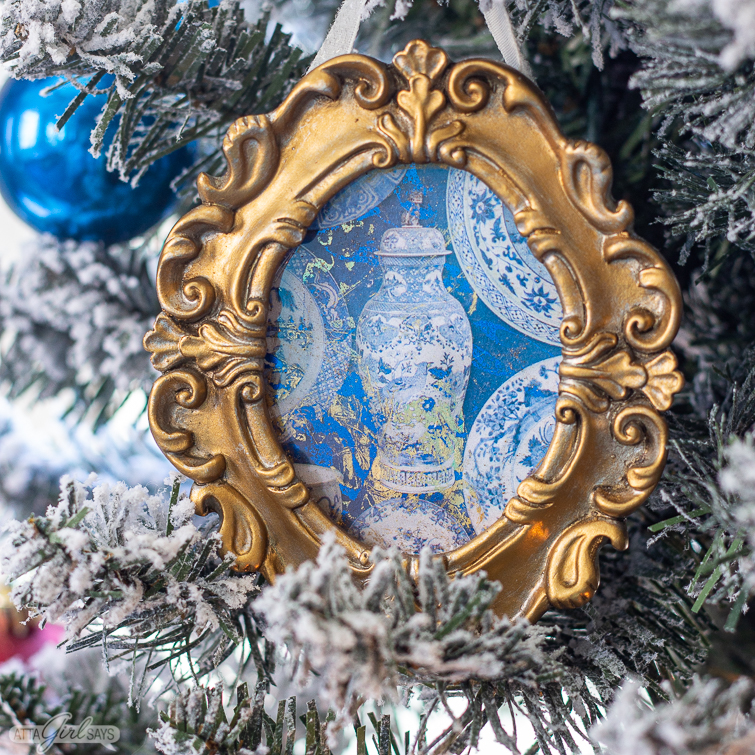
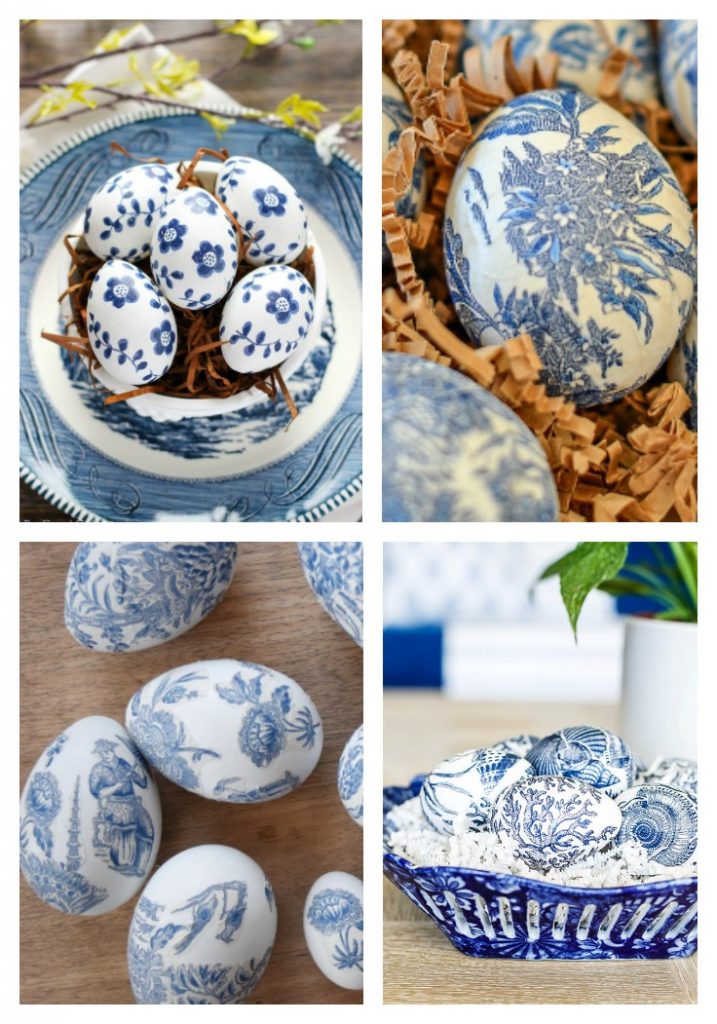
If you love all things blue and white as much as I do, then you’re going to swoon over these DIY chinoiserie Christmas ornaments.
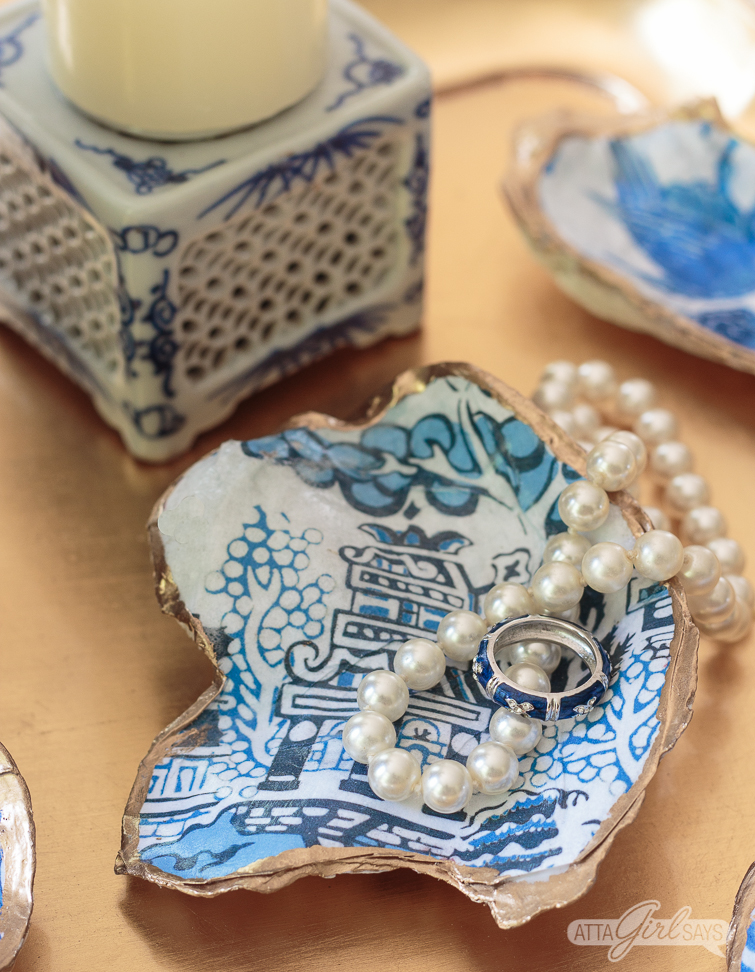
In terms of swoonworthyness, these ornaments are right up there with my homemade chinoiserie oyster shells.
This is a sponsored post, and it contains affiliate links for your shopping convenience. Read my full disclosure policy here.
Jump to:
I’ve foiled paper before, most notably these holiday place cards I made for our Christmas table a few years ago.
But I’ve never shared a tutorial because I made the place cards using a special foil applicator machine that I know most of you probably don’t have in your craft room.
But you don’t need a special machine to add metallic foil to these chinoiserie Christmas ornaments.
You can use your handy Wagner FURNO 300 heat gun, a great item to have in your DIY toolkit. A heat gun is useful for all sorts of projects, including crafts and DIYs.
Chinoiserie Crafts
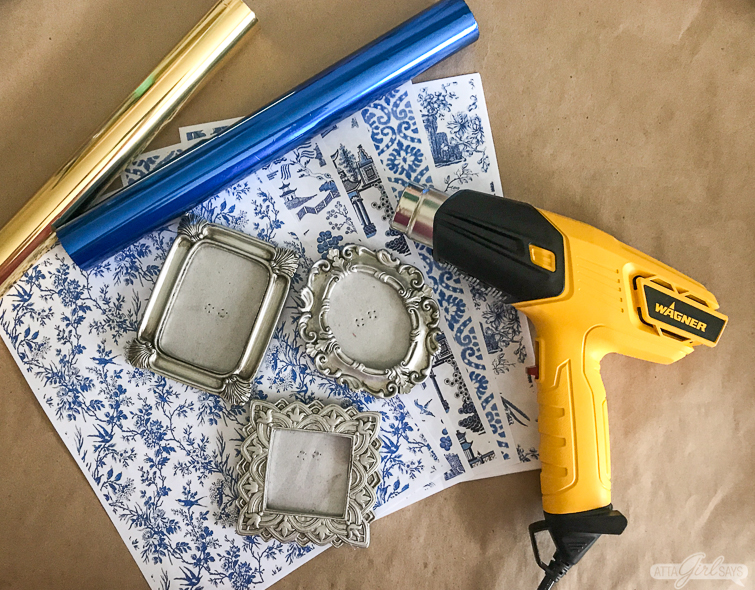
Supplies for Chinoiserie Christmas Ornaments
For this project, you will need the following supplies:
- Chinoiserie patterns printed on a laser printer
- adhesive reactive metallic foil
- Wagner FURNO 300 heat gun
- bone folder or vinyl applicator
- small decorative frames (I found mine at the dollar store and in the dollar section at Michael’s)
- Rub ‘n Buff Metallic Gold Leaf
- ribbon
- hot gun and glue gun
- protective gloves
- kraft paper to protect your work surface
How to Make Chinoiserie Christmas Ornaments
To make these ornaments, you’ll need to find some pretty printable toile and chinoiserie images. I opted for blue-and-white patterns to match the decor in our family room, but you can choose any colors that fit your decor or Christmas color scheme.
I used printable designs I purchased from Etsy. You can find a huge variety of digital chinoiserie patterned paper designs for sale online. You can find the designs I used here and here.
You must print these designs user a laser printer. If you don’t have one, have them printed at an office store or a place like FedEx Office. (Since we don’t have a laser printer at home, I had my husband print these pages out at work!)
If you don’t use laser printed designs, this technique won’t work. When the ink from the laser printer is heated, it melts allowing the reactive foil to bond to it.
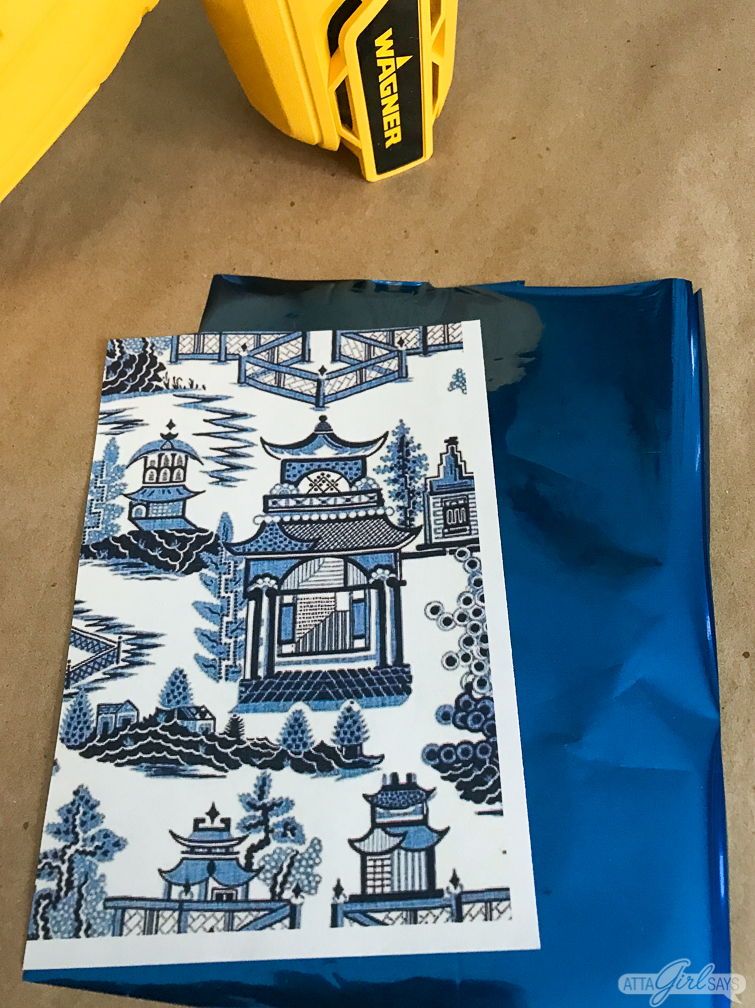
You can foil an entire sheet of paper, but I found it easiest and more effective to work with smaller pieces of paper. I cut my patterned paper down into sections that were a bit larger than the frames. You’ll also want to cut down your metallic foil to roughly the same size as the paper.
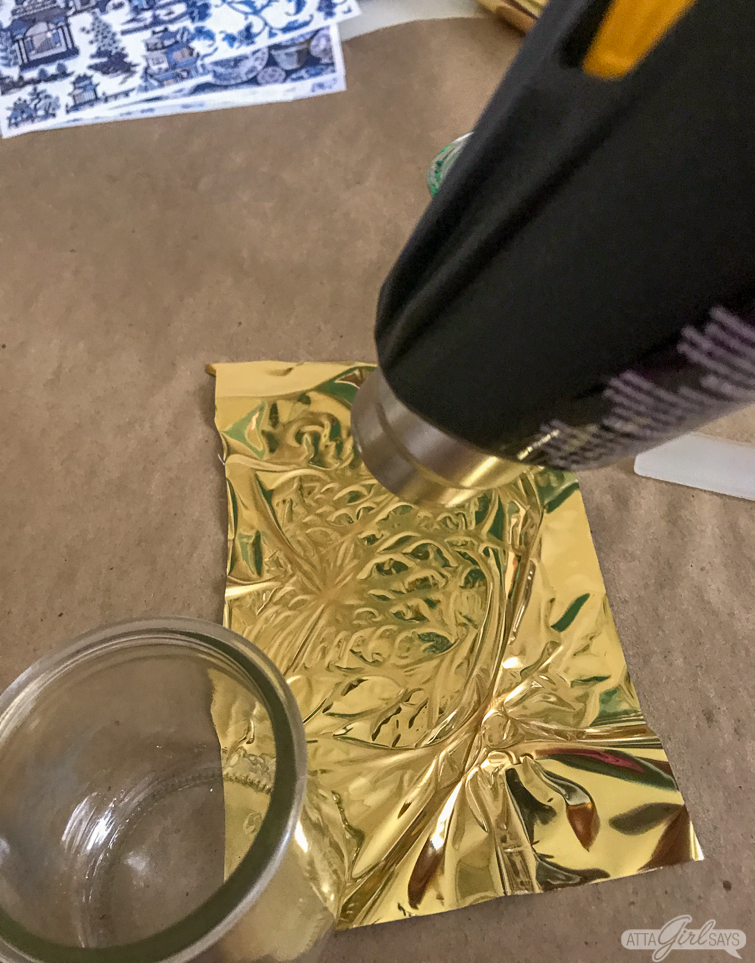
I found it most effective to preheat the paper for a few seconds with the FURNO 300 heat gun.
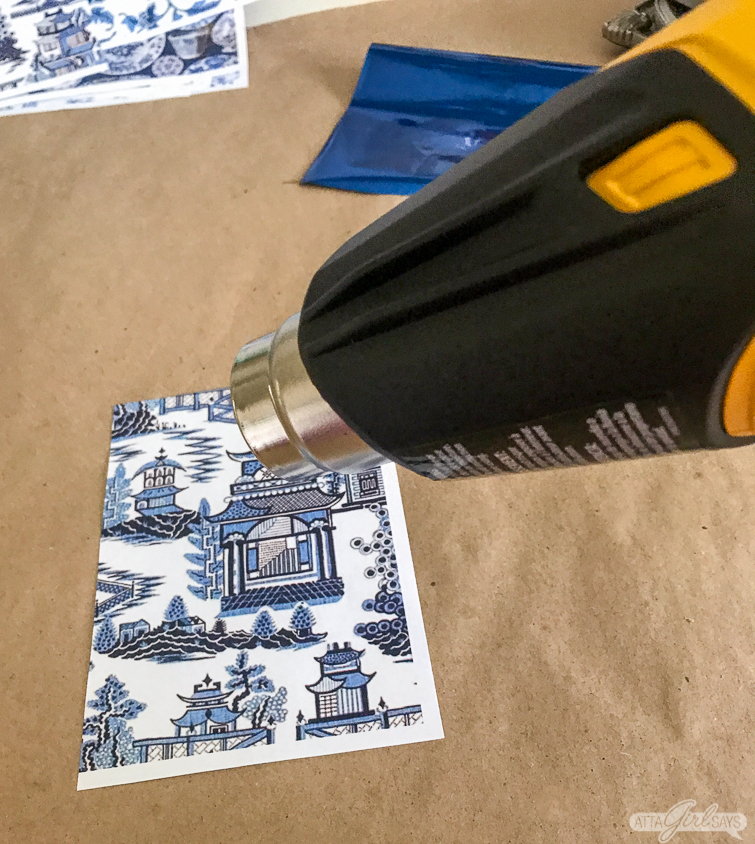
Use the LOW setting and do not get the heat gun too close to the paper or it may darken or burn.
Make sure you protect your work surface with a heat-resistant mat or craft paper. Remember, a heat gun can be used to remove paint!

Next, place the foil sheet with the colored side up on top of the patterned paper. Use glass jars or something else heavy to weight down the foil so it won’t fly away when you apply heat to it.
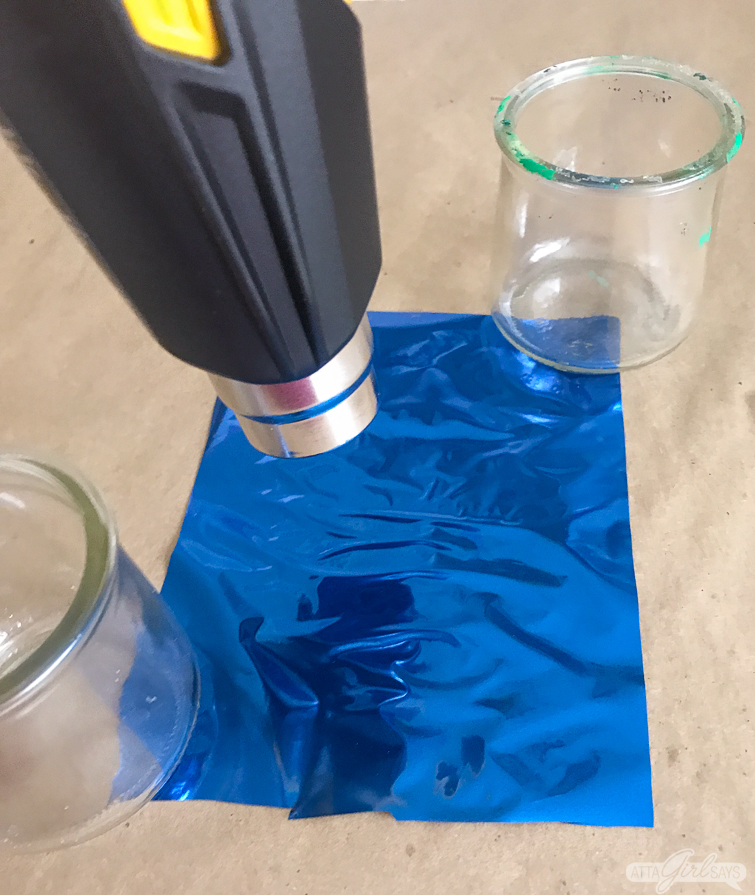
Working several inches above the surface, apply LOW heat to the foil, moving the heat gun constantly so you don’t burn the foil or paper.
The foil will wrinkle and may appear to shrink. This is normal.
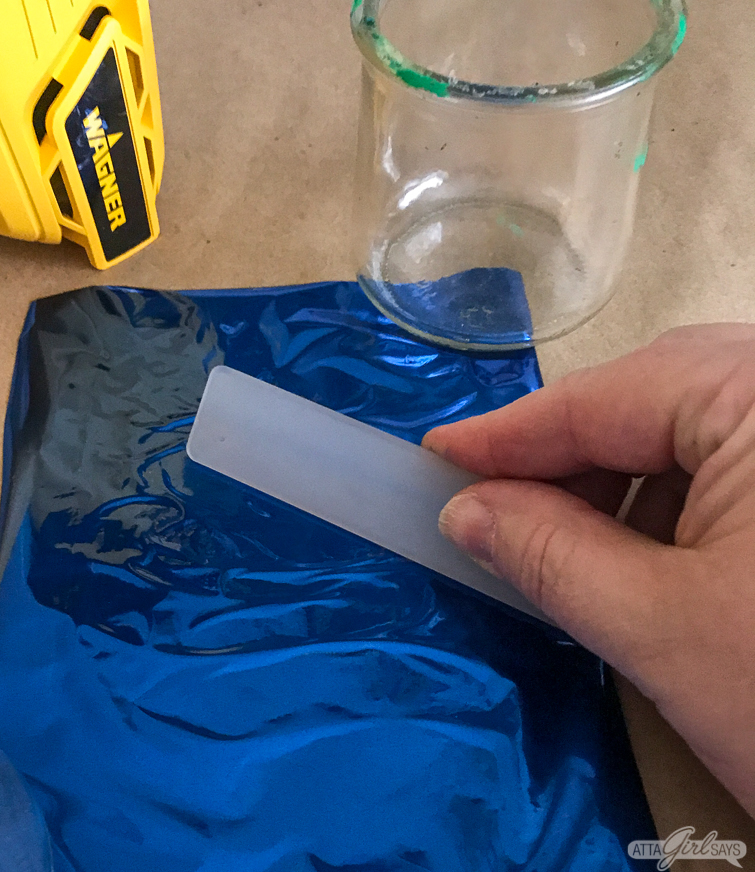
Use a bone folder, vinyl applicator or even a credit card to burnish the heated foil onto the paper. You’ll start to see the metallic foil transfer to the paper.
Continue applying heat and pressure with the bone folder to transfer the foil to the printed design.
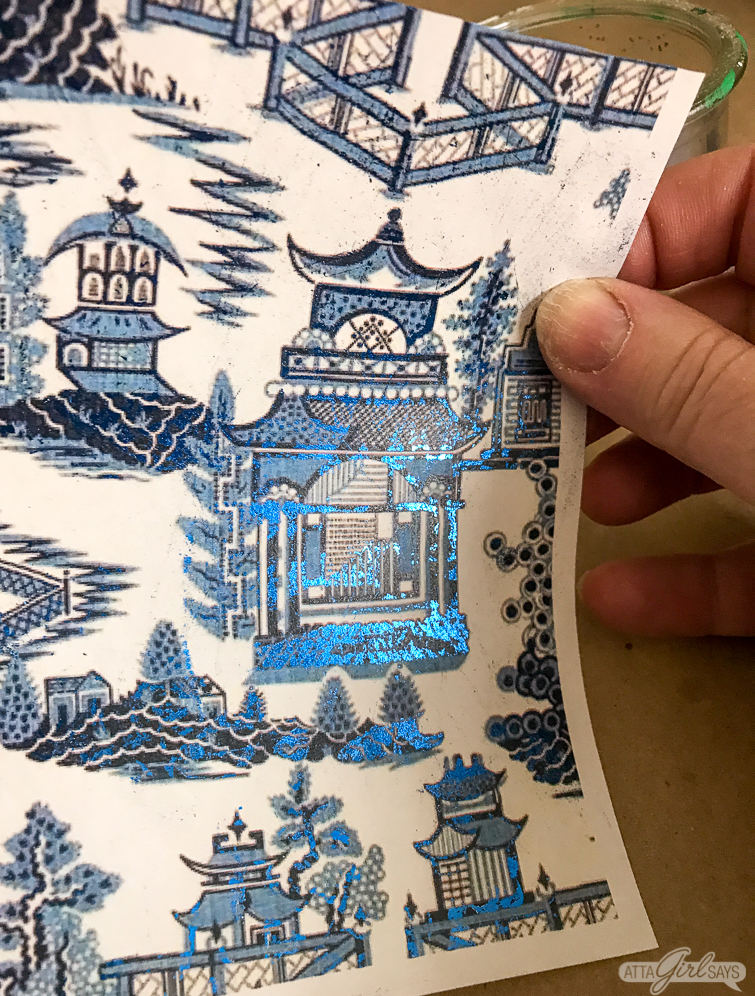
When you remove the metallic sheet, you’ll see that some of the foil has transferred to paper. You won’t get perfect coverage, but the foil will adhere to the ink in spots.
I really like the effect you get when you layer on two different colors of reactive foil. I used blue foil and gold foil for these chinoiserie Christmas ornaments. (Make sure you don’t wait to apply the second layer of foil. The toner is only reactive the first time you heat it.)
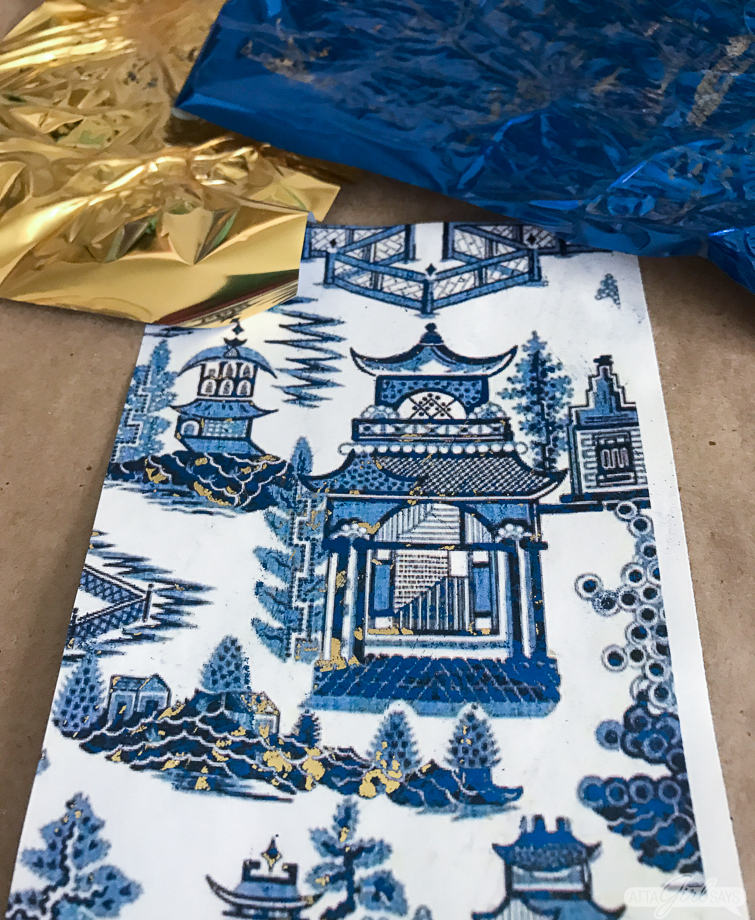
I love how the layered blue and gold metallic foil looks on the finished ornaments.
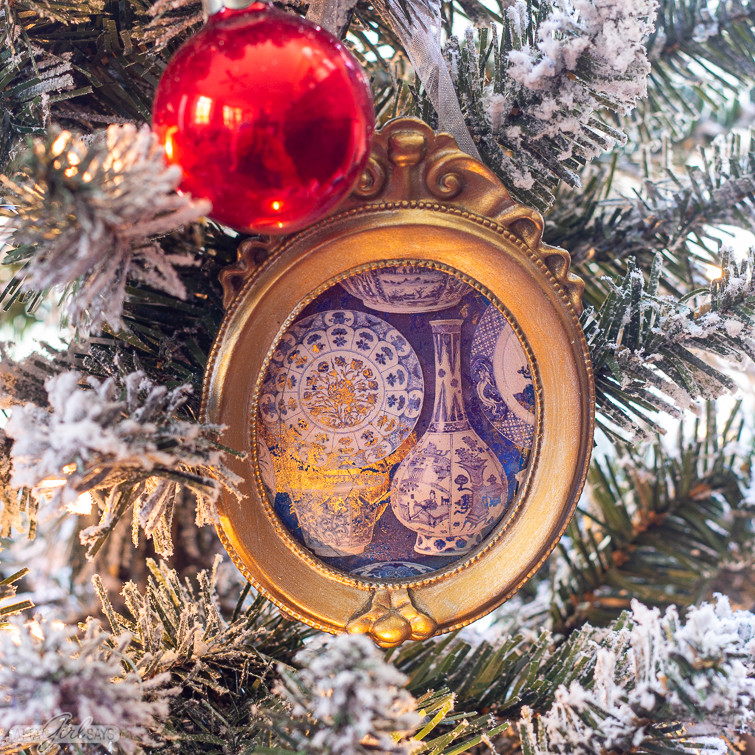
To finish making the chinoiserie Christmas ornaments, I cut the paper down to size to fit the frames.
I used Rub ‘n Buff to gild the frames and glued ribbon to the back so I could hang the ornaments on my tree.

Every month, I share new DIY projects in partnership with Wagner using their paint sprayers, heat guns, rollers and other tools to inspire you to try them out for your own crafts and home improvements.
Don’t miss these other projects using Wagner heat guns:
- Removing Veneer with a Heat Gun
- Embossed Chalkboard Tags
- DIY Folding Camp Stool with Wood Burned Finish
More Handmade Christmas Ornaments
If you liked these chinoiserie ornaments, here are some other ideas for your tree:
- Watercolor Christmas Ornaments
- Gilded Paper Cricut Christmas Ornaments
- Vintage Postcard Shrinky Dink Christmas Ornaments
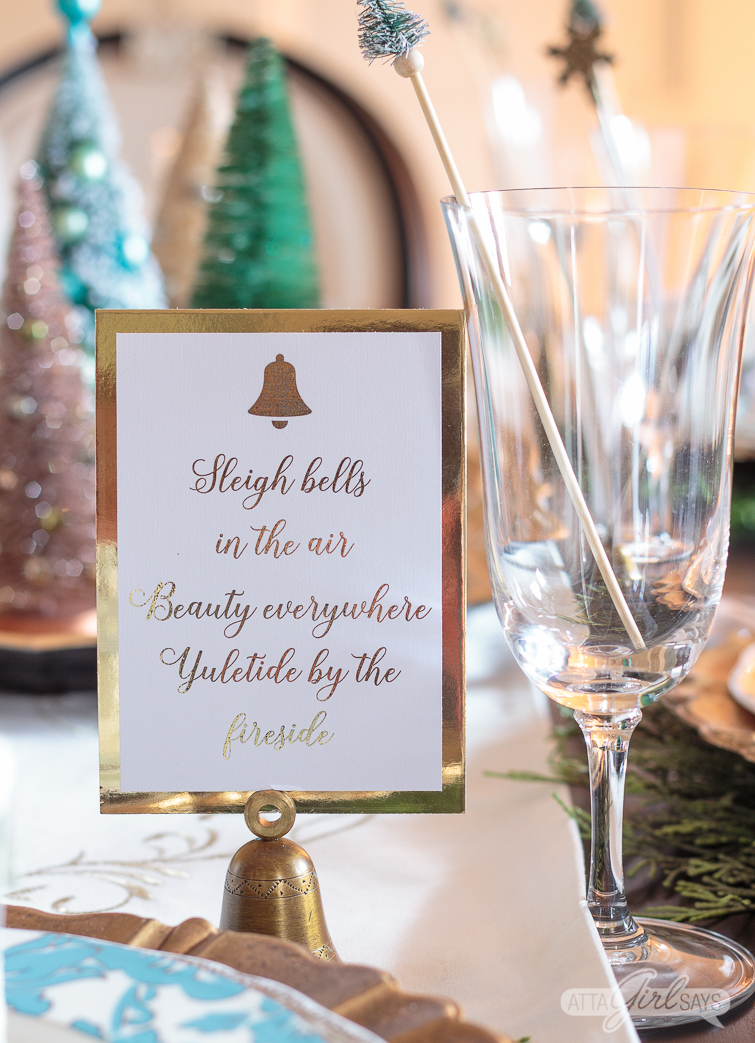
Pin This! DIY Foiled Chinoiserie Christmas Ornaments
Jann
I’m in love with these! Are you on YouTube?
Thank you.
Jann
Michelle James
These are simply stunning Amy! You always inspire me with your chinoiserie creations!
Atta Girl Amy
Aww, you are so sweet Michelle! Glad you love these ornaments as much as I do. Welcome to the cult of blue and white!