
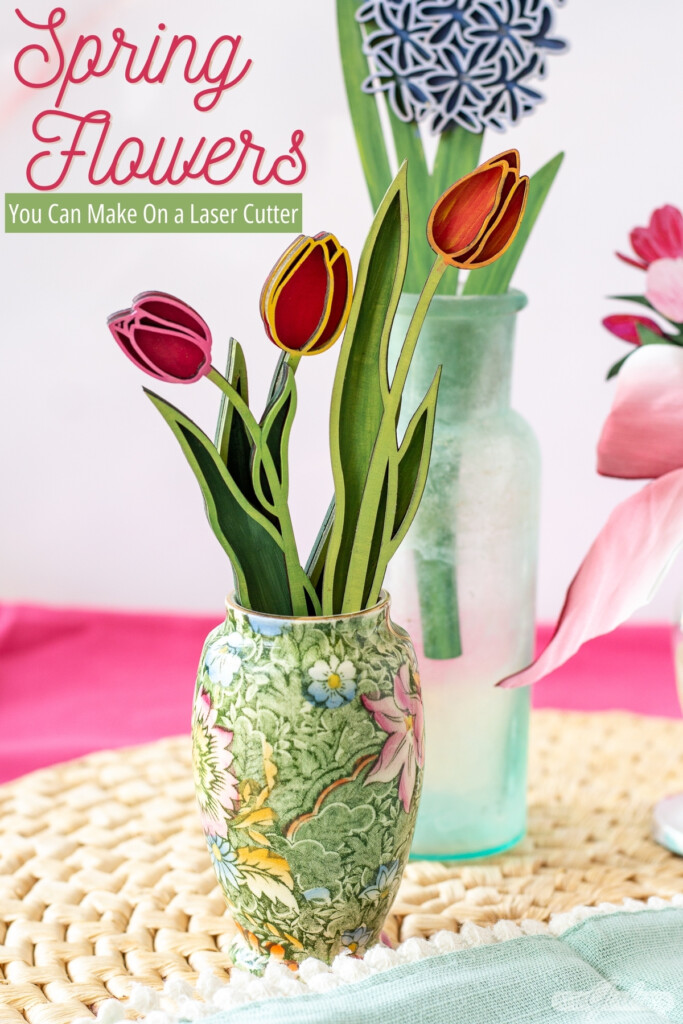
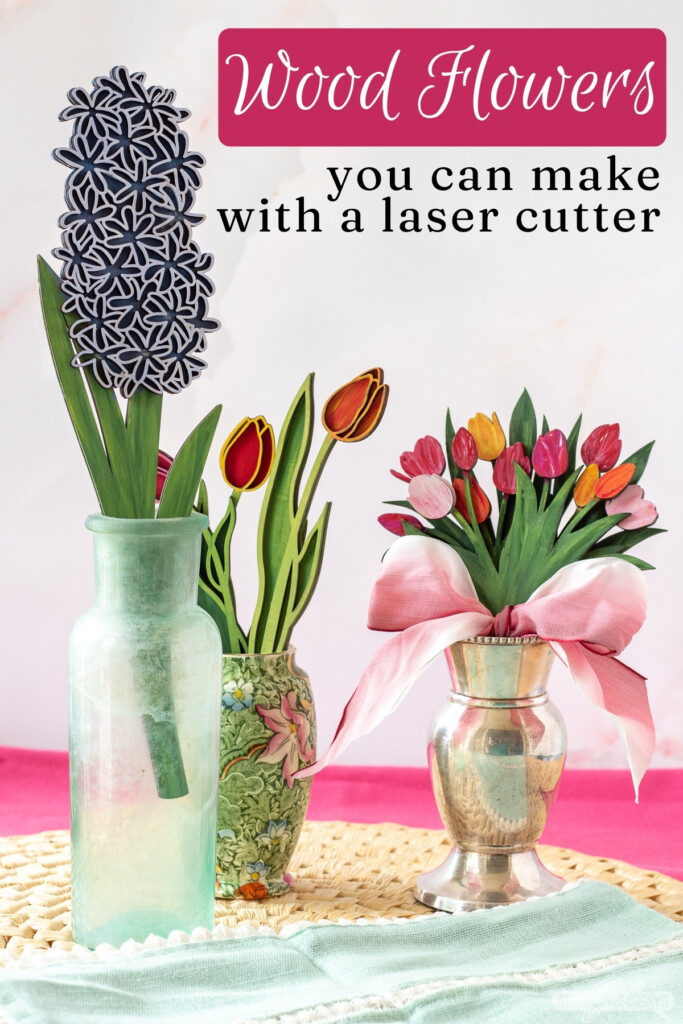
These blooms and bouquets are everlasting! Learn how to make gorgeous wood flowers using a laser cutter. The 3D flowers can displayed in vases, hung as wall art, added to door hangers or signs, or used as placecards or table markers for weddings and other occasions.
With this easy laser cutter project, you can have beautiful spring flowers in your house any time of the year.

And the best part? These flowers never dry up and die. They’re everlasting!
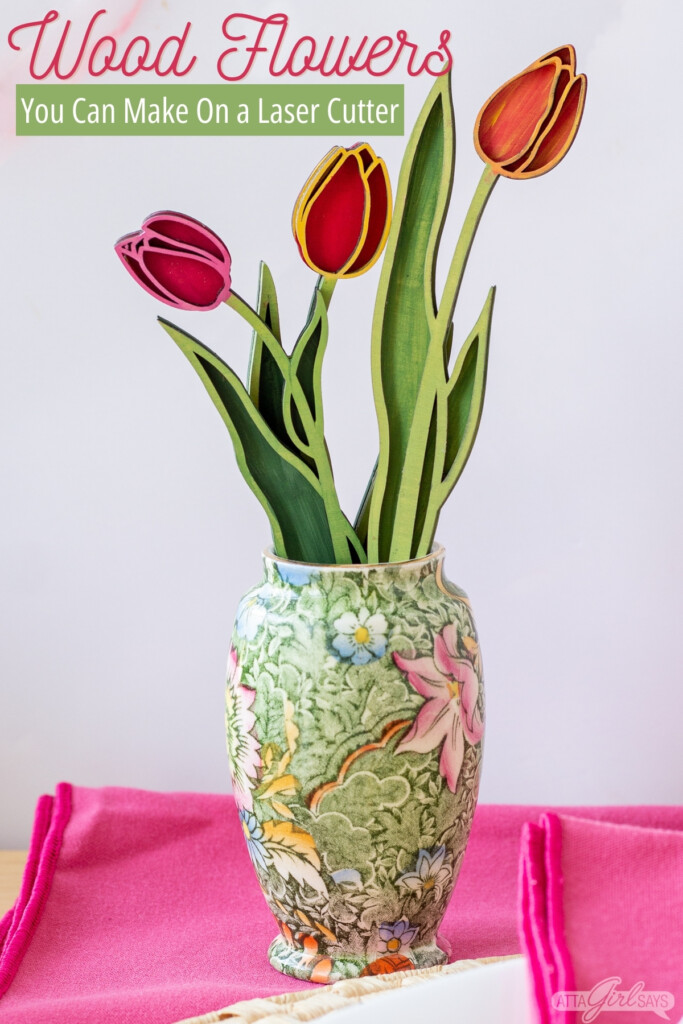
I used my xTool M1 Smart Laser Engraver and Vinyl Cutter to make the 3D wooden flowers. I chose two of my favorite blooms — tulips and hyacinths — for this project, but there are so many different types of wood flowers you can make.
This post is sponsored by xTool, but all opinions are my own. This post may contain affiliate links. AttaGirlSays.com is a participant in the Amazon Services LLC Associates Program, an affiliate advertising program designed to provide a means for sites to earn advertising fees by advertising and linking to amazon.com. Read my full disclosure policy here.
Jump to:
If you’ve been considering a laser cutter, the xTool M1 10W is a great choice. It’s a hybrid laser and vinyl cutter, so you basically get two craft machines in one at a great price. With the diode laser, you have the ability to cut, score and engrave wood, metal, certain types of acylic and other materials. With the blade function, you can cut vinyl, paper and other materials, just as you can with a Cricut or Silhouette.

These wooden flowers are a great beginner project to familiarize yourself with the xTool M1 and its features. You’ll be using pre-designed, ready-to-cut SVG files to make the flowers. Easy peasy.
Supplies
- xTool M1 laser cutter (Air Assist recommended, but not required)
- xTool Creative Space software
- xTool Smoke Purifier (recommended, but not required)
- 12X12 3 mm basswood plywood sheets
- hyacinth SVG file
- tulip SVG file
- wild tulip bouquet SVG or DXF file
- Assorted craft paints
- paintbrushes
- wood glue
I purchased the digital designs for these wooden flowers from Joyful Unicorn Designs on etsy. She has lots of beautiful flower and plant options, including a wildflower bundle with 25 different designs.

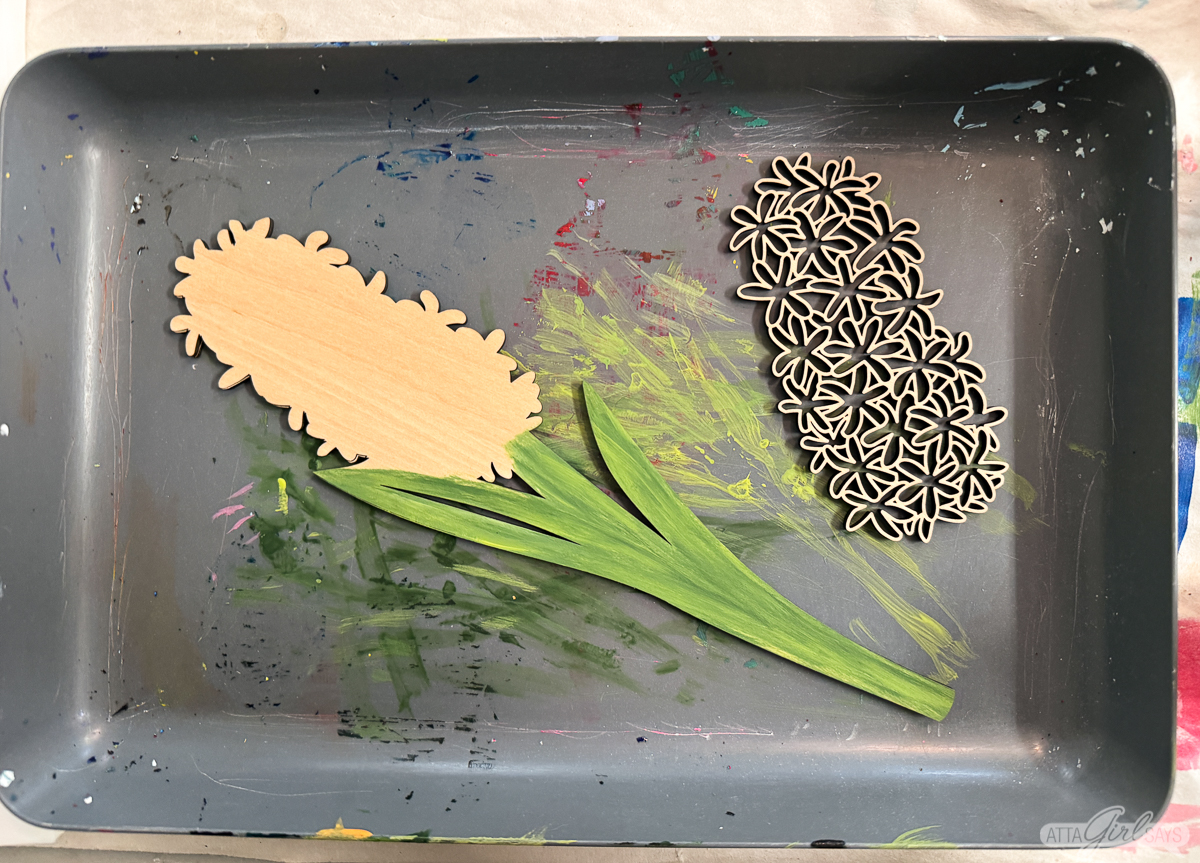
The wild tulip bouquet comes in SVG and DXF formats, both of which are suitable for laser cutting. The file has three layers to cut for the bouquet.
The hyacinth and individual tulips are in SVG format. These files have two layers to cut for each flower.
How to Make 3D Wood Flowers with the xTool M1
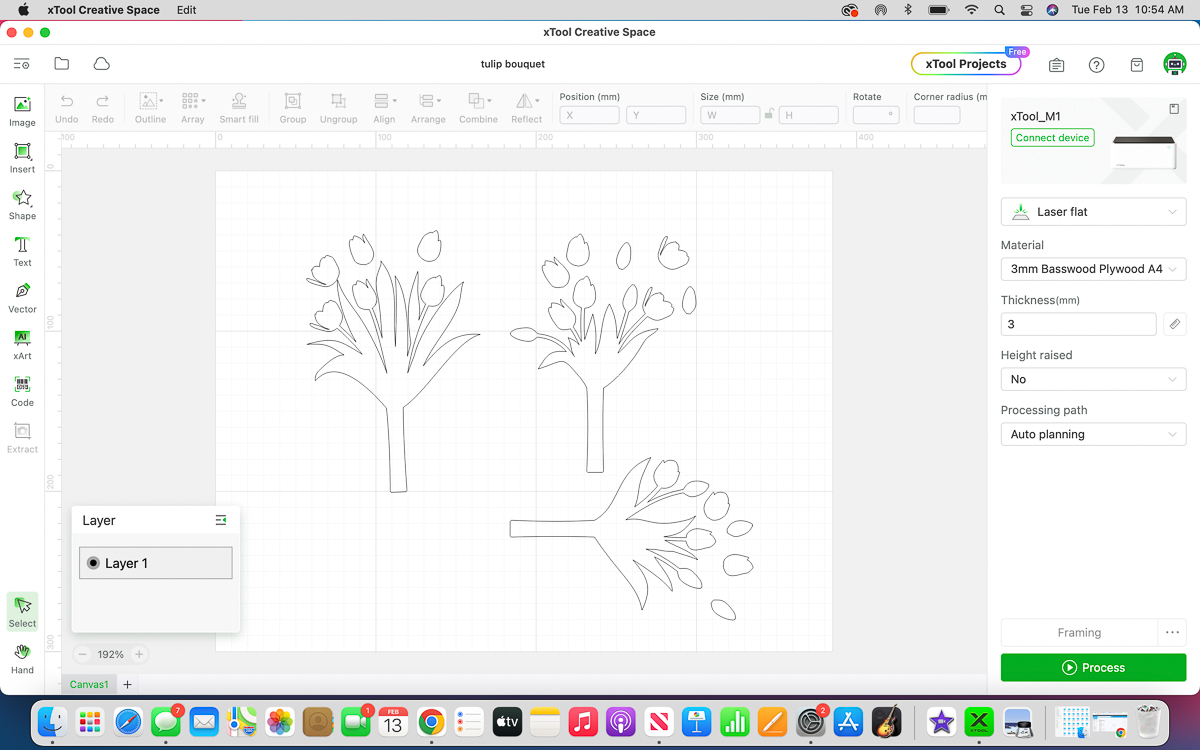
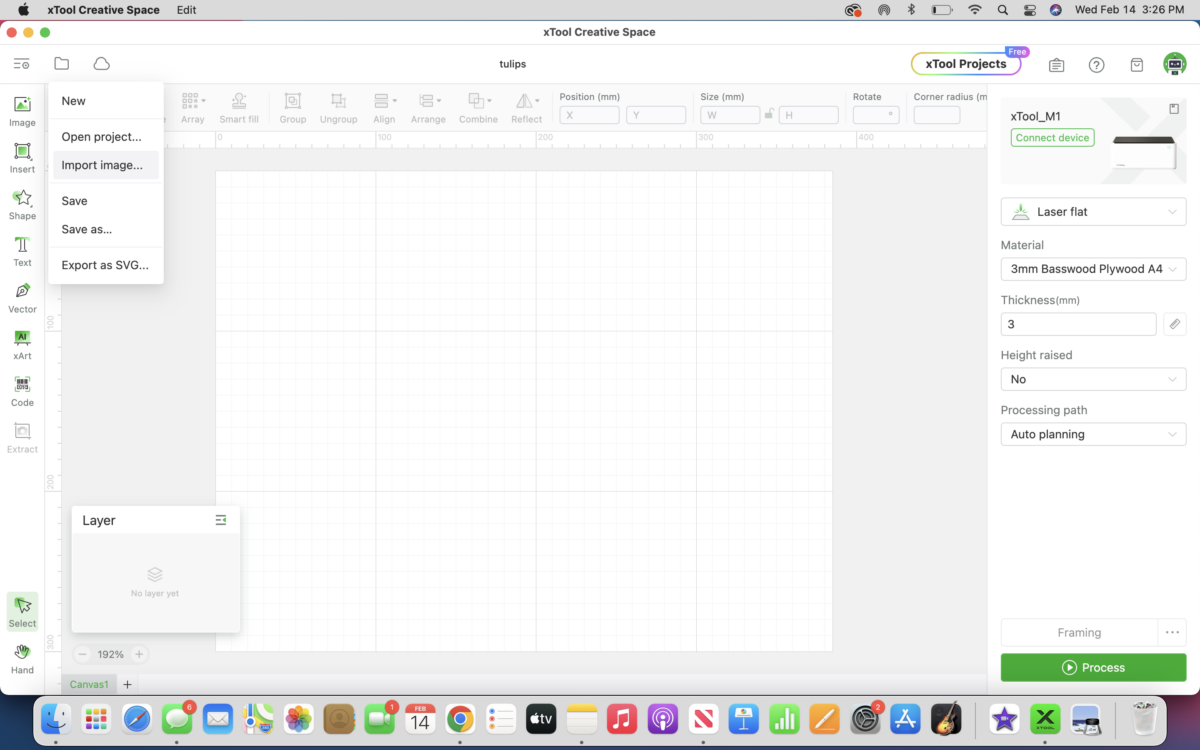
Once you’ve purchased and download the flower design files you want to cut, open up a new project in xTool Creative Space.
Click on the Folder icon in the top toolbar, and choose Import Image. Then open the SVG or DXF you want to cut.
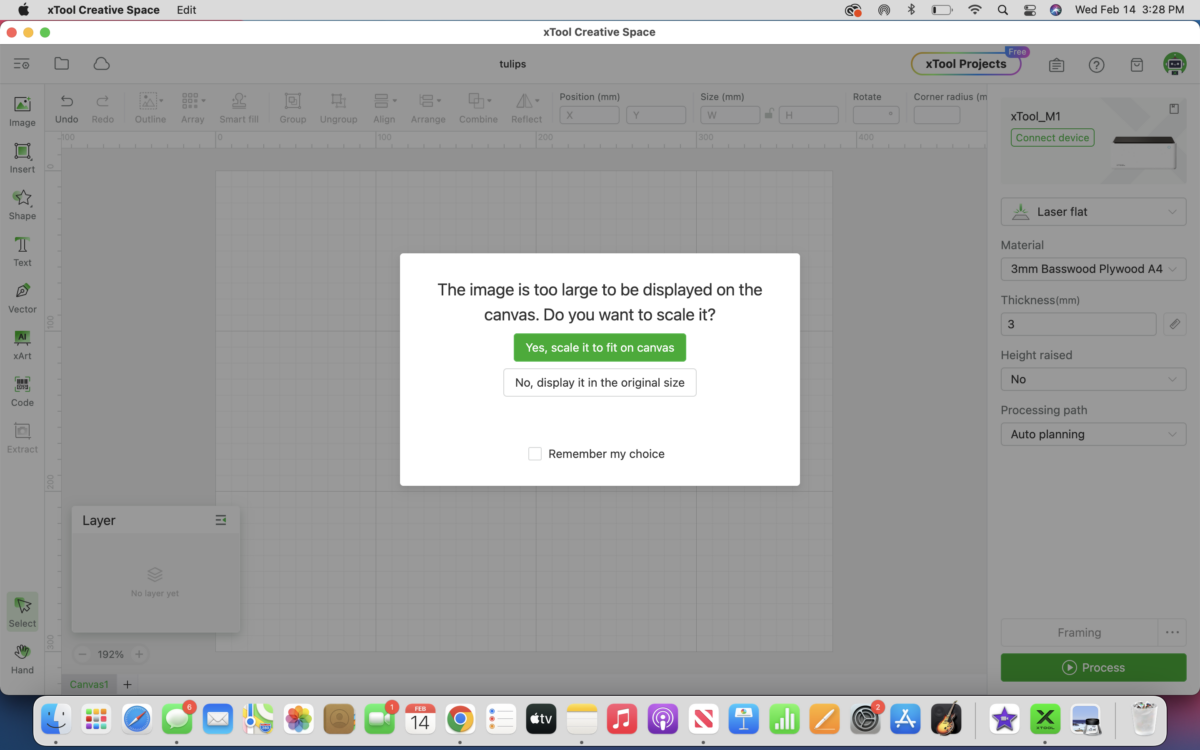
A dialog box may pop up telling you the image is too large to fit on the canvas. If so, choose the option to Scale to Fit Canvas.
Depending on how large you want your wood flowers to be, you may want to resize the images.
🌷 If you’re resizing the images, make sure you select all the pieces and layers of each flower. This will ensure that they’re sized proportionately. 🌷
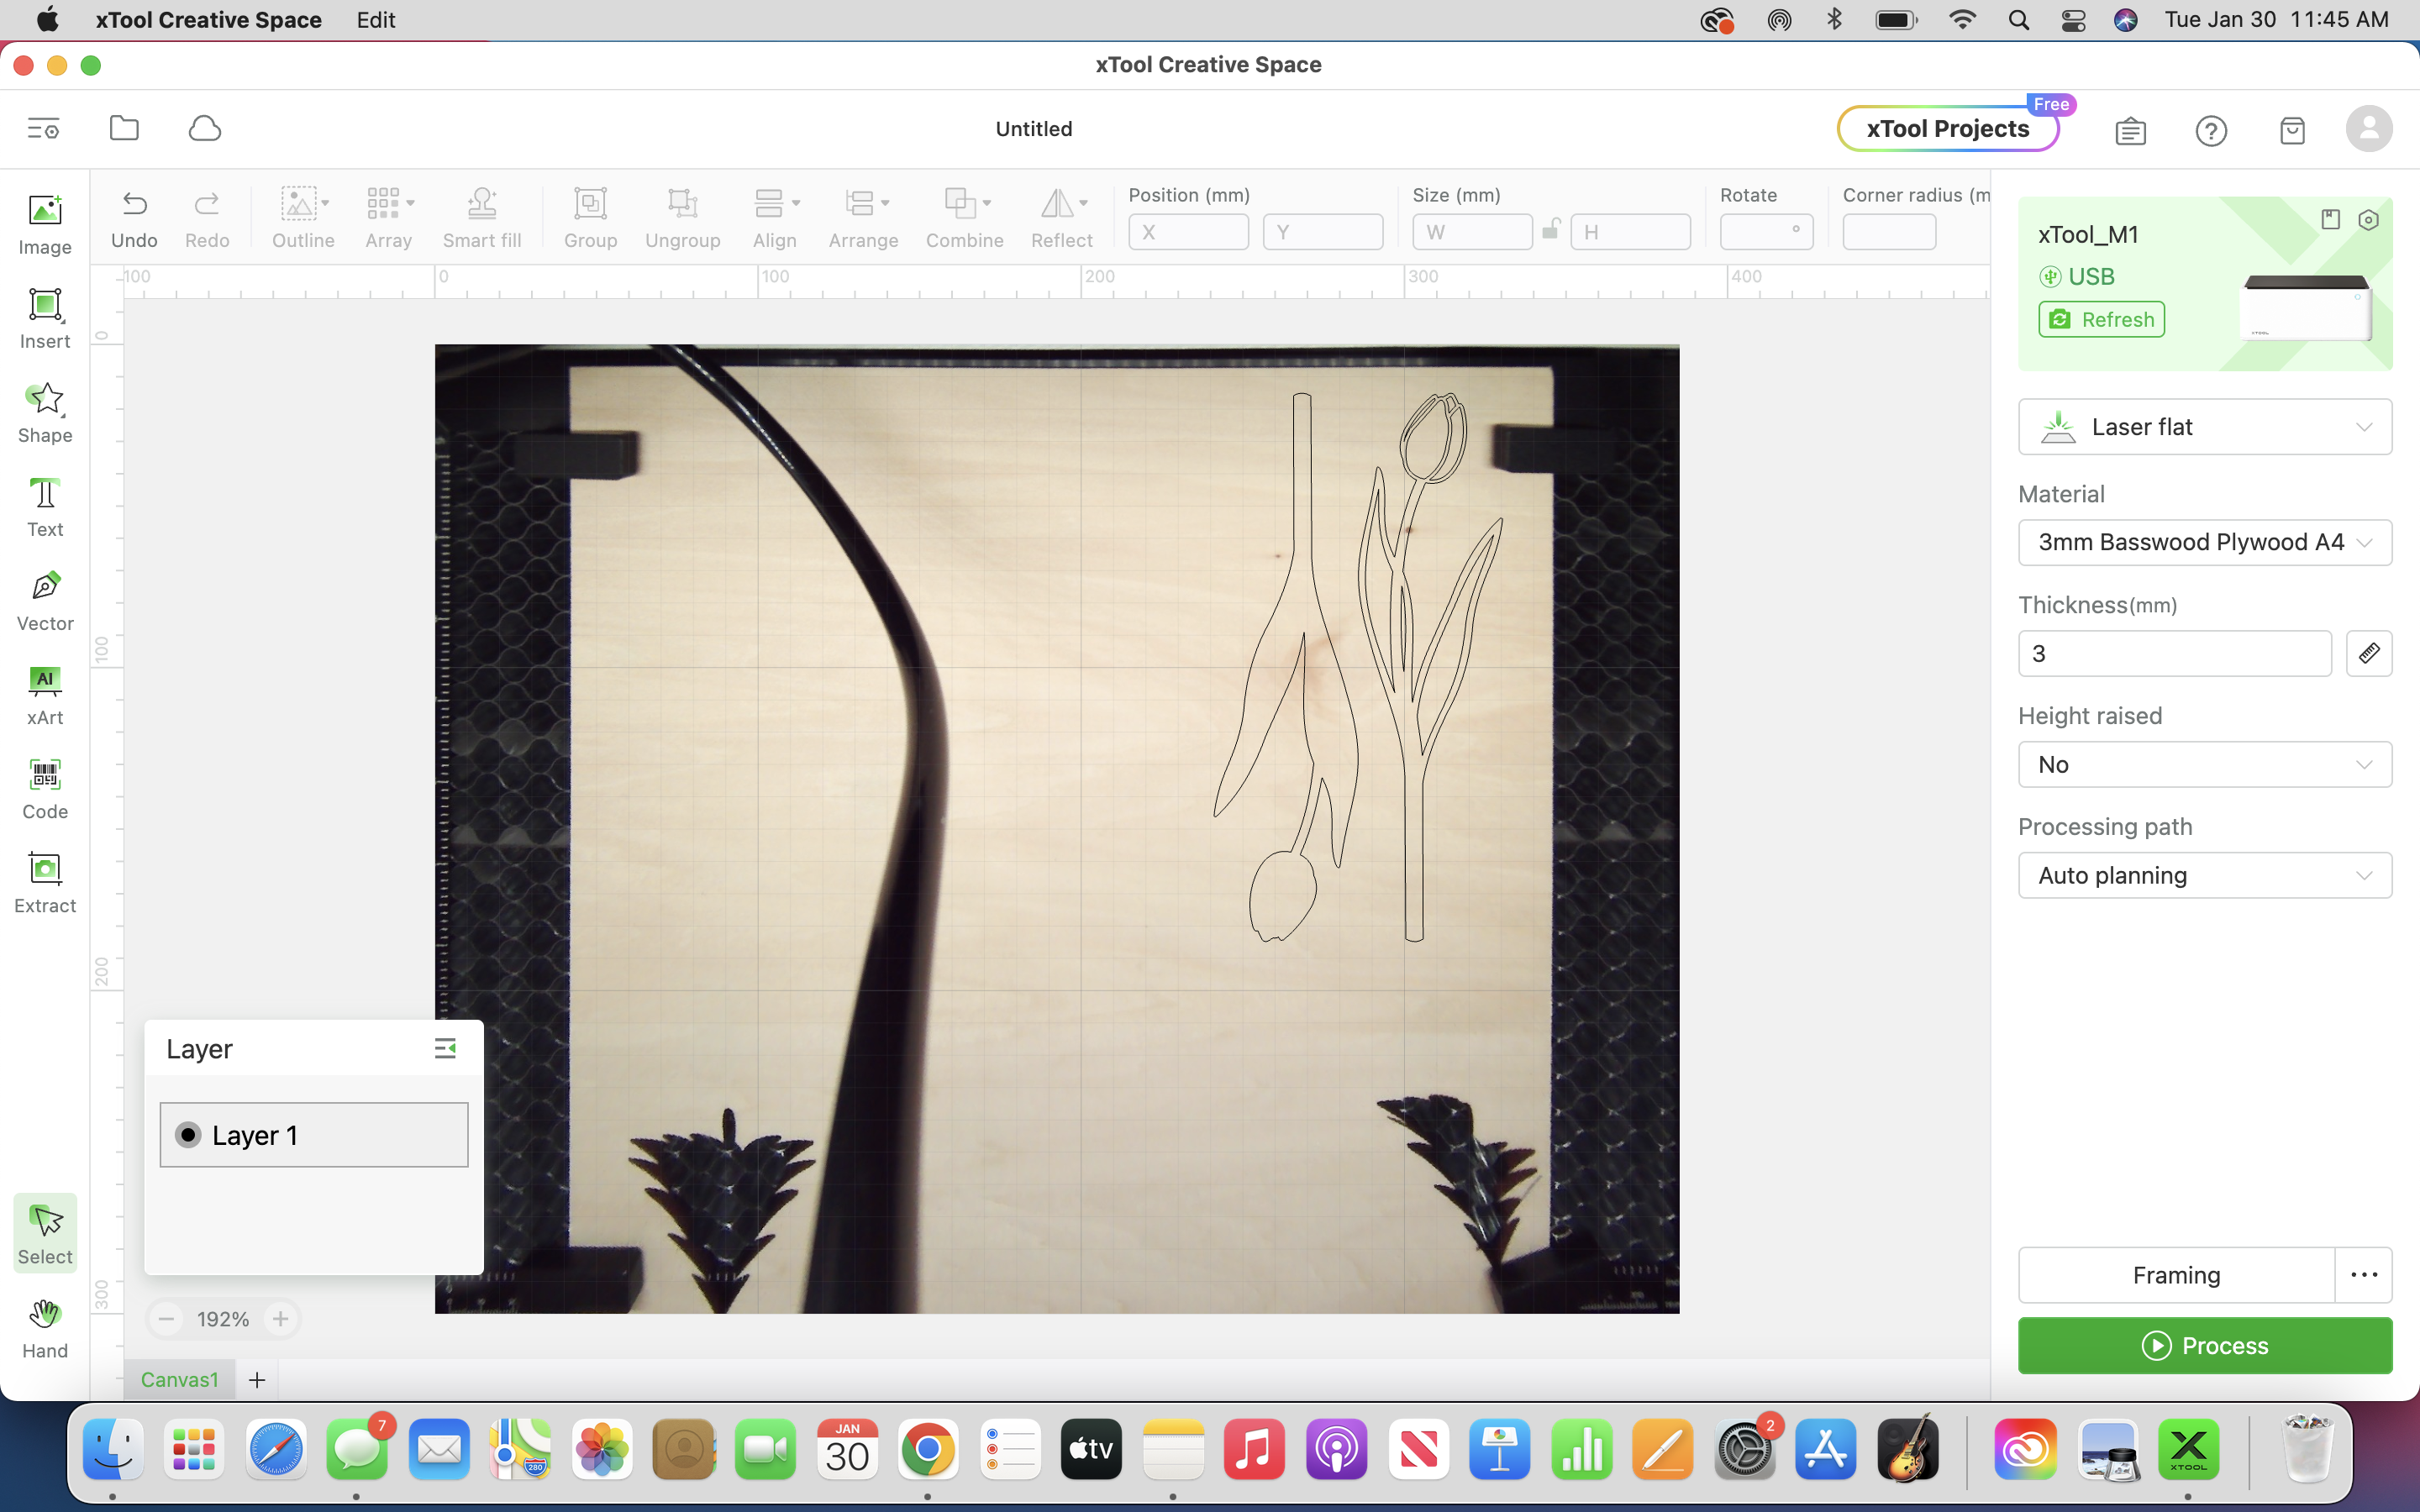
The xTool is equipped with a camera that allows you to see exactly where your design will be cut on the material you’re using. Until I’m ready to cut my projects, I usually like to hide the background. That way, I can make any design changes to the images on a white computer screen background.

When it’s time to laser cut my project, I’ll turn the camera view back on so I can place the design exactly where I want it on the material canvas.
Make sure your computer is connected to the xTool M1.
Use the panel on the right to choose your cutting material and other options.
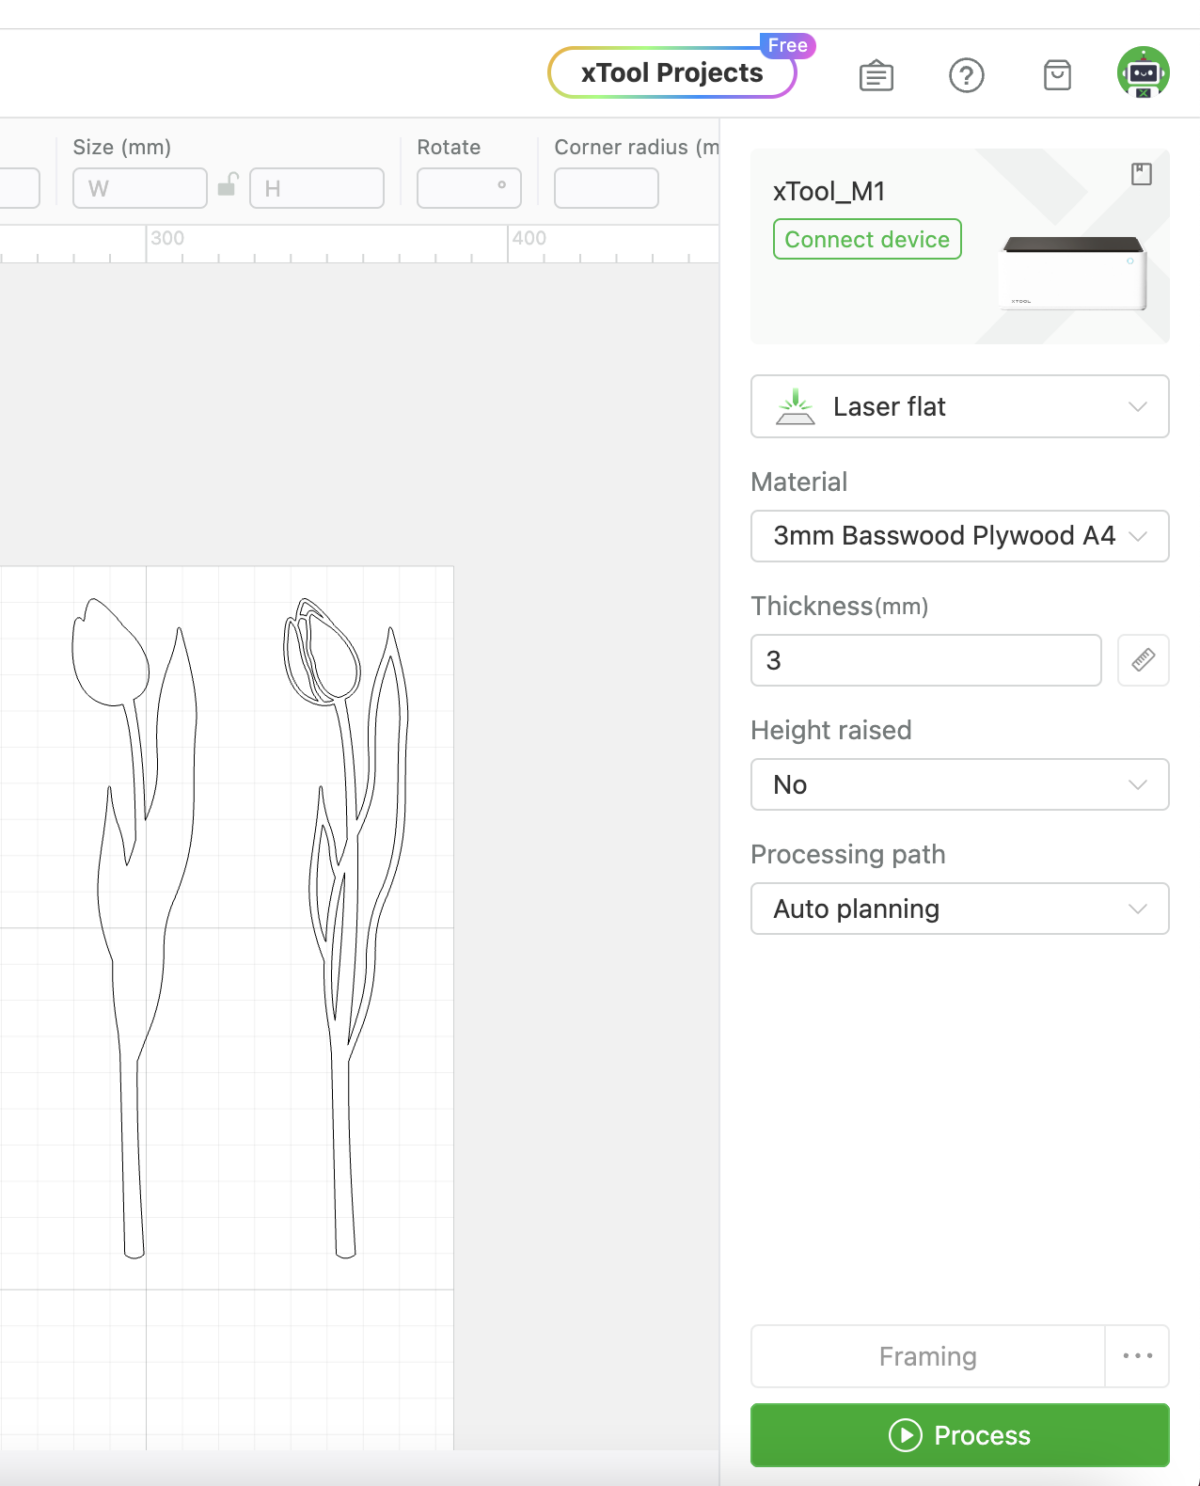
For these flowers, I used 3 mm Basswood Plywood with a thickness of 3. I chose Laser Flat for the cut settings. I chose Auto Planing for the processing path.
My xTool M1 is on the riser base with a honeycomb panel, so I set the Height Raised as No. If you don’t have the honeycomb base, I recommend using the triangular prisms that come with the M1 to raise the basswood sheet off the baseplate.
If you’re using the honeycomb panel, use the material pins in the corners to hold the wood sheet in place so it doesn’t shift during cutting.
You also need to set the Object Settings for each part of the design you’re cutting.
Select the layer or image you want to cut.

Make sure it is set to Output (not ignore) and Cut (not score or engrave).
Finally, you’ll need to choose the settings for the material you’re using.
For 3 mm basswood plywood, I used these settings:
- Power: 100%
- Speed: 8
- Pass: 2
These settings are for the xTool M1 10W. If you have a different laser cutter, you may need to adjust the settings.
Should I Use Air Assist?
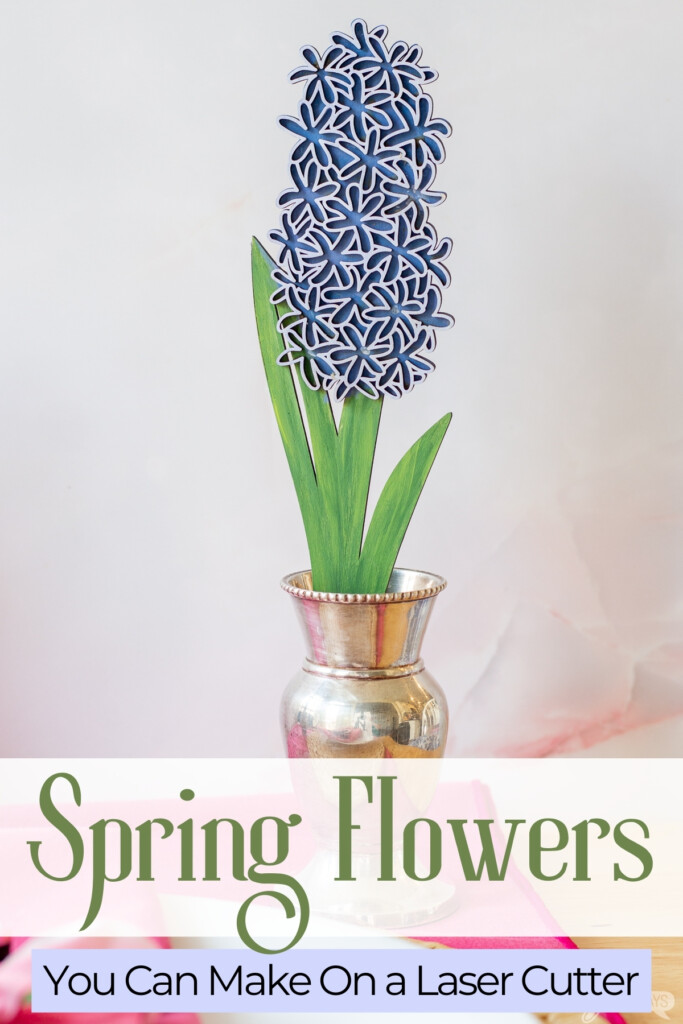
Since these wooden flowers will be painted, you don’t have to use Air Assist for this project. But I do recommend it. Some of the cuts are pretty intricate, especially for the hyacinth, and Air Assist will reduce scorching and prevent flareups that could lead to a fire.
Air Assist is an add-on to the xTool M1. It uses air to blow away smoke and debris that is generated during laser cutting. It protects the laser lens and quickly reduces the temperature of the cut material, reducing scorching and flareups.
Laser Cutting the Wooden Flowers
Once you have your output settings configured, click on the Process button within xTool Creative Space to send it to the M1. You’ll need to click Start on your computer screen, then press the round button on the M1 to start cutting.
Before cutting, make sure the xTool M1 is vented out a door or window. Or you can connect it to the xTool Smoke Purifier.
🔥 Remember: Do not leave the xTool M1 unattended while the laser is running as flareups and fires can occur.
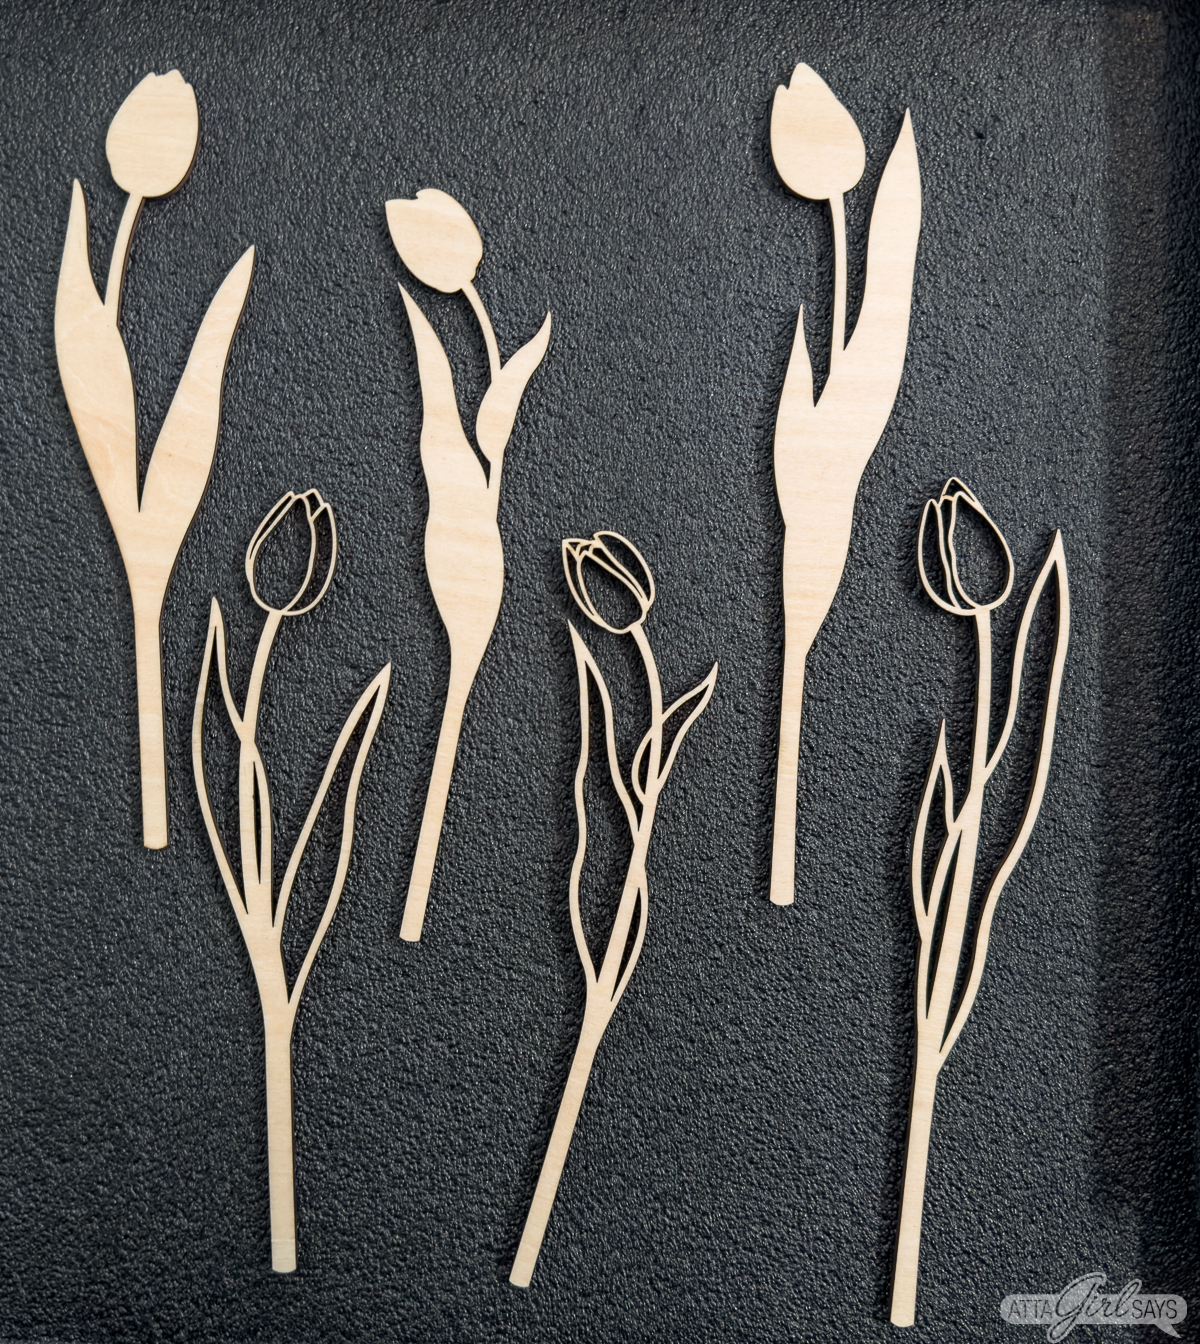
Once laser cutting is completed, carefully remove the plywood sheet and cut items from the xTool. Some of these designs can be delicate, so be careful when handling them.

I broke one of the layers of the tulip bouquet while handling it and had to cut it again.
Painting & Assembling the 3D Wood Flowers
Once you’ve cut all the parts for the wood flowers and the tulip bouquet, paint them with spray paint or acrylic craft paints.
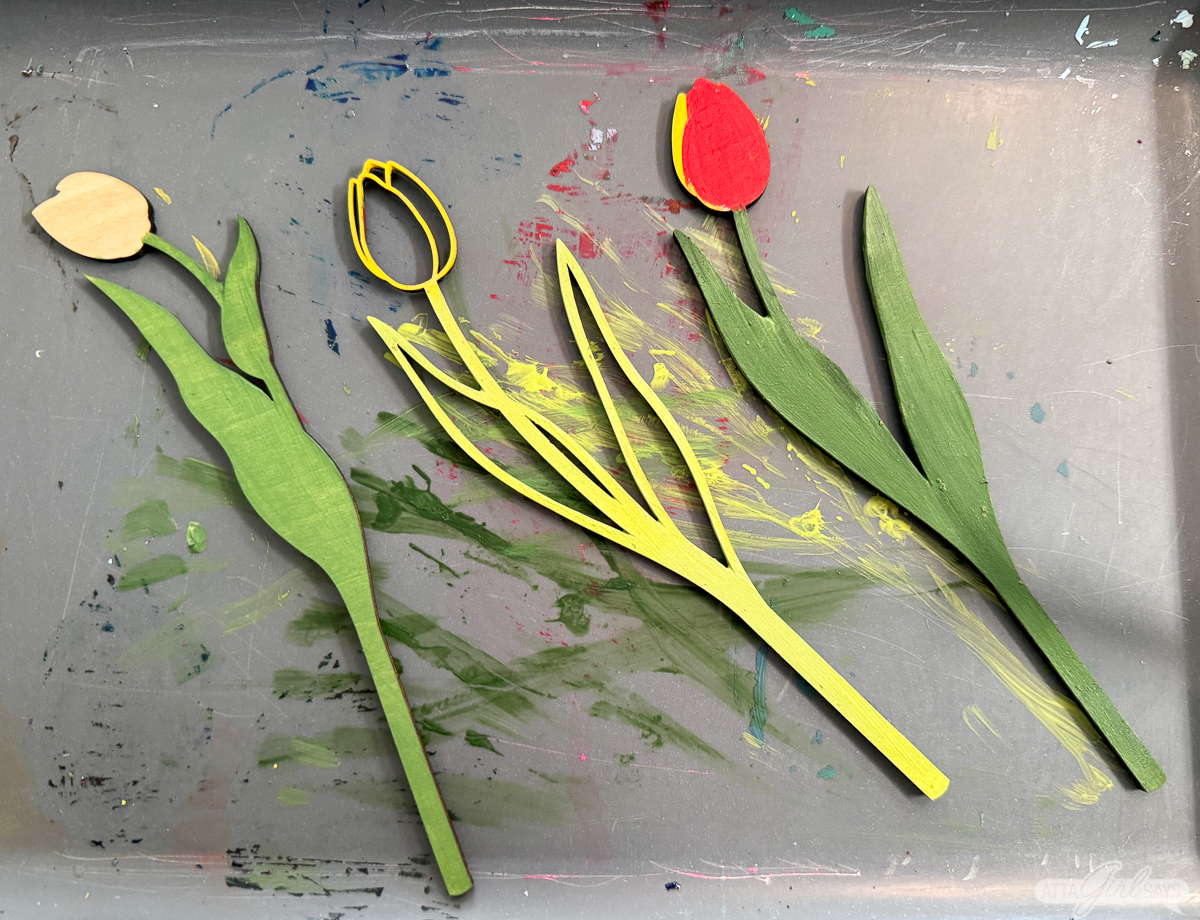
I wanted my flowers to look more realistic, so I layered different shades and tones of paint. But you can just add one color for the leaves and flower parts and call this project done!
Make sure you paint the backs of the base layer and any parts that will show on the back when the flowers are assembled.
If you make the tulip bouquet, you may find it helpful to mark the backs of each piece by layer — 1, 2 and 3.
Crafting Tip: You don’t have to cut the individual tulip bud pieces for the tulip bouquet. The extra dimension is not needed. It’s easier to assemble and glue the bouquet without the individual bud pieces.
Allow the paint to dry completely before assembling the wooden flowers.
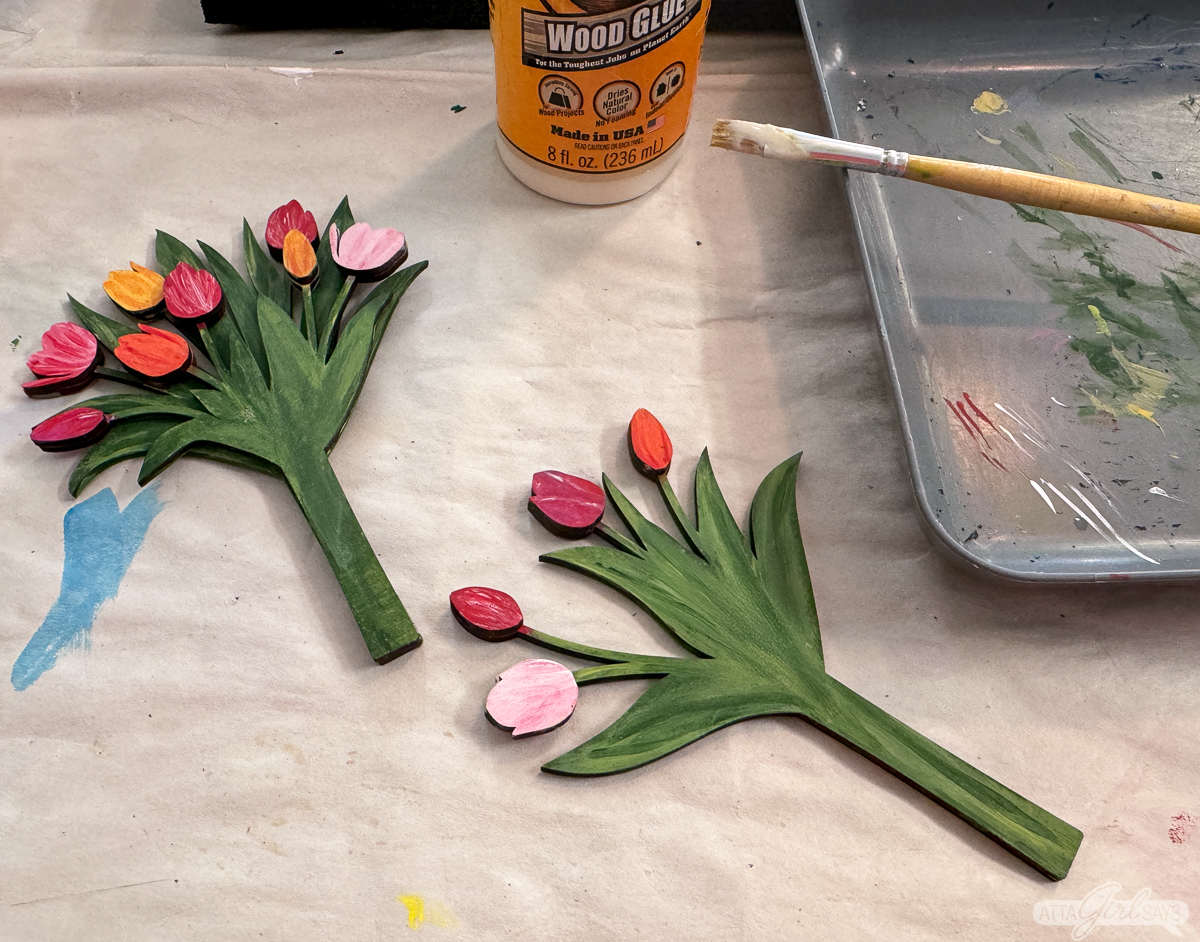
Use strong wood glue or spray adhesive to attach the wooden layers together. I recommend using a paint brush to spread wood glue on delicate pieces.
You may find it helpful to weigh the flowers down with books or another heavy object while the glue dries.

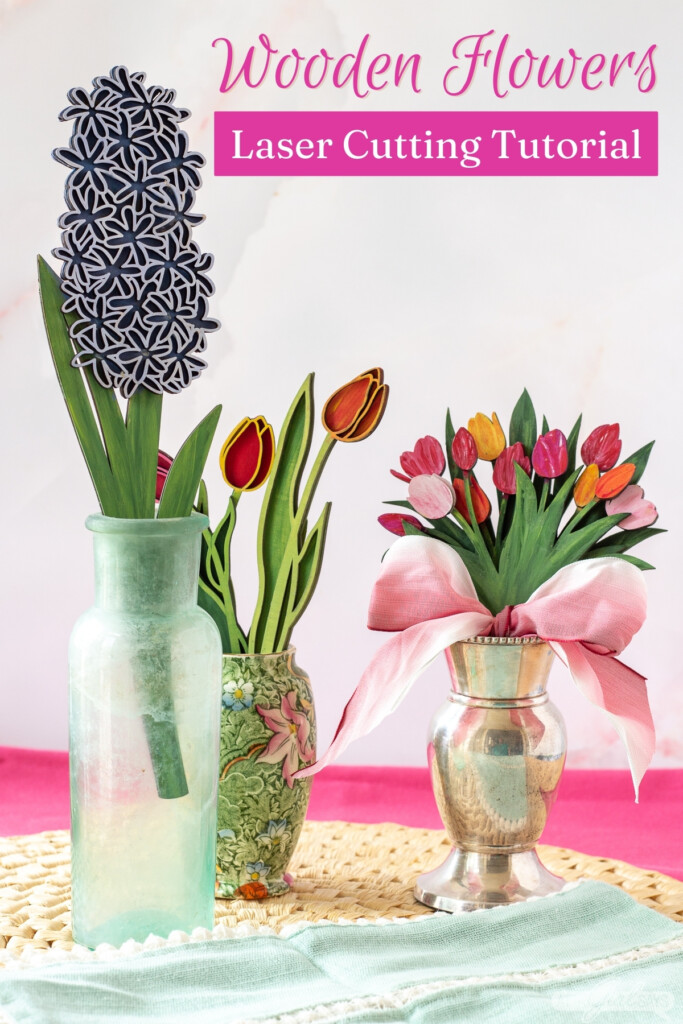
I love how these laser-cut, handpainted wood flowers turned out. They’re beautiful in vases, but you could also use them on wooden signs and doorhangers or as tabletop decor for a wedding or brunch.
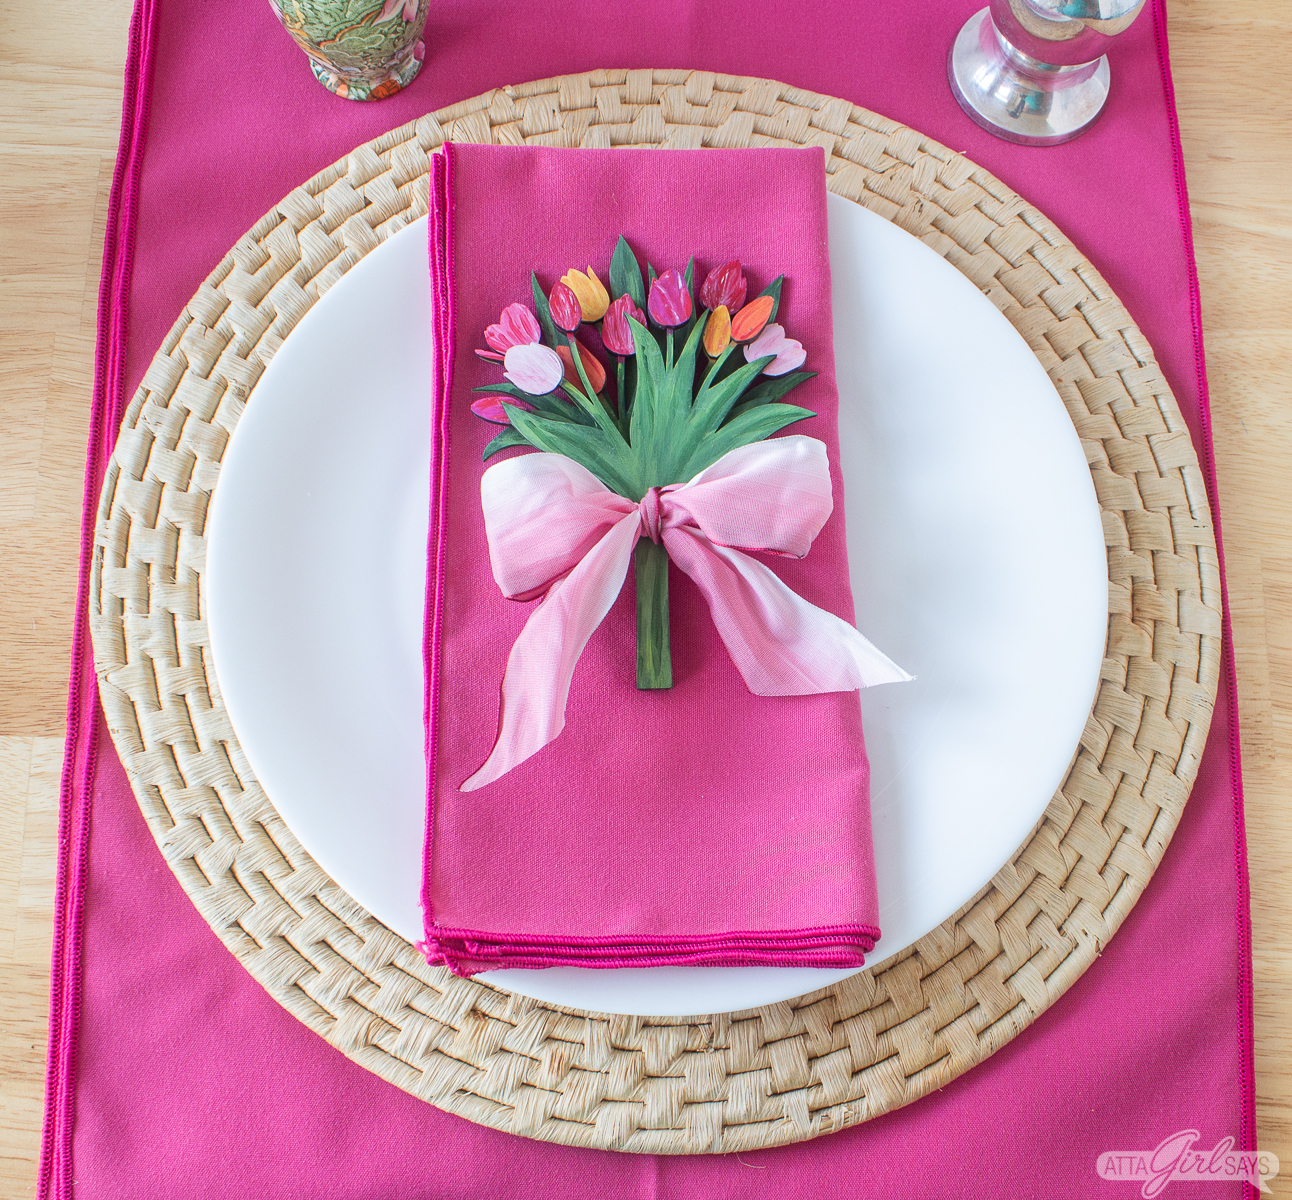
They’d make great Mother’s Day gifts or bridal shower favors. And what gardener wouldn’t want an everlasting bouqet of their favorite flowers?
More xTool Projects
Interested in more laser cutting, etching and scoring projects for the xTool M1? Check out these fun projects:


Pin This! DIY Laser Cut Wood Flowers

Leave a Reply