

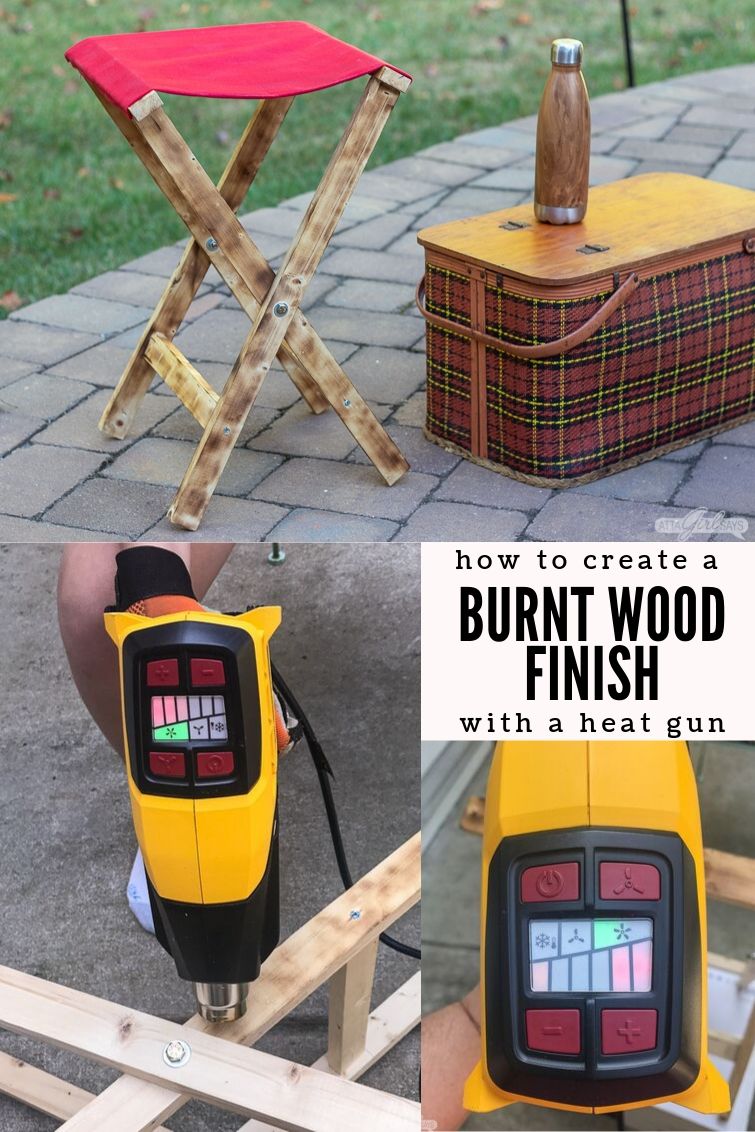
This rustic DIY folding camp stool is an easy beginner woodworking project. You’ll also learn how to use a heat gun to create a burned wood finish and to add a water resistant wax coating to the canvas seat.
It’s always fun when I get to break out the power tools and try out a new technique. This DIY folding camp stool was an easy build — perfect for a weekend family project — and I love how the rustic burnt wood finish turned out.

This is a sponsored post, and it contains affiliate links for your shopping convenience. Read my full disclosure policy here.
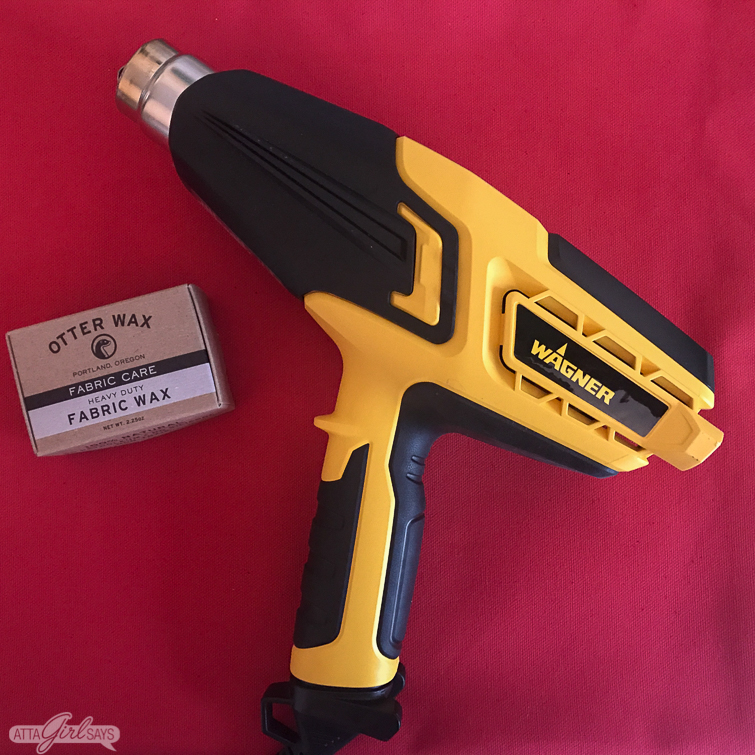
I’ve always loved the look of vintage folding stools and luggage racks, but I’ve never been lucky enough to find one on my yard sale and thrifting adventures. So, when it came time to work on this month’s project in partnership with Wagner, I decided to build my own. Rather than painting or staining the stool, I used the Wagner FURNO 500 heat gun to create a burned wood finish. I also used the heat gun to add a protective wax coating to the canvas seat for durability and water resistance.

Heat guns are useful for all kinds of things, including stripping paint, removing veneer, molding plastic and acrylic, loosening tight bolts, removing stickers and so much more. They’re also a pretty handy craft tool for applying vinyl, shrink wrapping gifts, embossing, working with resin and the list goes on.
Tools & Supplies to Build a Folding Camp Stool
- 1X2 boards
- bolts, nuts & washers
- wood screws
- wood glue
- sandpaper
- canvas fabric
- scissors or a rotary cutter with a cutting mat
- fabric wax
- chip brush
- work gloves
- circular saw
- drill
- Wagner FURNO 500 heat gun
- Sewing machine or Stitch Witchery fusible bond hem tape
- Heavy duty stapler or electric staple gun
You don’t have to have expert woodworking skills to build a folding camping stool. Kids can definitely help with this project. In fact, I think it would be a fun project for Scouts to make before embarking on a camping trip.
I consulted two different tutorials before making my camp stool — this one from Jaime Costiglio and this one from How About Orange. I used these plans from Ana White, modified slightly, to make my stool.
I followed the cut list and measurements outlined in Ana White’s plans for mine, using 1X2 boards to create the frame.
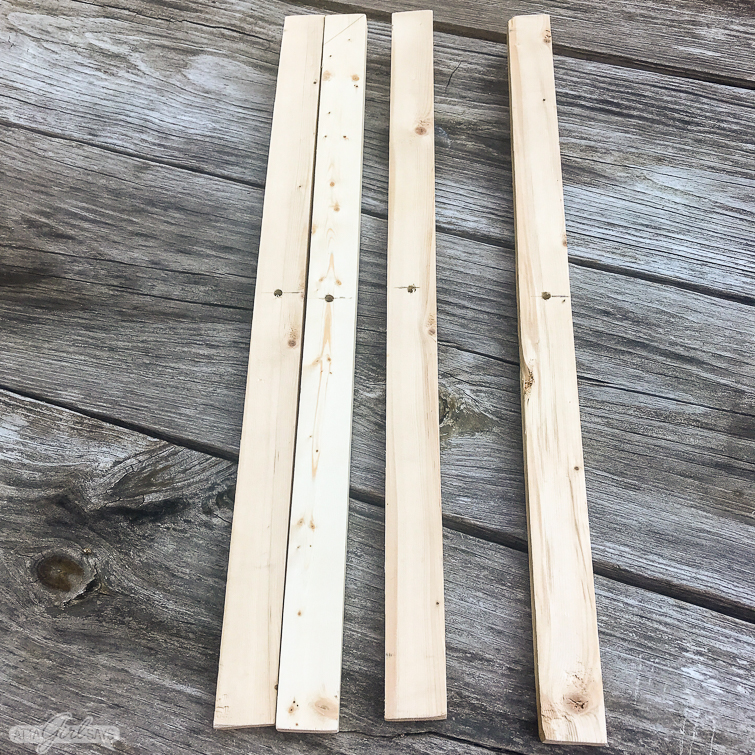
If you don’t have a circular saw, you can have the boards cut to the appropriate lengths at the hardware store.
I made a few slight modifications to the plans when creating my stool.

The plans call for an upper inner stretcher with a dowel placed above it to hold the canvas sling seat. I skipped the stretcher and dowel and stapled the seat to the frame, as shown in the How About Orange tutorial.
How to Create a Burnt Wood Finish with a Heat Gun
Once the frame was built, it was time to burn the wood to create a rustic, decorative finish using my heat gun. Please note that in the photos and video below, the temperature setting lights on the heat gun appear to be flashing. That was a camera issue; they’re actually solid, not flashing.
Prepare the surface by sanding to remove any splinters, just as you would do if you were painting or staining.
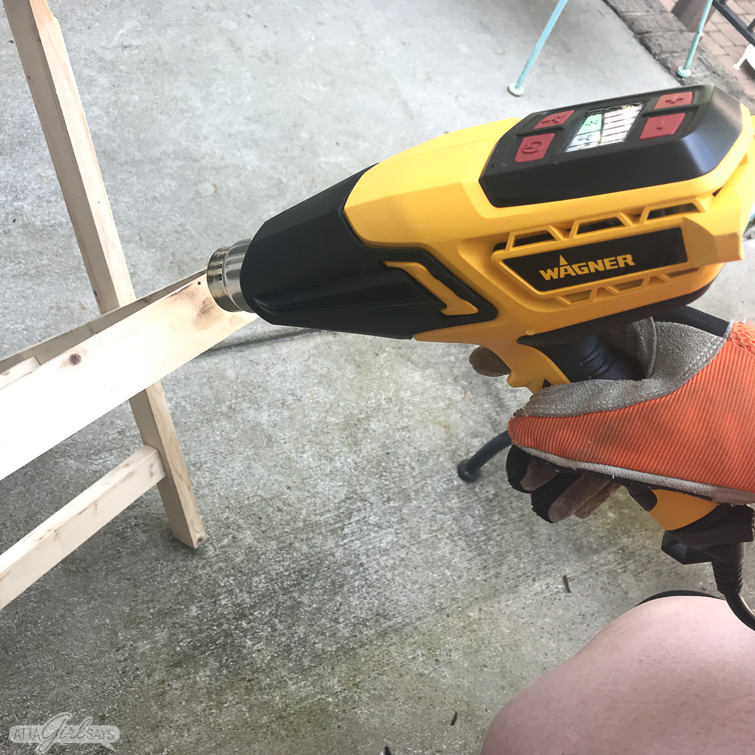
It’s always a good idea to wear protective gloves when using a heat gun. The gun itself gets hot (up to 1200°F). The wood surface, bolts and screws will also be hot to the touch.
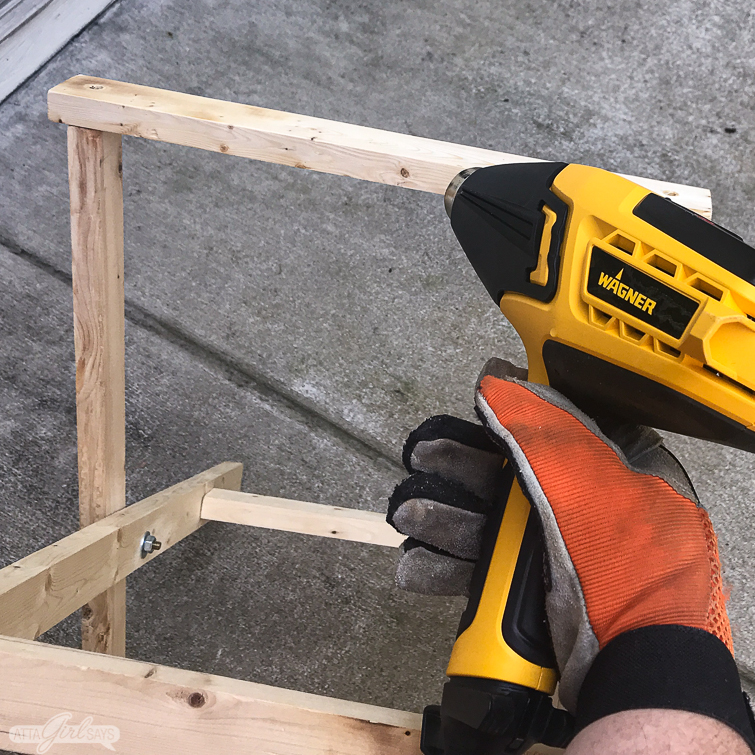
Hold the heat gun about an inch above the surface and move it slowly over the wood until it darkens. You can make additional passes if you want a darker finish.
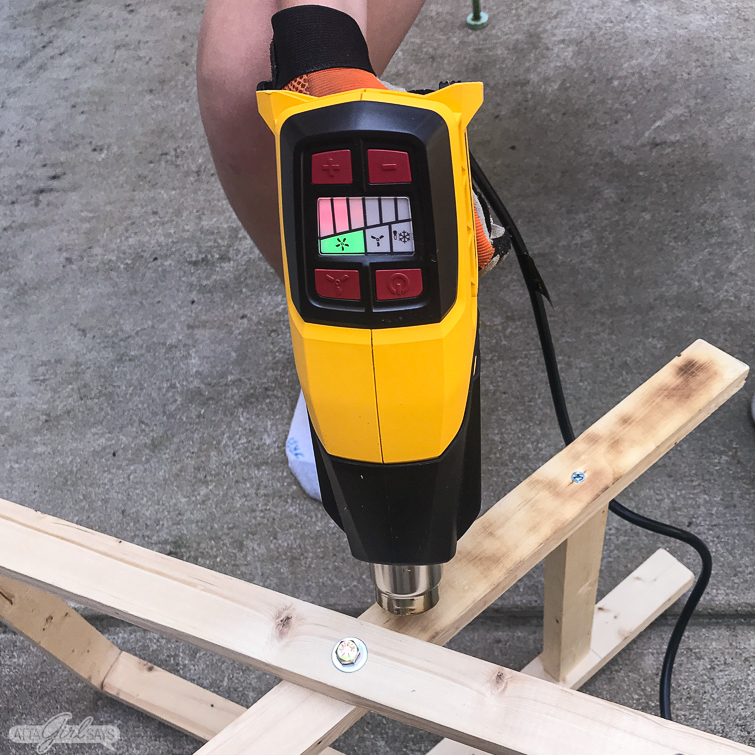
Be careful not to get too close to the wood or to touch the heat gun to the surface for an extended period of time as you could start a fire. If you’re letting kids help with this project, always supervise them.
It doesn’t take long for the wood to begin to burn and darken, as you can see in this short video.
While you can use ammonium chloride or other chemicals for wood burning, it’s not necessary to achieve this burned wood finish. I ways able to get the look I wanted with the heat gun.

As I mentioned previously, the FURNO 500 is adjustable with 12 temperature settings from 150°F to 1200°F.
The actual heat setting you’ll need will depend on the particular wood you are using, as well as how dark you want the burnt wood finish to be. I recommend experimenting on a scrap of wood first.
Once you’ve burned the wood, you can apply a clear topcoat to seat it and to protect it from the elements.

To make the seat for the stool, I used heavy-duty canvas. The actual dimensions of the seat will depend on how wide you want the stool to open.
With the frame open, measure the span from the underside of the top braces, adding at least a 1/2 inch on each side for a seam allowance. Cut your seat fabric to this width.
To calculate the length of the seat fabric, measure the length of the top braces, double and add at least 1 inch for a seam allowance. This will allow you to have a seat that is a double thickness of canvas.
If you’re handy with a sewing machine, you can sew the seat cover. Or you can go the no-sew route, like I did, and use heat-and-bond hem tape. (When making the seat, be sure to turn the cover inside out after sewing the long seam so it will be hidden. The side seams can be folded under and hidden when you staple the cover to the frame.)
How to Wax Canvas
Once the seat cover was assembled, it was time to wax it to make it waterproof.
Please note: waxing fabric will darken it.
You’ll need your FURNO heat gun and fabric wax for this step. I used Otter Wax, which comes in a bar that is similar to soap.
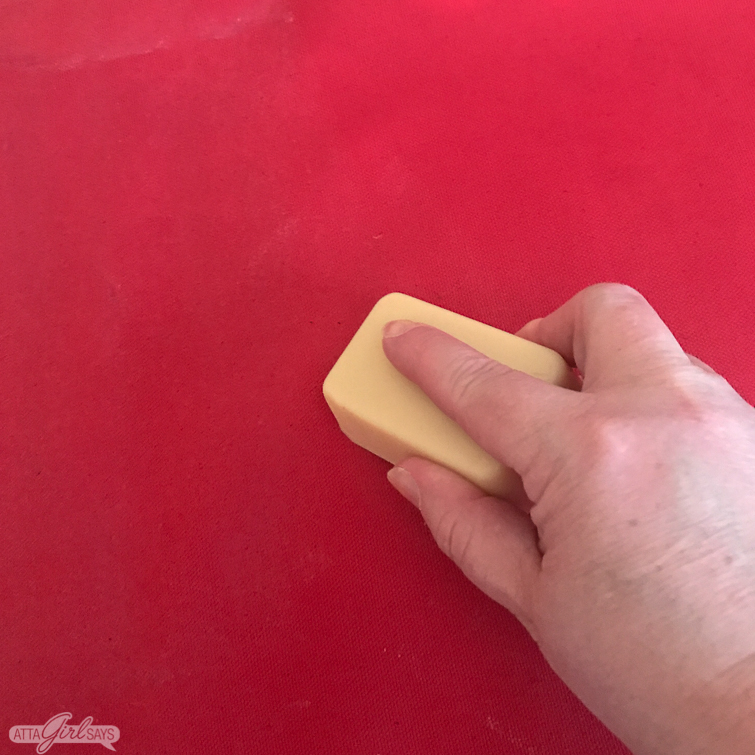
With the canvas seat sitting on a hard surface, rub the wax bar across the fabric. It’s a good idea to cover the work surface with kraft paper or a dropcloth to protect it.
Use firm strokes, trying to go in the same direction, to really work the wax into the fabric.

Once you’ve coated the fabric with wax, use the heat gun on a low setting to soften it. Work the melted wax into the fabric with a chip brush.
You may want to reapply more wax and repeat the melting steps to ensure you have good, even coverage.
Repeat these steps on the other side of the fabric seat.
One the seat has been waxed, use a staple gun to secure it to the frame.
The waxed fabric initially may feel slightly sticky or tacky to the touch. It’s a good idea to let the wax on the seat cure and dry for a few days in a warm, dry place before using the folding camp stool.

Now you’re ready to go fishing or camping with your DIY folding camp stool.
Pin This! DIY Folding Camp Stool
Don’t miss these other heat gun projects:

More Wagner Projects to Inspire You
Every month, I’m sharing a new DIY project in partnership with Wagner using their paint sprayers, heat guns, rollers and other tools to inspire you to try them out for your own DIY projects.
Don’t miss these other projects of mine using Wagner products:
- DIY Outdoor Farmhouse Sink
- Painted Outdoor Furniture Makeover
- How to Paint Windsor Chairs Without Losing your Mind
- Removing Veneer with a Heat Gun
- Outdoor Bistro Chairs Makeover
- Tween Bed Makeover
- Painting Bamboo & Rattan Furniture with a Sprayer
- Nightstand with Faux Zinc Top Makeover
- Embossed Chalkboard Tags
[…] DIY Folding Camp Stool with Wood Burned Finish […]