
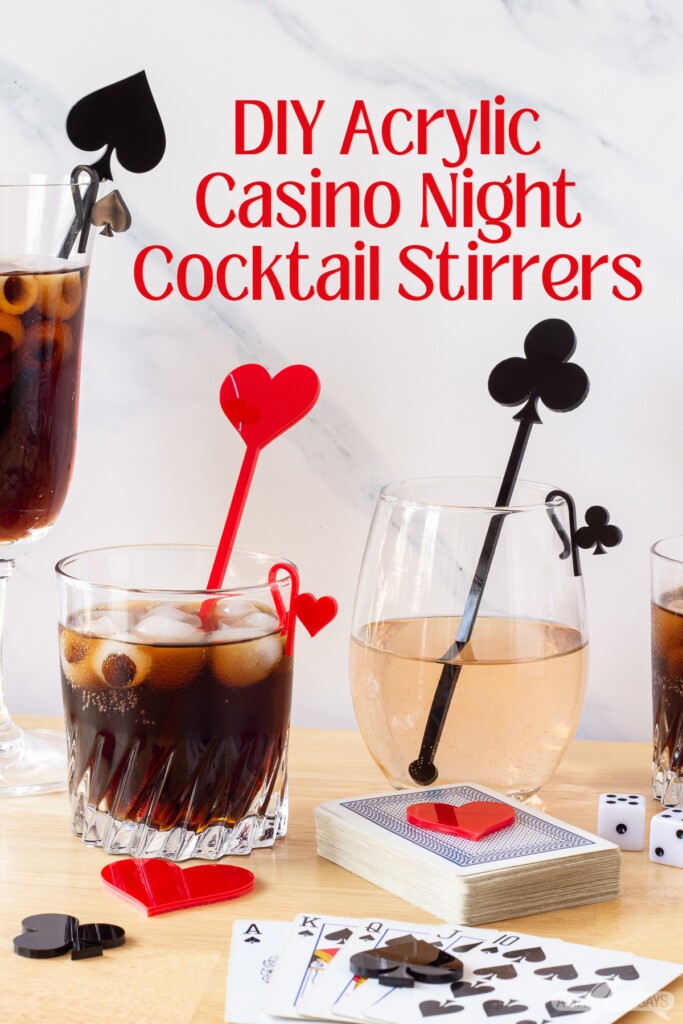
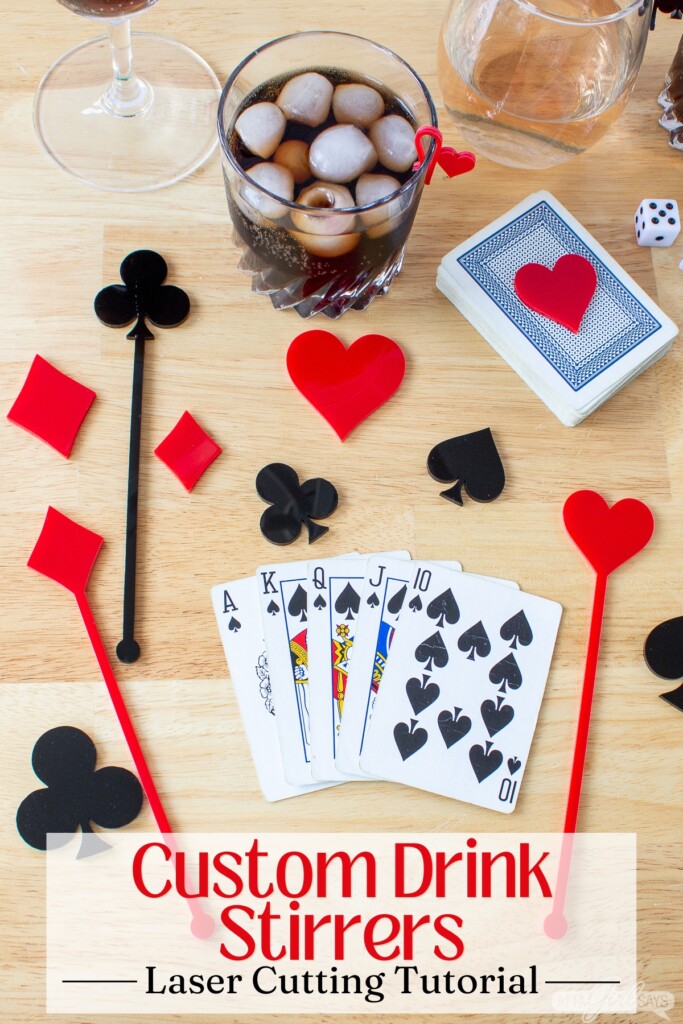


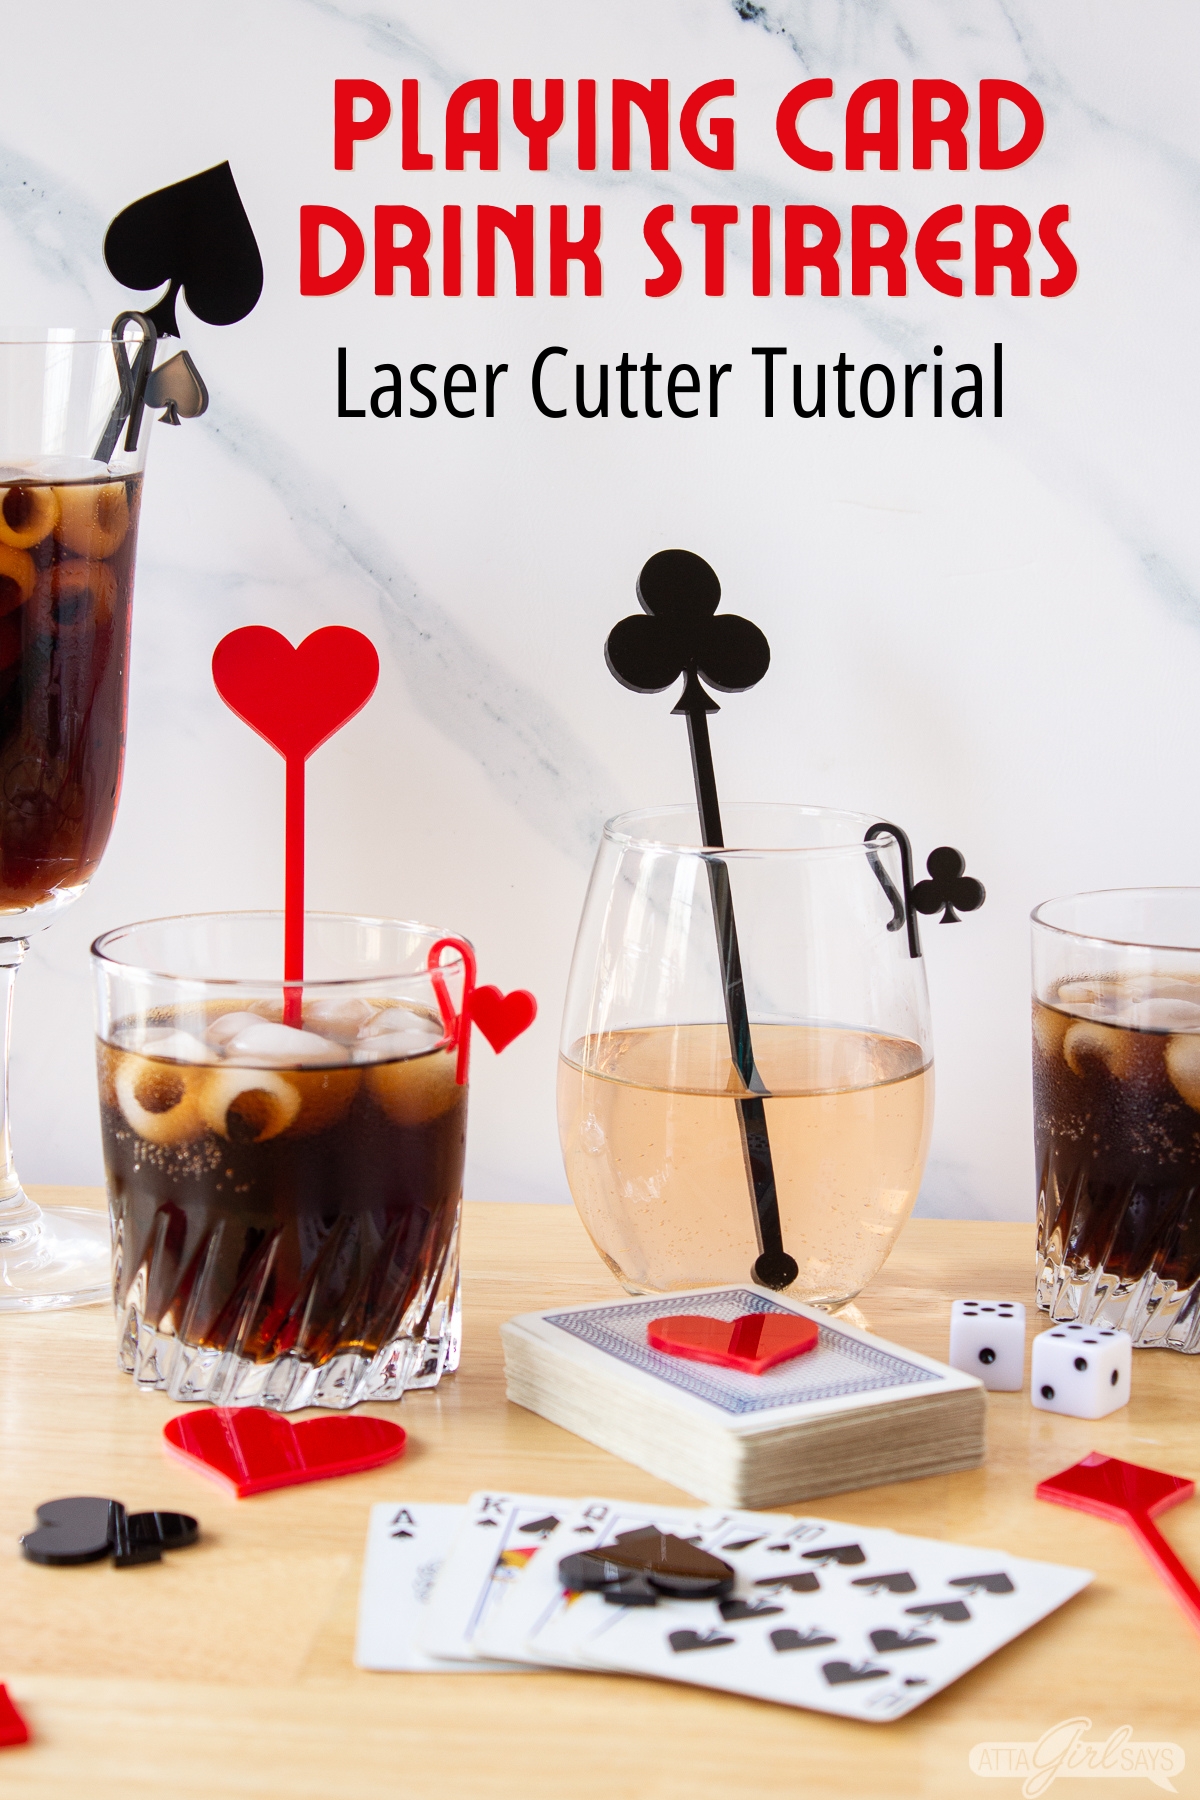
Learn how to create your own DIY acrylic cocktail sticks (aka drink stirrers) and drink makers for casino night using a laser cutting machine. Includes free laser cut files — plus a video tutorial showing how to make your own custom designs with xTool Creative Space software.
When my friend invited me to a ladies-only game night, I knew I wanted to make some customized swizzle sticks and party favors for my fellow players.
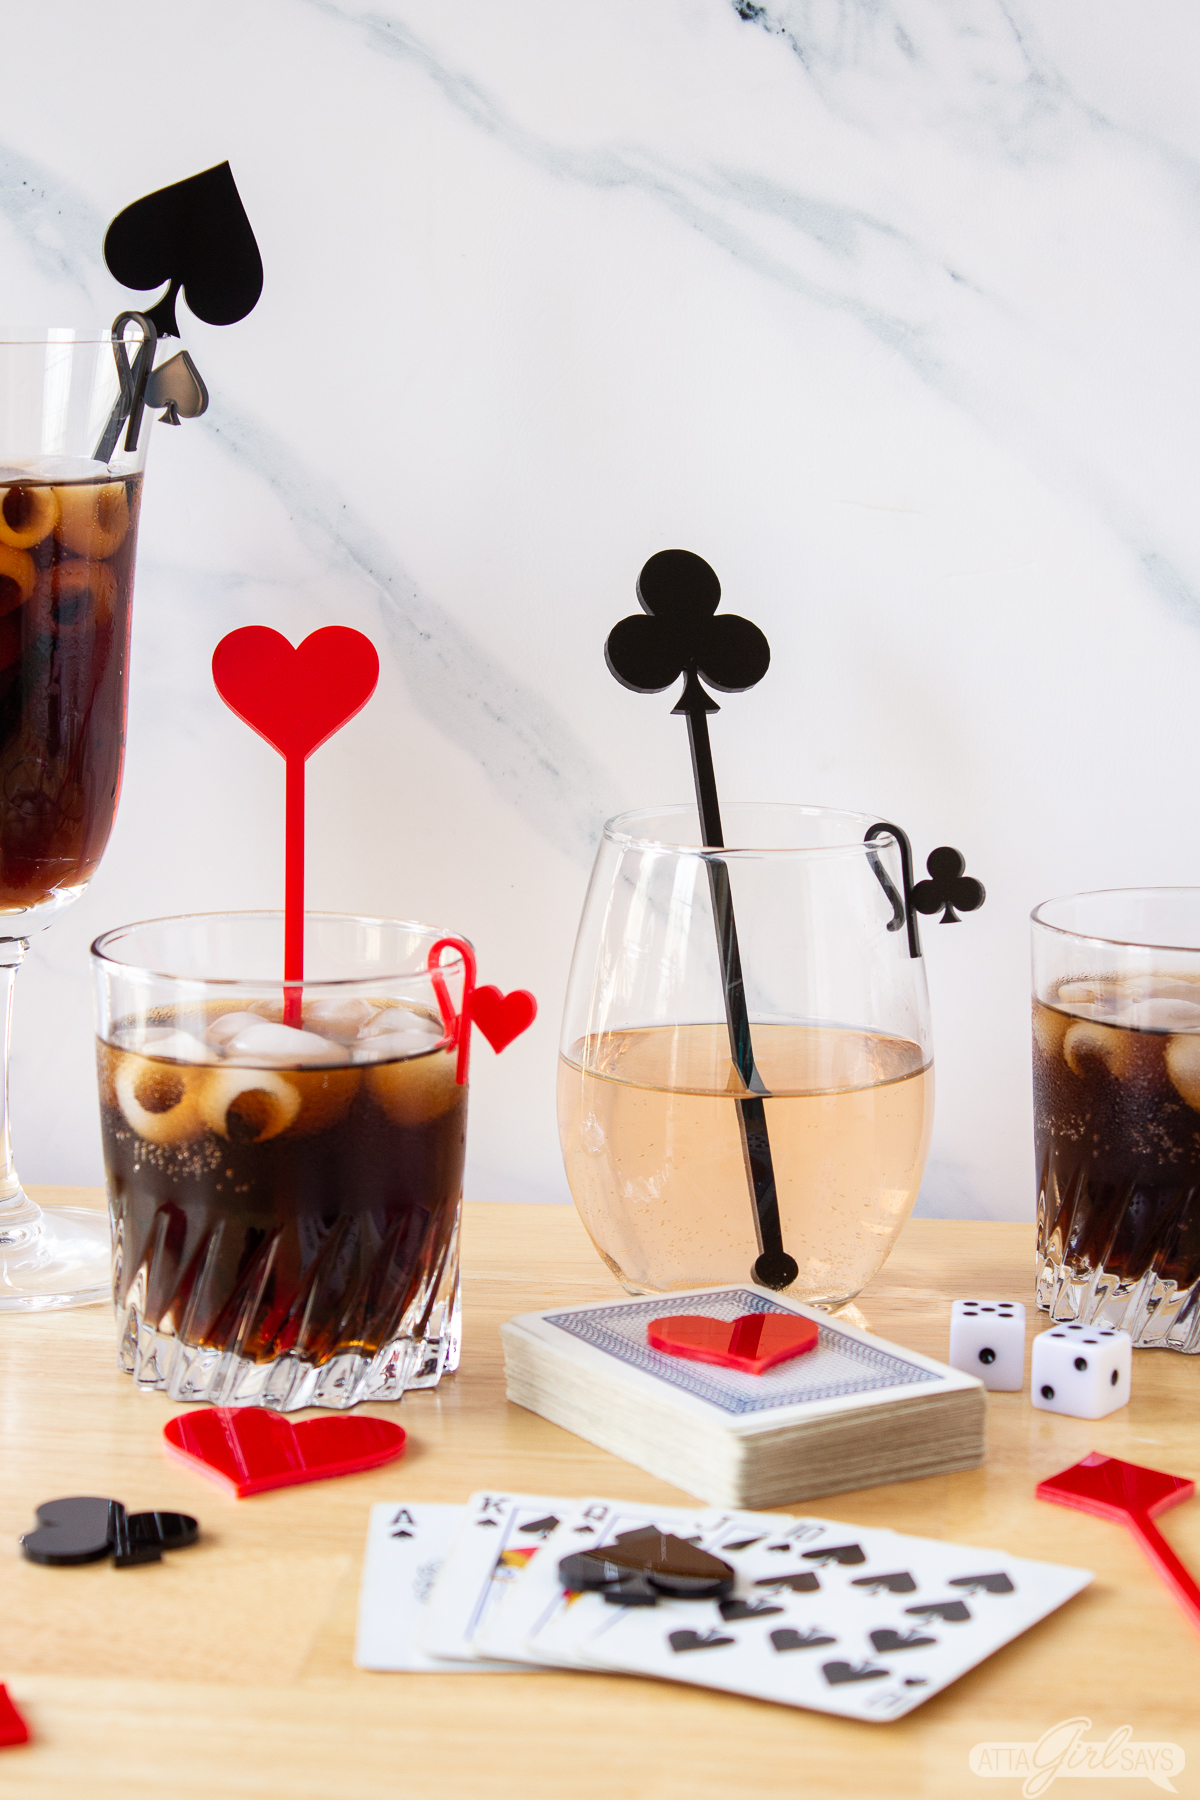
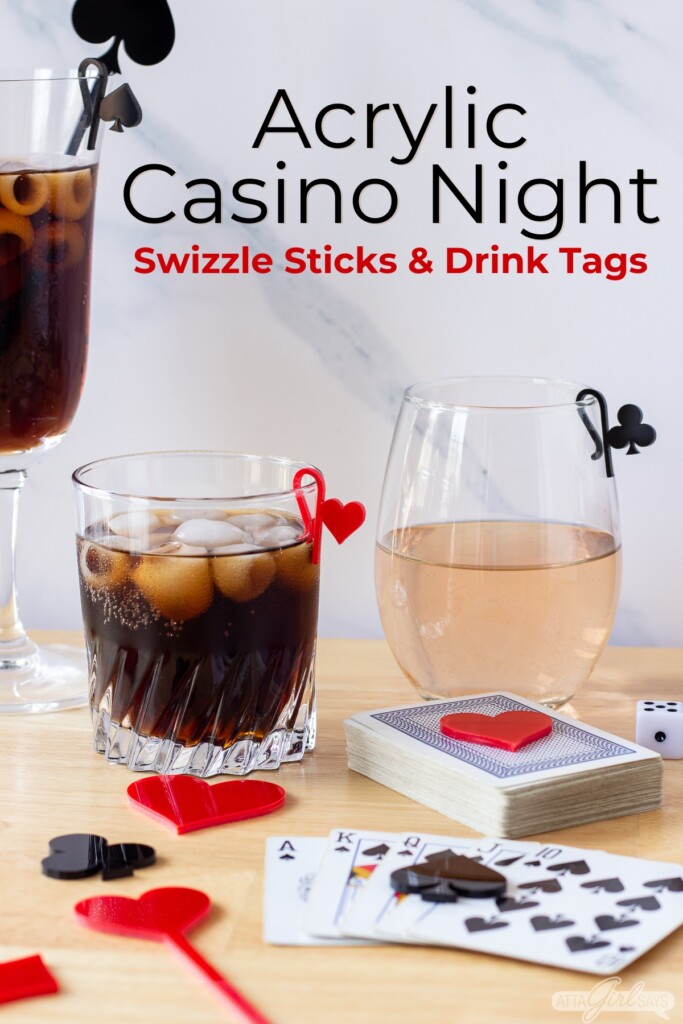
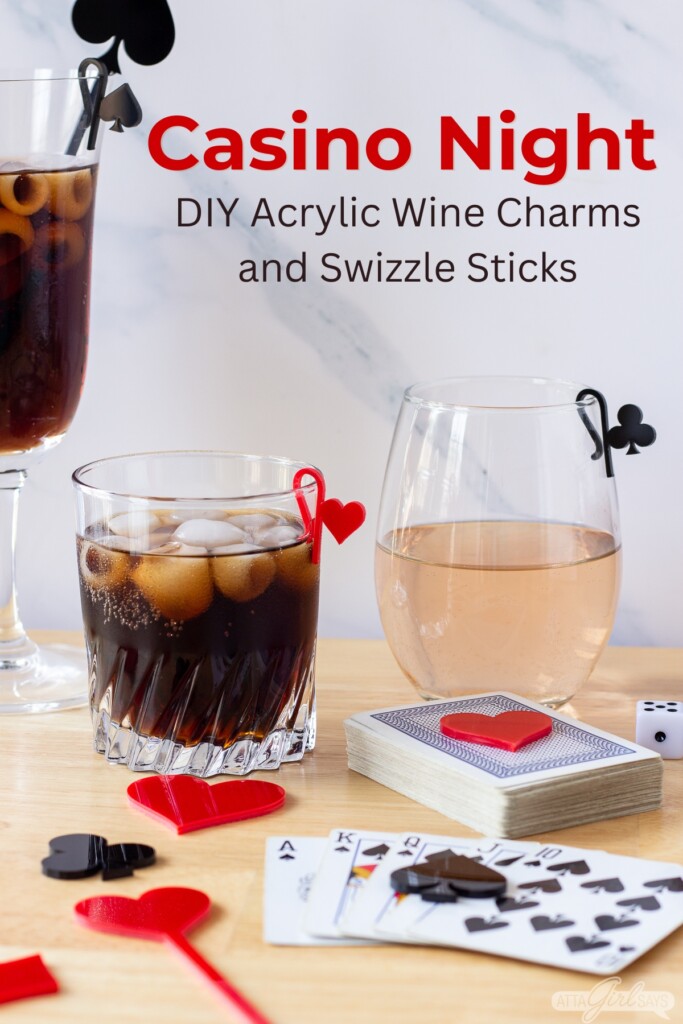
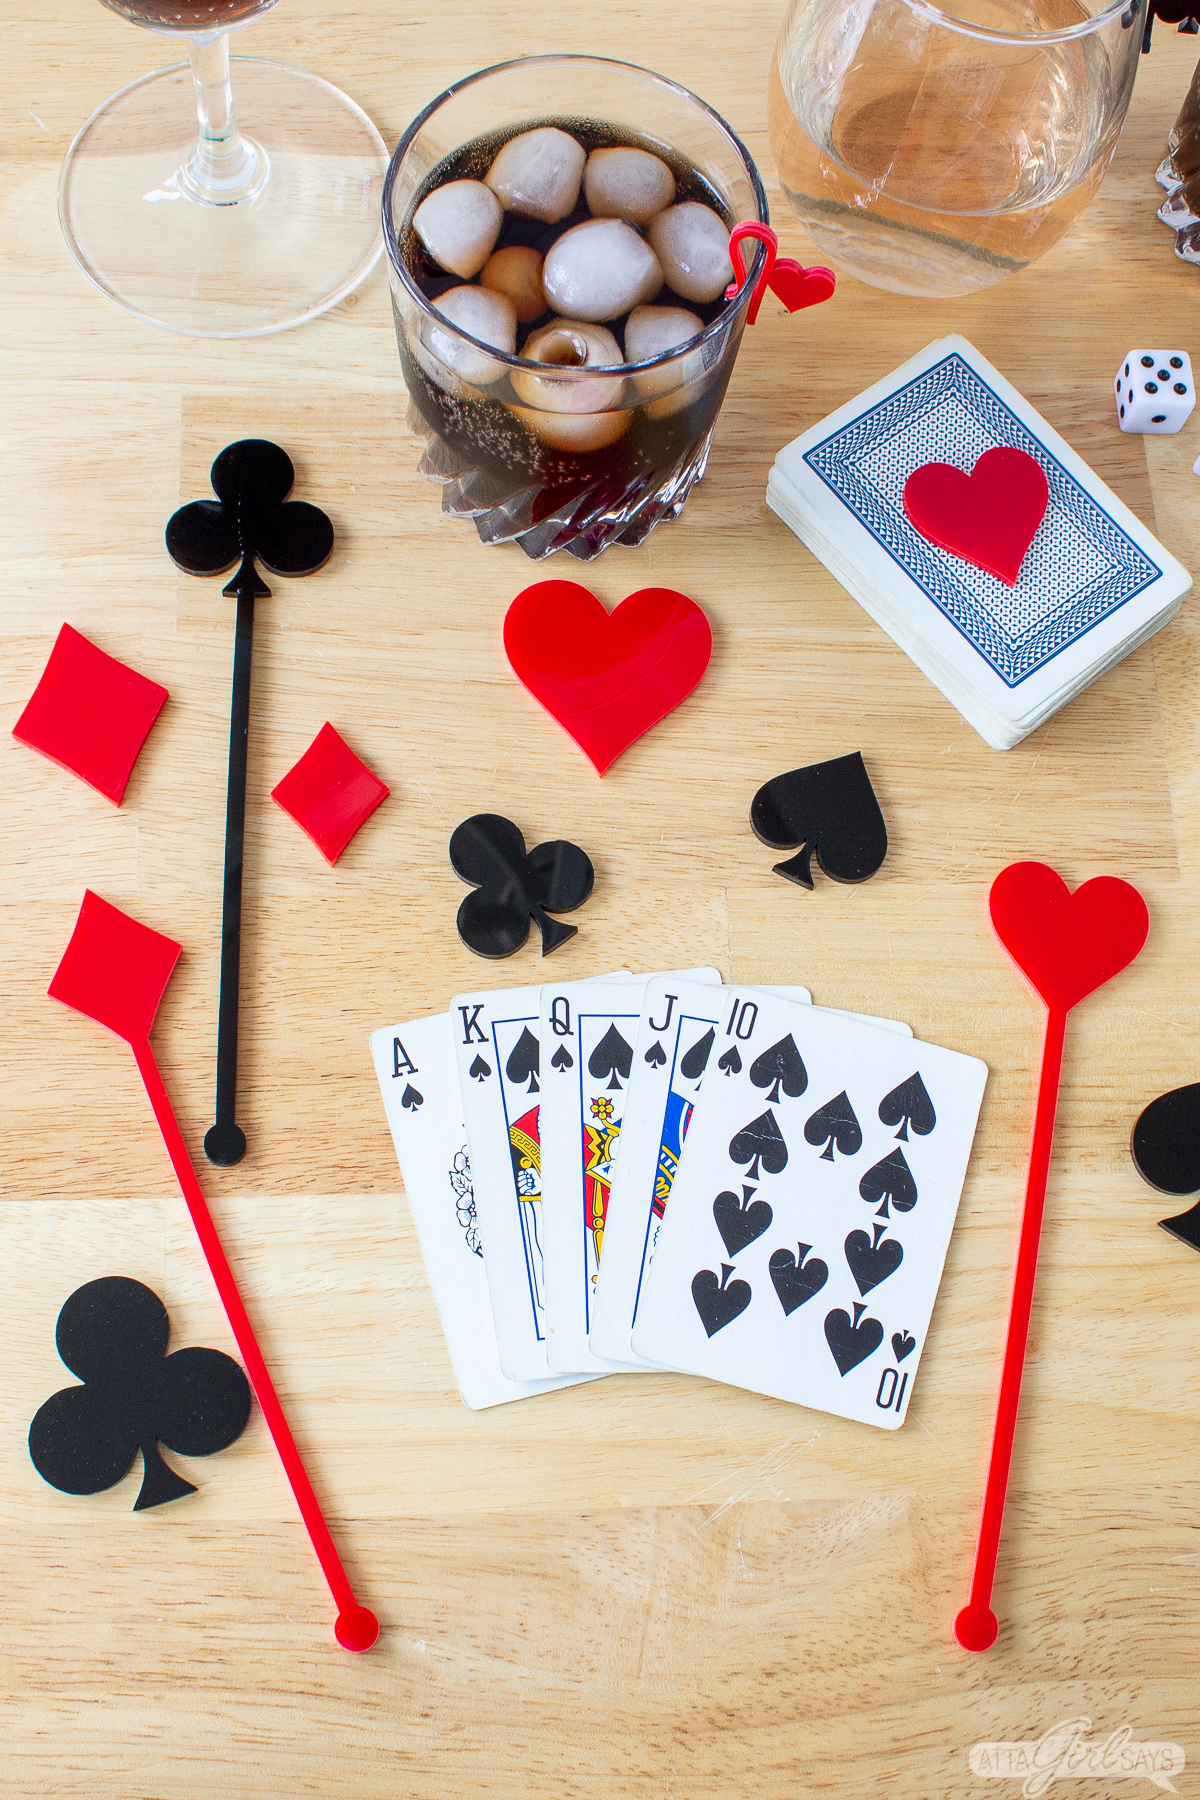
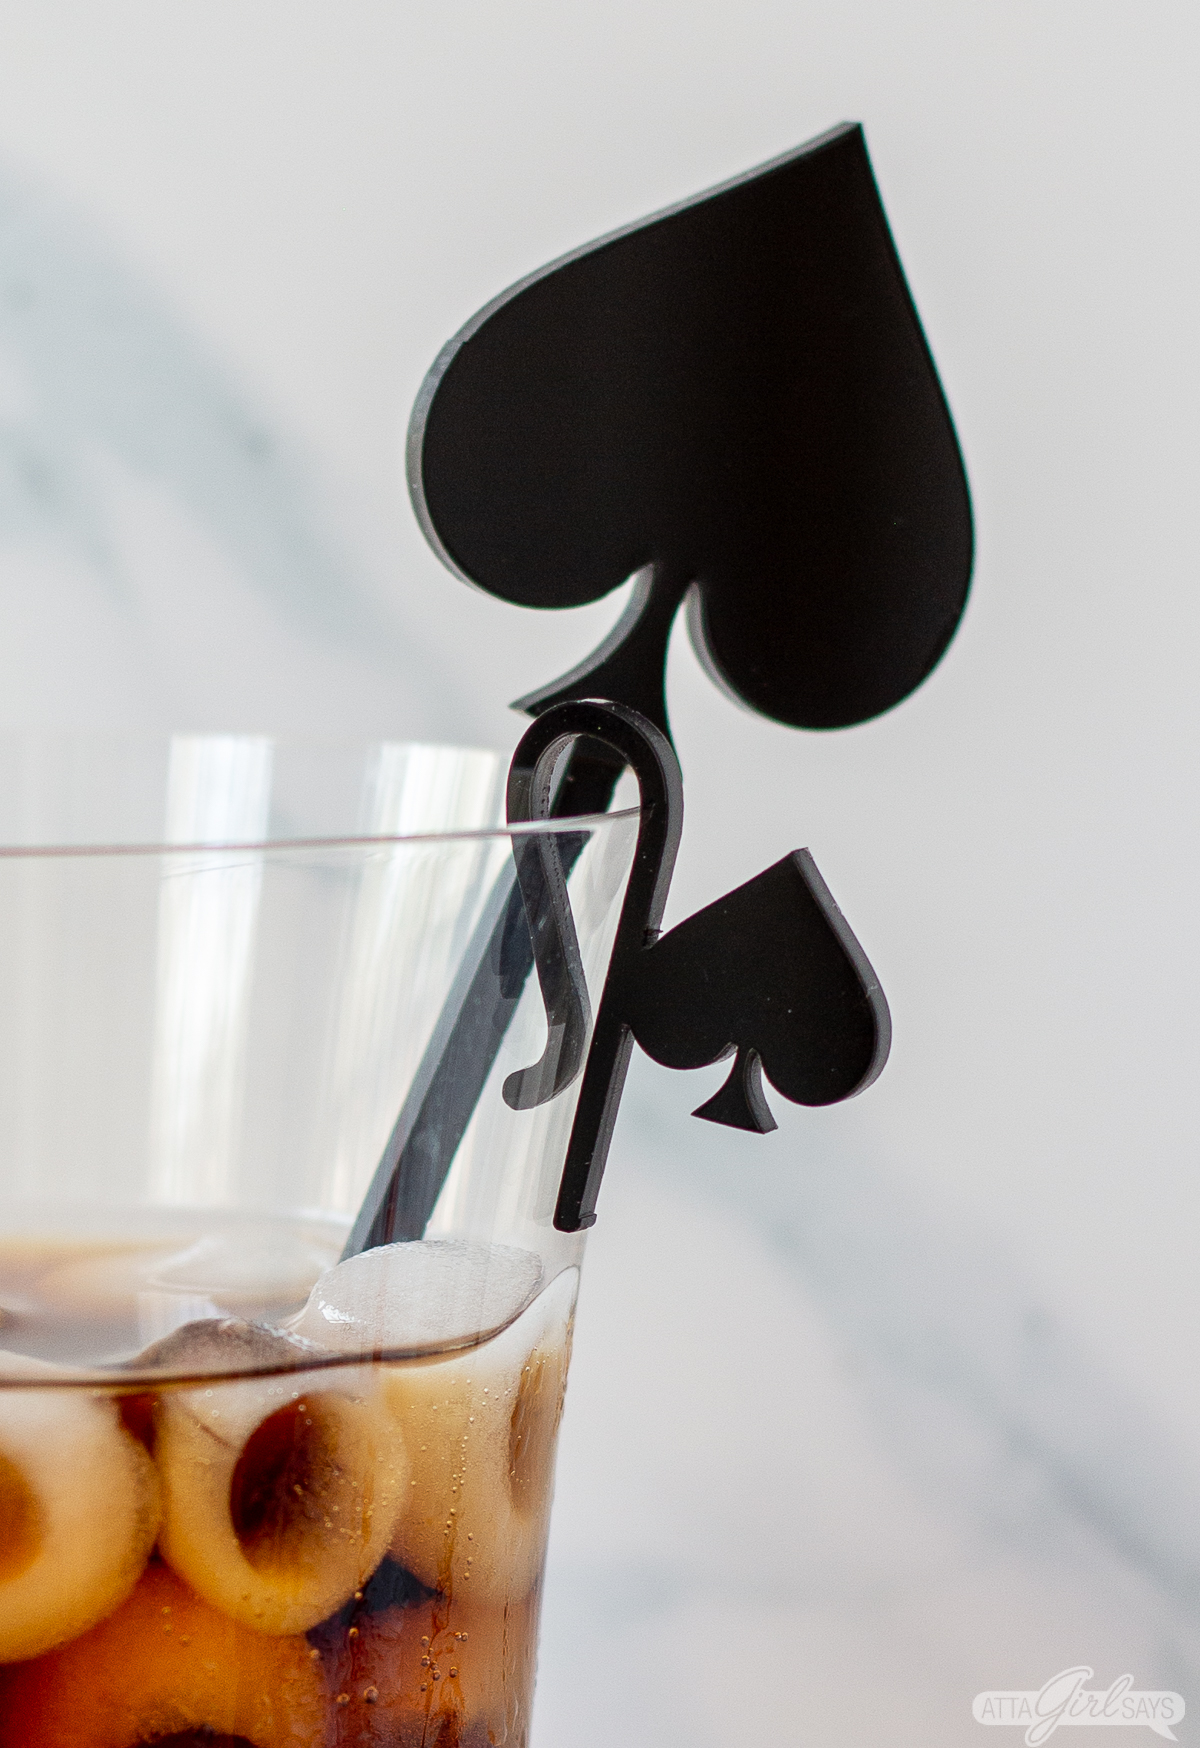
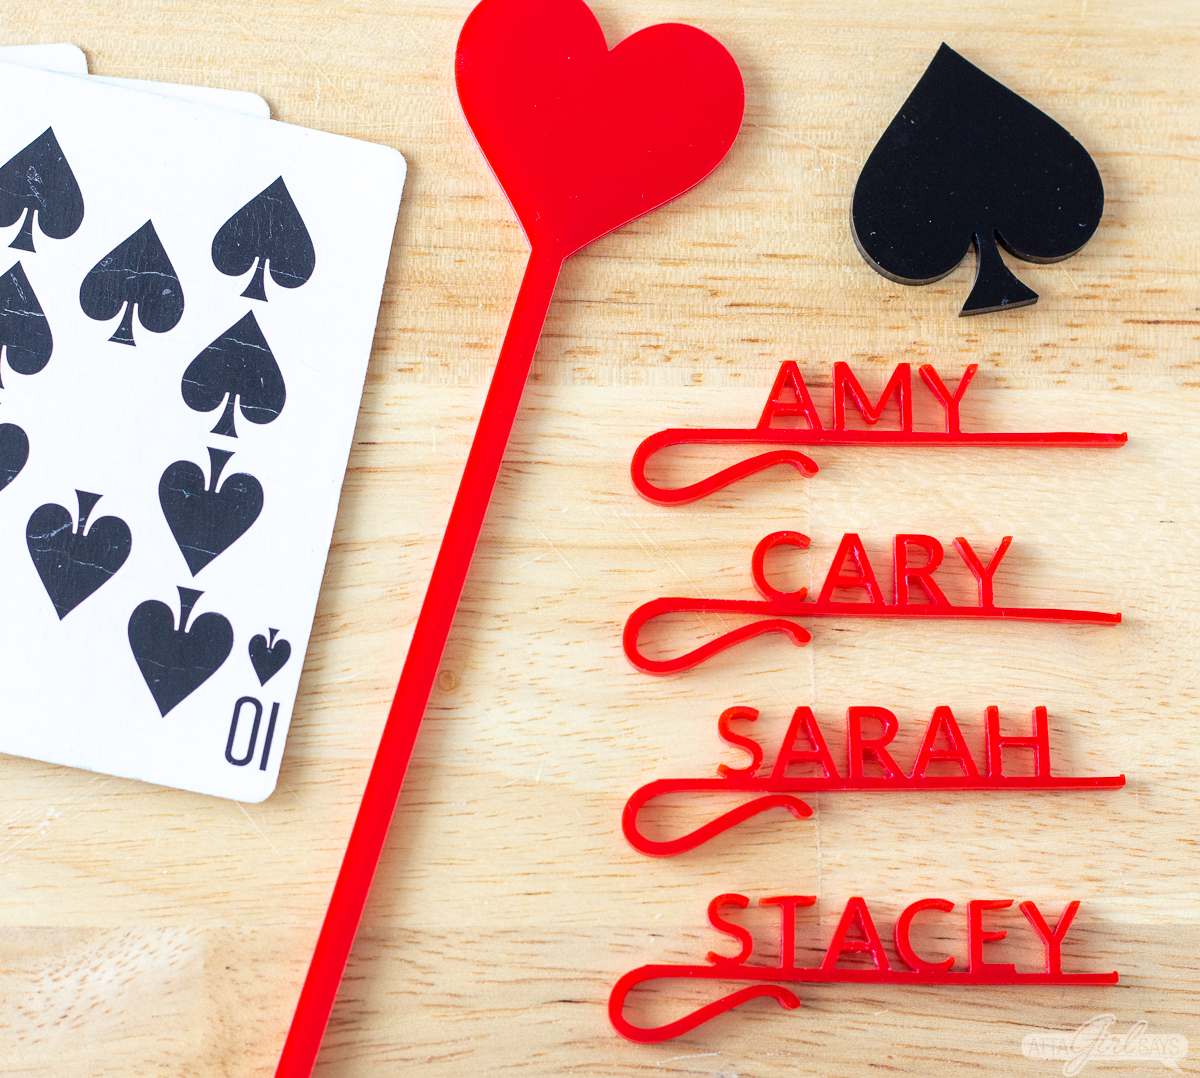
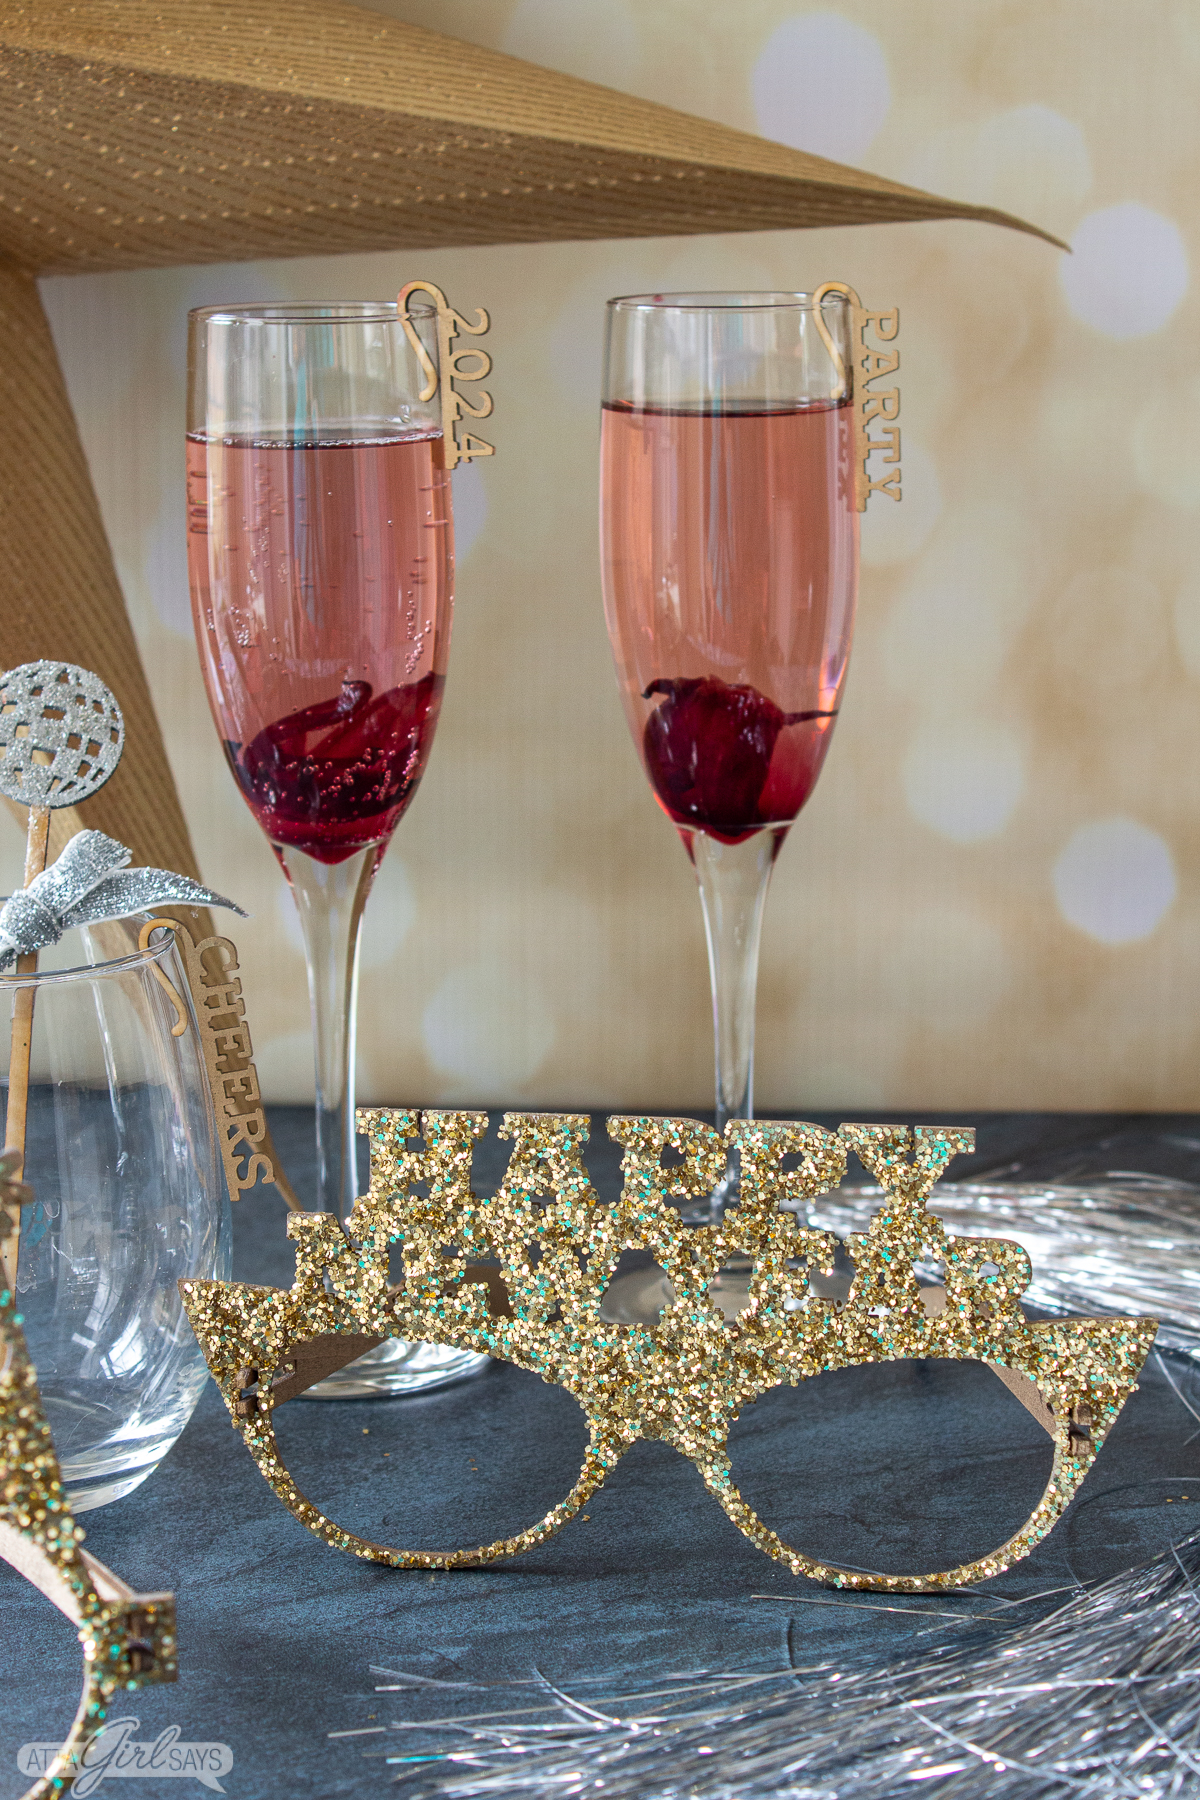
It was a breeze to make these playing card themed acrylic swizzle sticks, wine glass charms and card markers using my xTool M1 Smart Laser Engraver and Vinyl Cutter. Each is adorned with a different playing card suit — clubs, hearts, diamonds and spades — and cut from black or red acrylic sheets.
This post is sponsored by xTool, but all opinions are my own. This post may contain affiliate links. AttaGirlSays.com is a participant in the Amazon Services LLC Associates Program, an affiliate advertising program designed to provide a means for sites to earn advertising fees by advertising and linking to amazon.com. Read my full disclosure policy here.
Jump to:
Supplies
To make the cocktail sticks and other casino night party supplies, you will need:
- xTool M1 (On sale now for $500 off! Be sure to check out the Valentine’s Day specials on other xTool products and machines.)
- ⅛-inch opaque acrylic sheets in black and red
- Cut files for the swizzle sticks, the drink markers and the poker chip markers (see below for the laser cutting machine files)
Important: The xTool M1 is a diode laser, and it can only cut certain colors of opaque (not clear) acrylic. The machine is able to engrave and cut opaque acrylic sheets up to 3 mm thick in these colors: red, yellow, green, brown, orange, and black.
I’m providing the cutting files for the swizzle sticks and wine glass tags in two different formats — SVG or XCS (formatted specifically for xTool Creative Space software). You can acces the files below in SVG and XCS format.
Drink Stirrer Files
Wine Glass Charm Files
- Playing Card Wine Glass Charms XCS file for xTool Creative Space
- Playing Card Wine Glass Charms SVG files
Poker Chip Marker Files
I used SVG images I purchased from etsy to make the two sizes of poker chip card markers for our game night. Here’s the exact digital file that I used:
Creating Custom Designs in xTool Creative Space
You’ll can find a lot of pre-designed projects to make with an xTool laser cutter on the xTool Projects website. There are also lots of ready-to-cut files for sale on marketplaces like etsy, Creative Fabrica and Design Bundles.
But sometimes, you may want to create something custom or personalized.
I couldn’t find any ready-to-cut files for playing card cocktail sticks, so I designed my own in the xTool Creative Space software.
The video below includes step-by-step instructions for how to do this. It’s super simple — no advanced graphic design skills required.
Instructions for Laser Cutting Cocktail Sticks
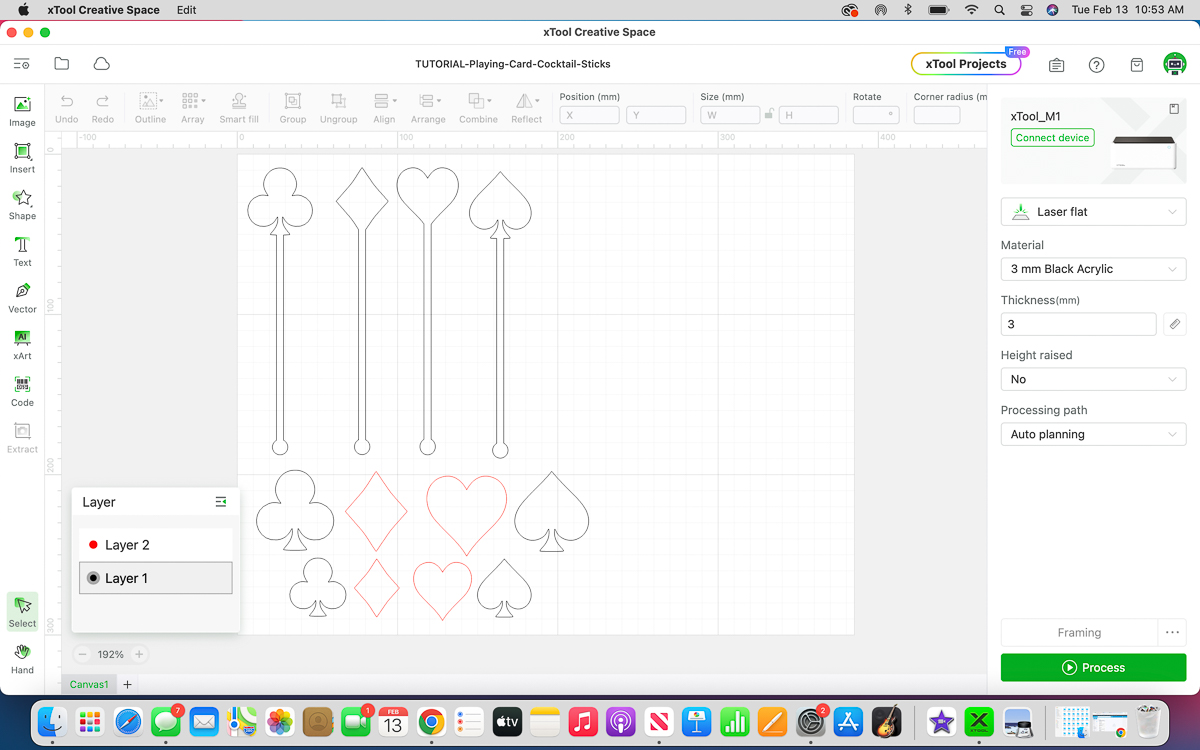
To make the acrylic cocktail stirrers, you’ll need to open up xTool Creative Space and open the XCS file for the playing card drink stirrers.
The swizzle sticks should be the right size for cutting when you open the file. But if you need to check it, just make sure the height each swizzle stick is 178.83 mm.
If you’re making the poker chip markers, you can add those to the same file with the swizzle sticks in xTool Creative Space.
Just choose Image from the side menu and open the scalable playing card suits SVG or DXF file you purchased from etsy.
You’ll need to scale the image down. I made two sizes of poker chips/card markers: 50 mm tall for the large and 36.33 mm tall for the small.
Next, place a piece of opaque acrylic into the xTool M1. My laser cutting machine is sitting on the riser base, so I used the honeycomb panel underneath the acrylic sheet.
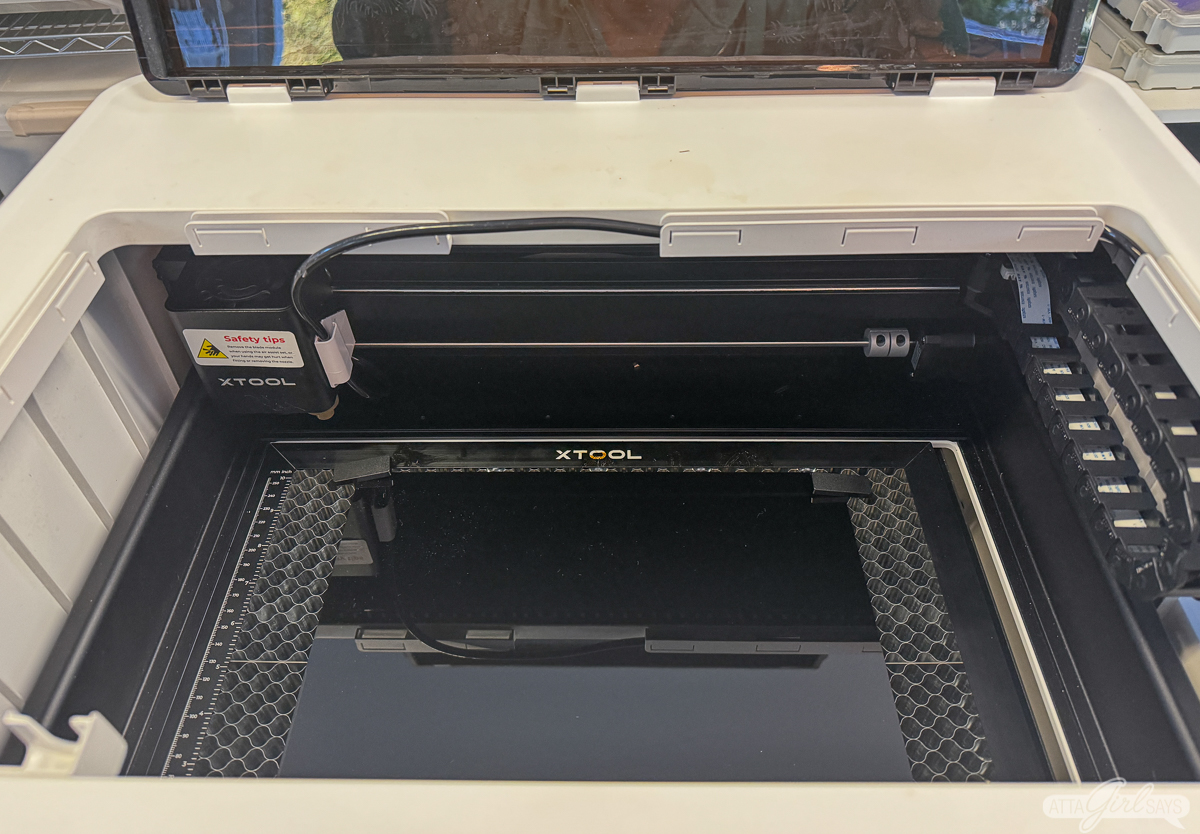
Be sure to remove the paper protective sheet from the acrylic before laser cutting.
If you’re using the honeycomb panel, use the material pins in the corners to hold the acrylic in place so it doesn’t shift during cutting.
If you don’t have the honeycomb panel, use the triangular prisms that come with the M1 to raise the acrylic sheet off the baseplate.
Make sure your computer is connected to the xTool M1. Preview how the design looks on the acrylic within xTool Creative Space. (The image below shows the drink tags, not the swizzle sticks, on red acrylic.)
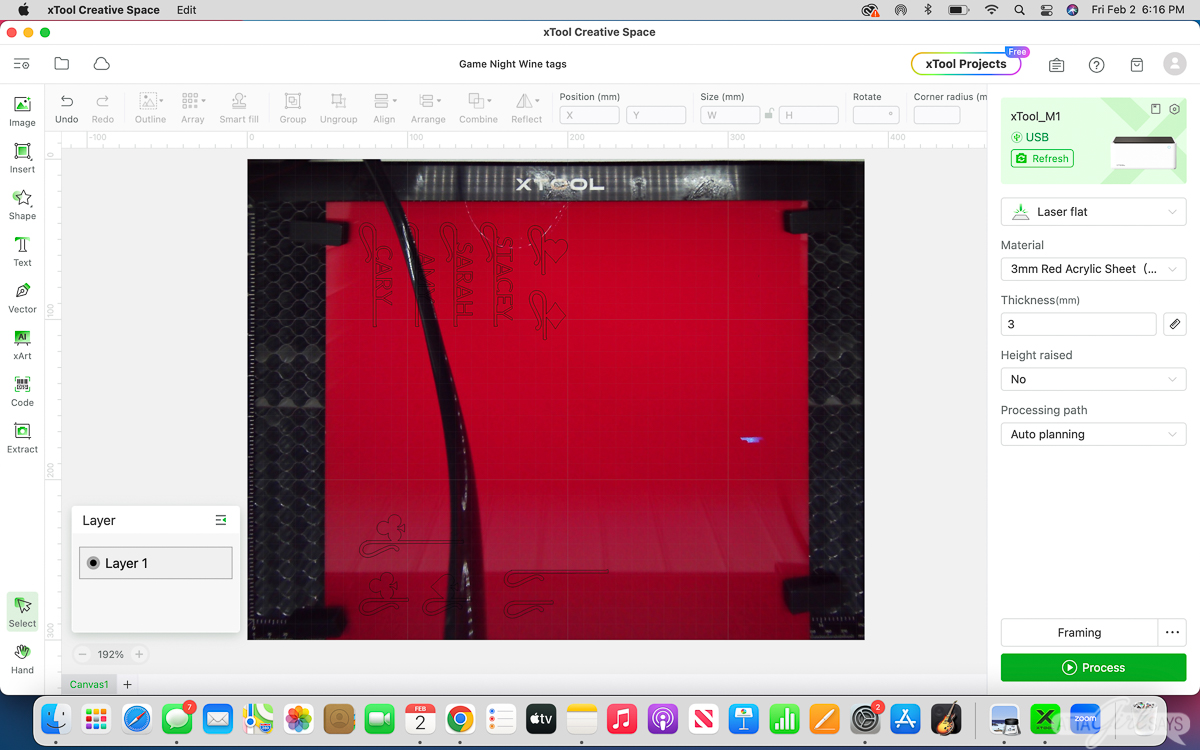
This part can be a little tricky when using black acrylic, but if you click on the individual design elements, you should be able to see an outline and adjust placement, as necessary. It’s also helpful to use the “Framing” feature before cutting to get a visual of exactly where the laser will cut.
Since card suits are different colors, you want to cut the hearts and diamonds from red acrylic and the clubs and spades from black acrylic.
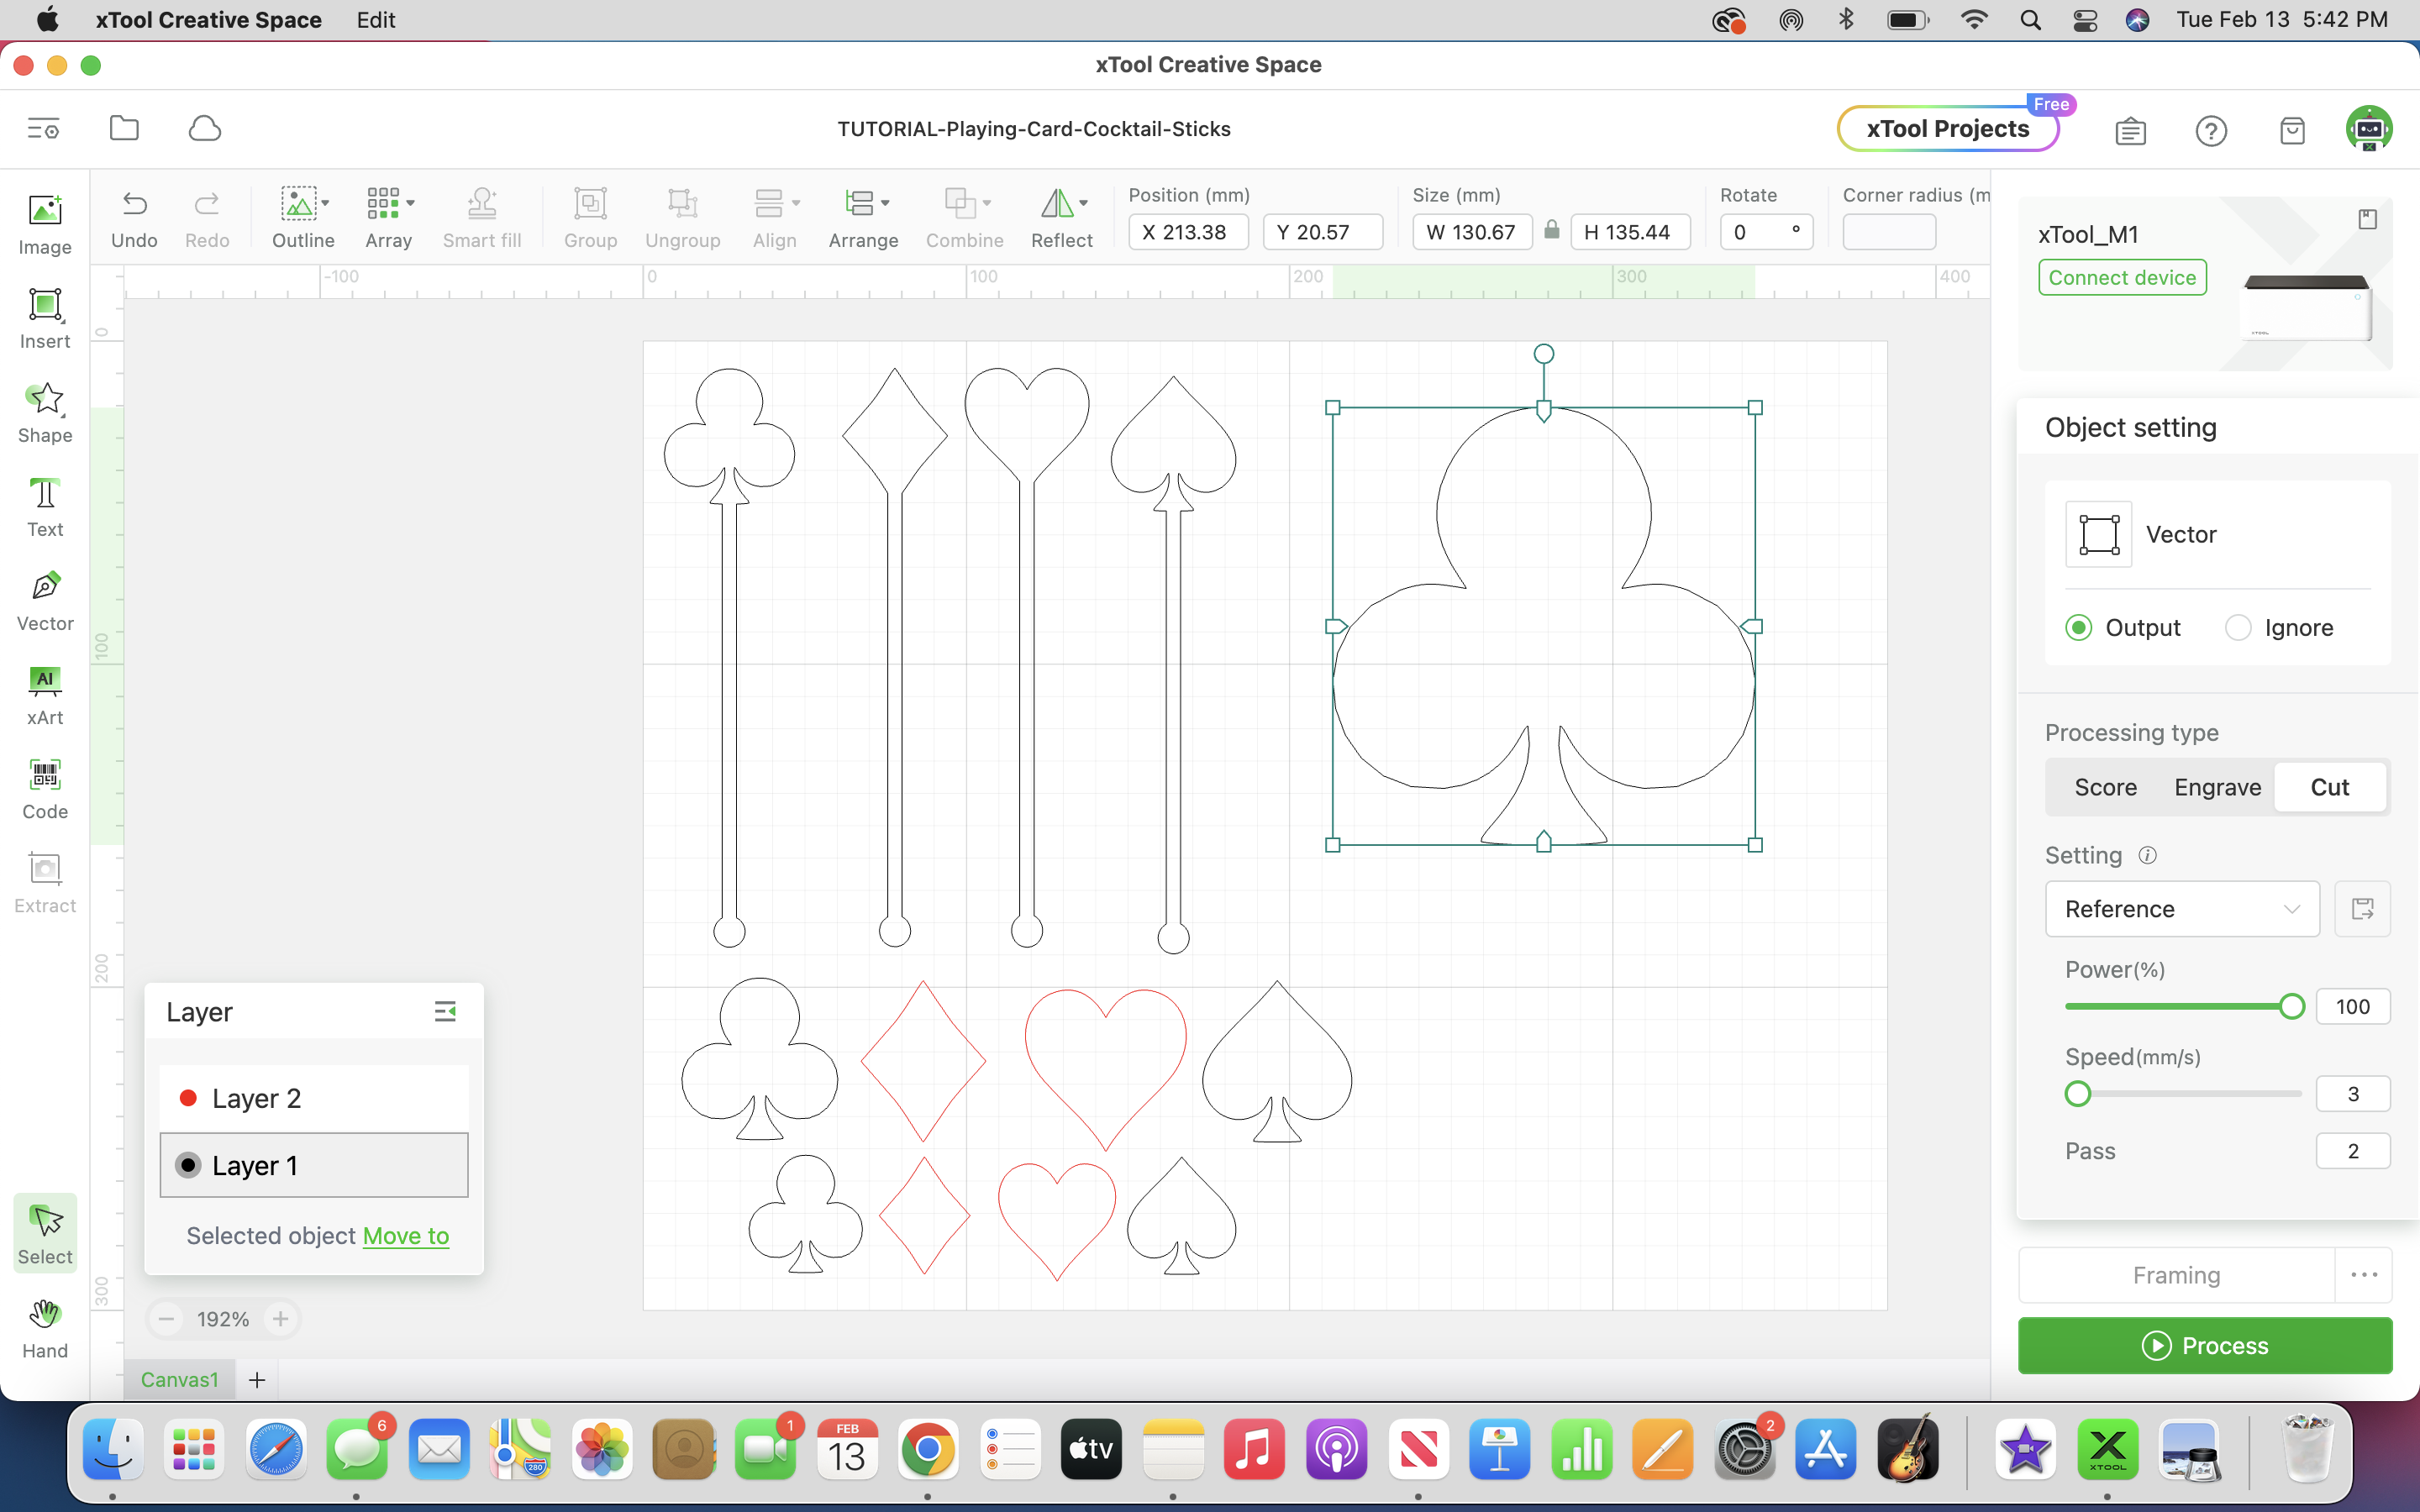
Select each swizzle stick and check the object output setting. If “Ignore” is selected, the laser won’t cut that image. If “Output” is selected, the object will be cut by the laser.

You’ll also need to set the processing type. For these swizzle sticks, choose “Cut,” not score or engrave.
Finally, you’ll need choose the settings for the material you’re cutting.
For 3 mm (or ⅛-inch) Black Acrylic, I used these settings:
- Power: 100%
- Speed: 3
- Pass: 2
For 3 mm (or ⅛-inch) red acrylic, I used these settings:
- Power: 100%
- Speed: 4
- Pass: 3
These settings are for the xTool M1 10W. If you have a different laser cutter, you may need to adjust the settings.
Once you have your output settings configured, click on the Process button within xTool Creative Space to send it to the M1. You’ll need to click Start on your computer screen, then press the round button on the M1 to start cutting.
Before cutting, make sure the xTool M1 is vented out a door or window. Or you can connect it to the xTool Smoke Purifier. I recommend using the highest fan setting on the Smoke Purifier when cutting acrylic since the fumes can be strong. Remember: Do not leave the xTool M1 unattended while cutting acrylic or any other material as flareups and fires can occur..
Repeat the process for the remaining drink stirrers and card markers, using the second color of acrylic. Make sure you use the correct material settings for the acrylic sheets.
Instructions for Wine Glass Tags
The process for cutting the wine glass tags is the same as for the swizzle sticks.
You’ll need the wine glass charm files, which you can access below in XCS or SVG format.
- Playing Card Wine Glass Charms XCS file for xTool Creative Space
- Playing Card Wine Glass Charms SVG files
I also made some personalized charms with our names on them for our game night. I’ll share a tutorial video for that soon.
While you may expect it to take longer for the to cut larger files, I’ve actually found that smaller, more intricate designs require more time to process.
It took about 22 minutes for the M1 to cut four personalized wine glass charms.
Should I use Air Assist when laser cutting acrylic?
Air Assist is an add-on to the xTool M1. It uses air to blow away smoke and debris that is generated during laser cutting. It protects the laser lens and quickly reduces the temperature of the cut material, reducing scorching and flareups.
I tested this project with and without Air Assist. The black acrylic cut smoothly with crisp, smooth edges with Air Assist on and off.
The red acrylic’s edges weren’t as smooth with Air Assist on. So, I would recommend turning it off or using it at a lower setting for best results.
More xTool Projects
Interested in more laser cutting, etching and scoring projects for the xTool M1? Check out these fun projects:

Pin This! DIY Casino Night Acrylic Swizzle Sticks
Leave a Reply