
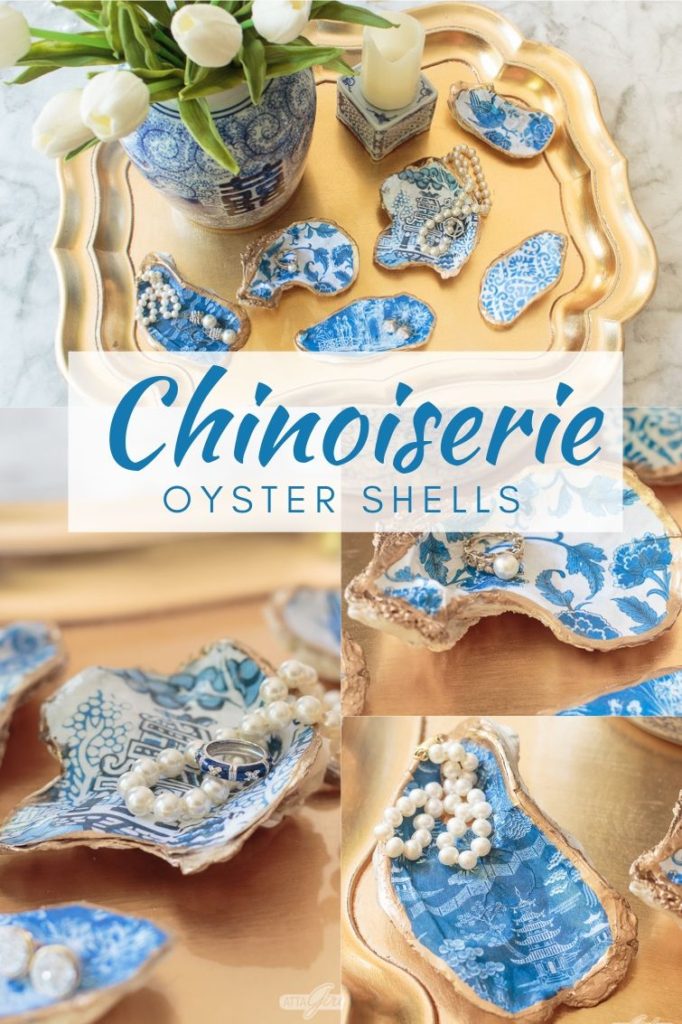
Learn how to make gorgeous decoupaged chinoiserie chic oyster shells that you can use as jewelry dishes, place cards, salt cellars, trinket bowls, wedding decor and more. In fact, you might want to order a big plate of Oysters Rockefeller once you can see all the beautiful crafts you can make with oyster shells.
Though I can’t stomach eating them, I am obsessed with oyster shell crafts. These chinoiserie chic oyster shells might be my favorite oyster shell project ever, though I do still love the oyster shell candles and gilded jewelry dishes I made last summer.

But who can resist blue and white chinoiserie? Not me, as our family room clearly shows.
This post contains affiliate links for your shopping convenience. If you make a purchase based on my referral, I earn a small commission, at no additional cost to you. Read my full disclosure policy here.
Jump to:
These statement oyster shells were inspired by some hand-painted shells I saw on etsy. I knew I didn’t have the artistic talent to pull off intricate painted chinoiserie and toile designs, but I thought I could DIY a decoupage version.
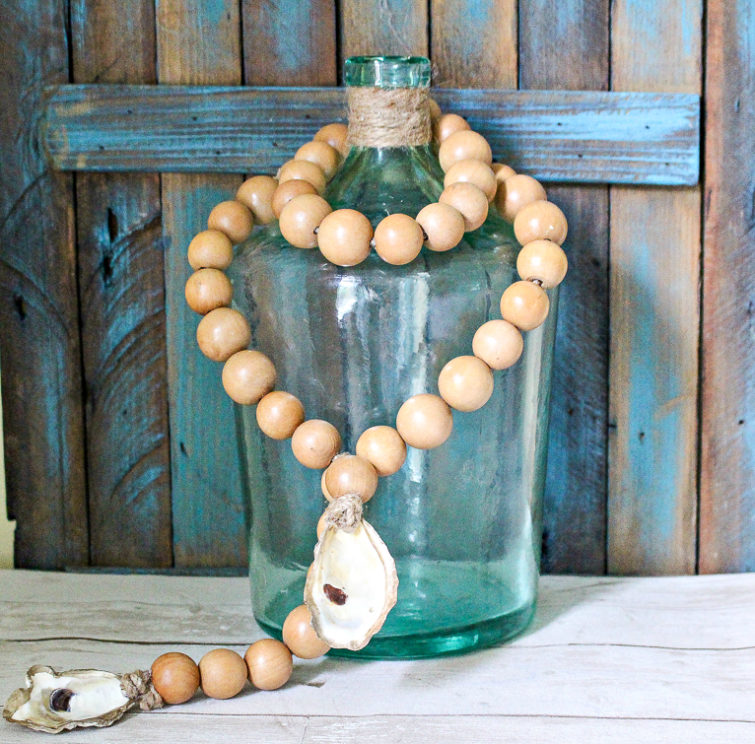
I’ve teamed up with Michelle from Our Crafty Mom today to share some pretty oyster shell crafts you’ll definitely want to make this summer. Be sure to visit her to see how she made these gorgeous oyster shell wood blessing beads.
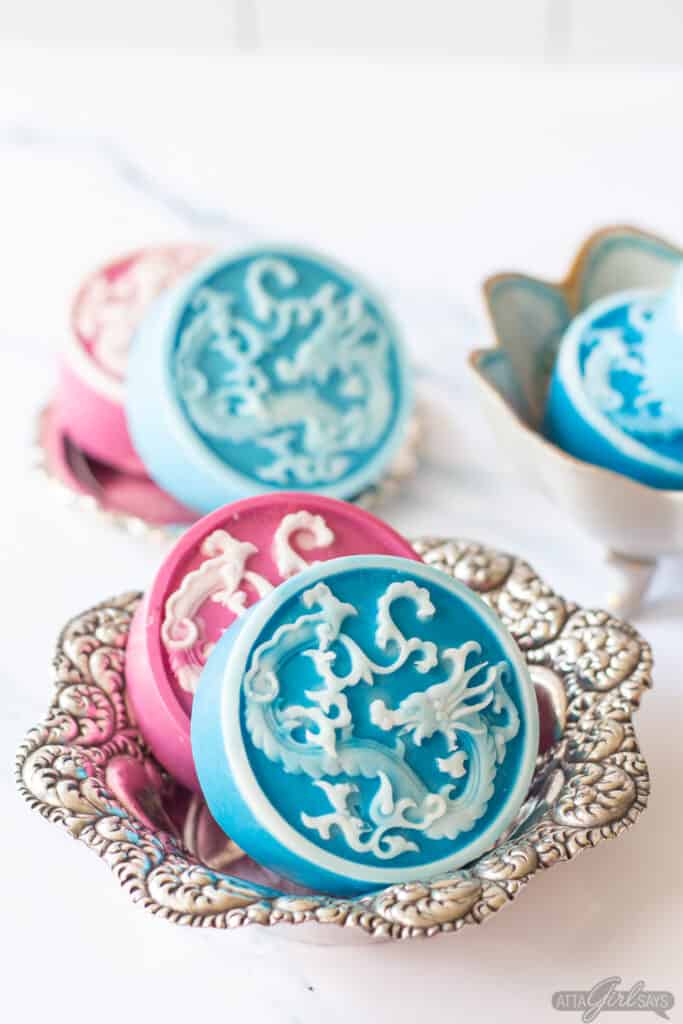
Chinoiserie Crafts
If you love blue and white porcelain, try one of these other Chinoiserie-inspired crafts.
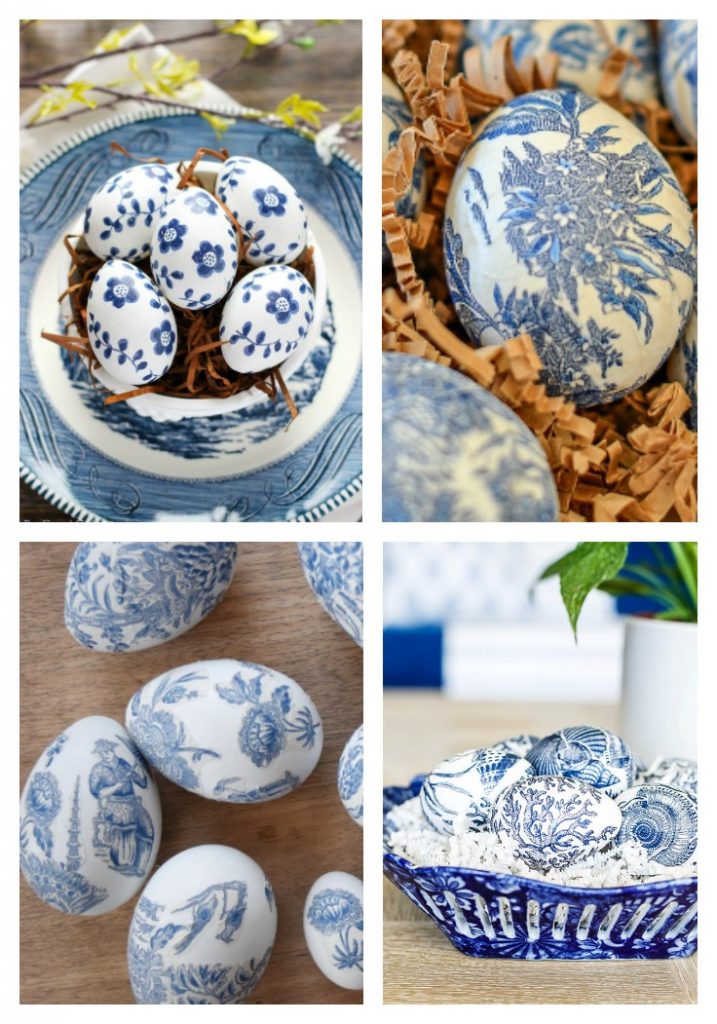
Supplies for Blue and White Chinoiserie Oyster Shells
- large oyster shells (local restaurants may give them to you, or you can buy oyster shells online)
- chinoiserie patterned paper, napkins or tissue paper (I used designs for two digital printable patterned paper sets I purchase on etsy. You can find the designs I used here and here.)
- gloss decoupage glue
- foam paint brush
- spray bottle filled with water
- detail paper crafting scissors
- fine grit sandpaper
- gold liquid leaf
- glue (E6000 or this sea shell glue is a good choice)
- inexpensive artist’s paintbrush
- white paint (optional)

How to Make Chinoiserie Chic Oyster Shells
Before starting this project, clean the oyster shells thoroughly. If you purchase them, you can probably just rinse them off. But if you get them from a restaurant, you may have to do a more intensive cleaning. After cleaning, dry completely.
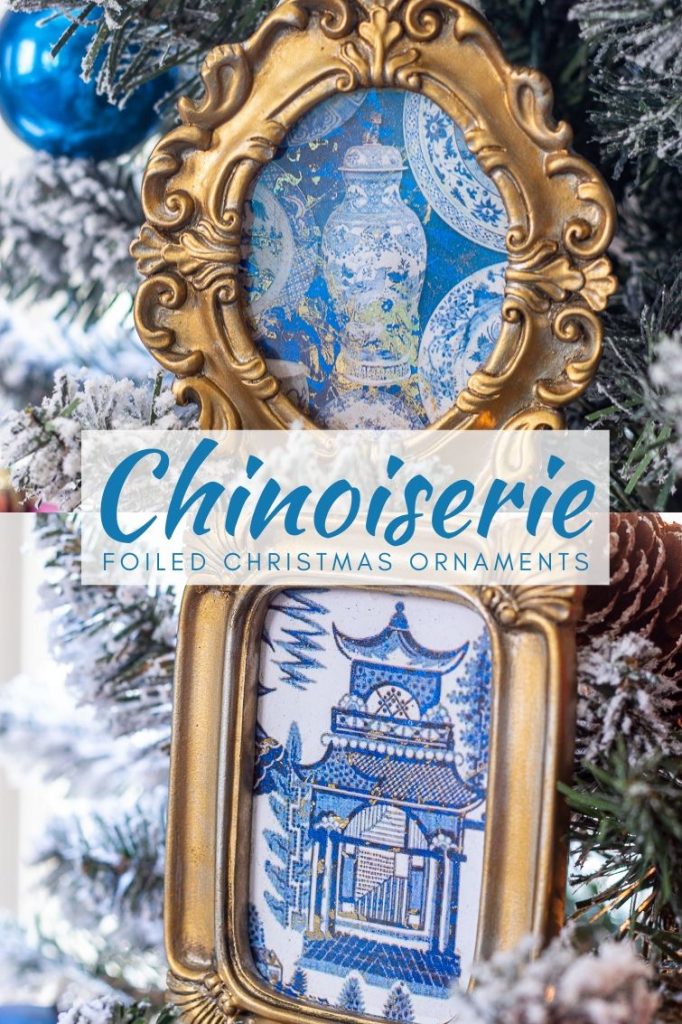
You have a lot of different options for the chinoiserie designs you’ll be decoupaging onto the oyster shells. As I mentioned in the supply list, I used some digital download patterned paper I purchased from etsy. The paper packs I used are here and here. I just printed the designs out on regular printer paper. (I used these same pattern packs to make chinoiserie ornaments for Christmas.)
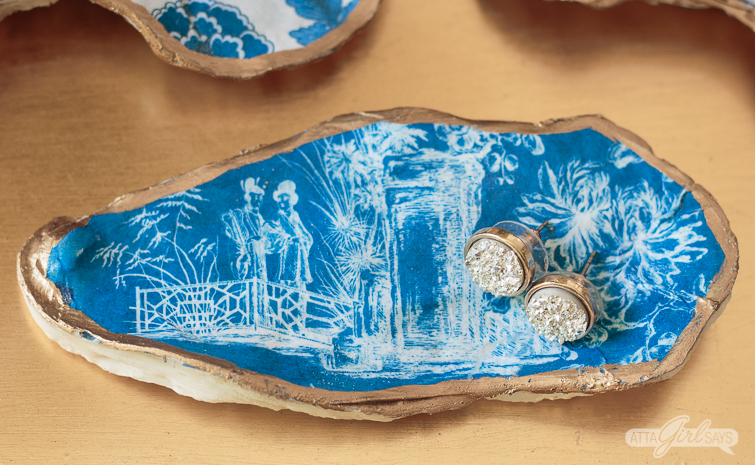
On some of the chinoiserie printouts, I used my Minc machine to add metallic blue foil for a luxe look.

You can also find Blue Willow paper napkins, blue and white chinoiserie and toile napkins, and other chinoiserie design napkins online. Zazzle has lots of chinoiserie tissue paper that would be good for these chinoiserie chic oyster shells.
If you are using napkins or tissue paper, I recommend painting the inside of the oyster shells first with white craft paint. That way, the darker coloration on the shell won’t show through.
Cut the paper, tissue paper or napkin larger than the oyster shell. You’ll trim away the excess later.
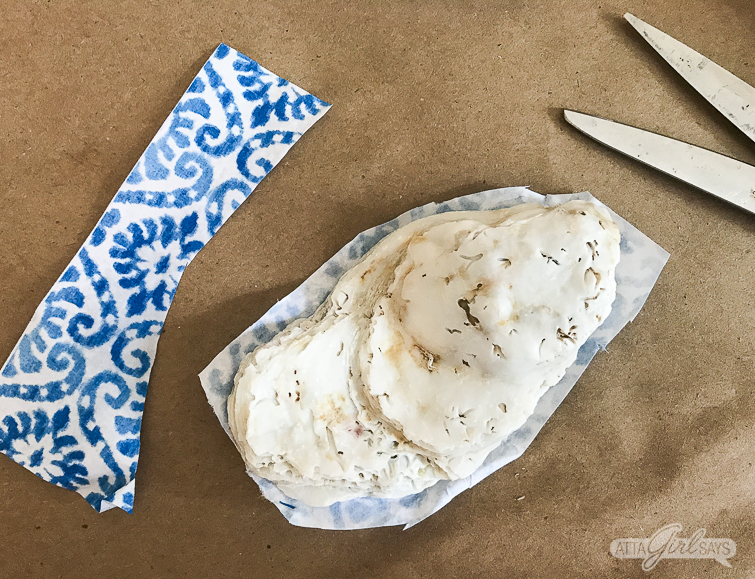
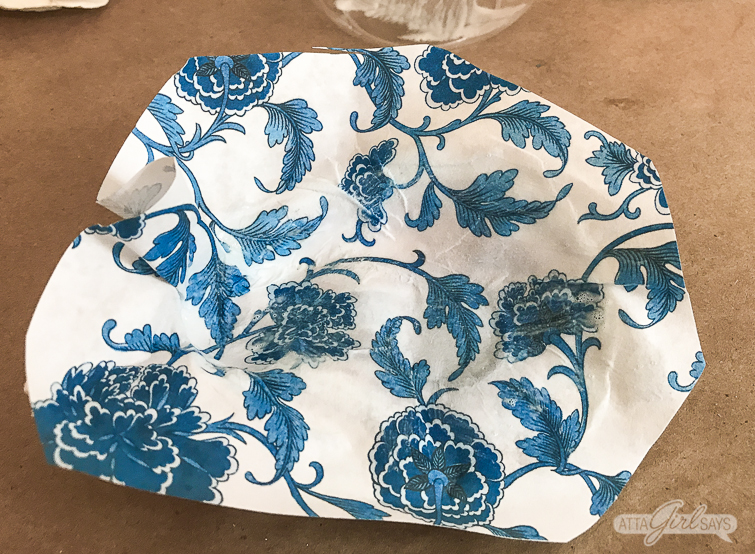
Decoupaging on a curved surface isn’t as easy as decoupaging on a flat surface. You will have some wrinkles, but there are ways to minimize them. I found it useful to dry fit the design onto the shell before applying any decoupage glue. Flatter shells are easier to work with than heavily curved ones.

To make the paper more pliable, mist lightly with water from a spray bottle.
Coat the back of the paper with decoupage medium and gently press onto the shell, smoothing about any wrinkles with clean fingers. Be careful that you don’t tear the paper, especially if you’re working with napkins or tissue paper.
At this point, don’t worry about any excess paper. It will be trimmed away in later steps of the process.
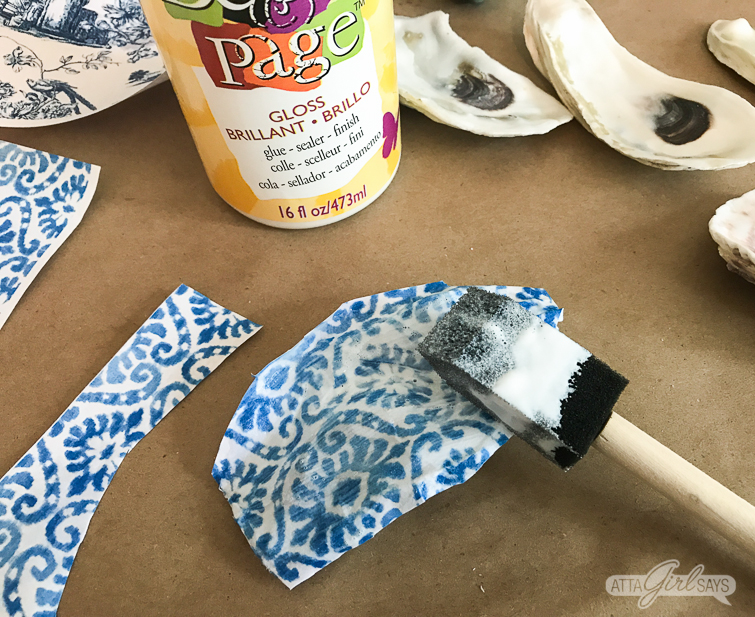
Use a foam brush to apply a thin coat of decoupage medium to the patterned side of the paper. Allow to dry completely, then apply another coat of decoupage medium.
After you’ve applied two coats, you can use fine-tip scissors to trim away any excess paper. If the edges of the paper are not glued down completely, use a clear-drying glue, like E6000 to secure them. Allow the glue to dry and apply another coat of decoupage medium.
Once the third coat of decoupage medium has dried, use fine grit sand paper to smooth out the edges of the paper and sand away any remaining excess.

You can apply another coat of decoupage medium, if you like.
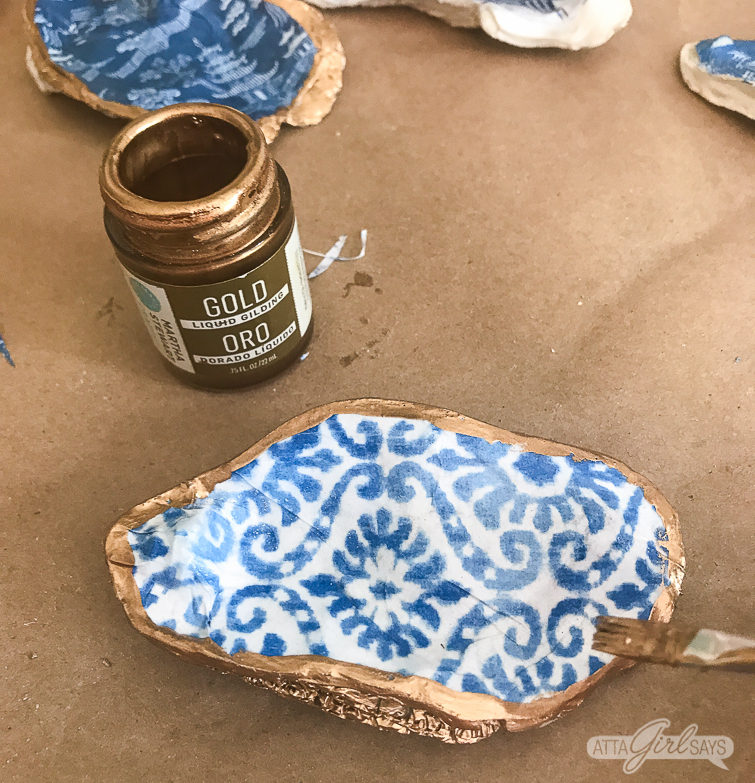
Using an inexpensive paintbrush (a kid’s synthetic bristle brush is good for this), apply liquid gilding to edge of the oyster shell and anywhere else you’d like to highlight. Allow to dry.

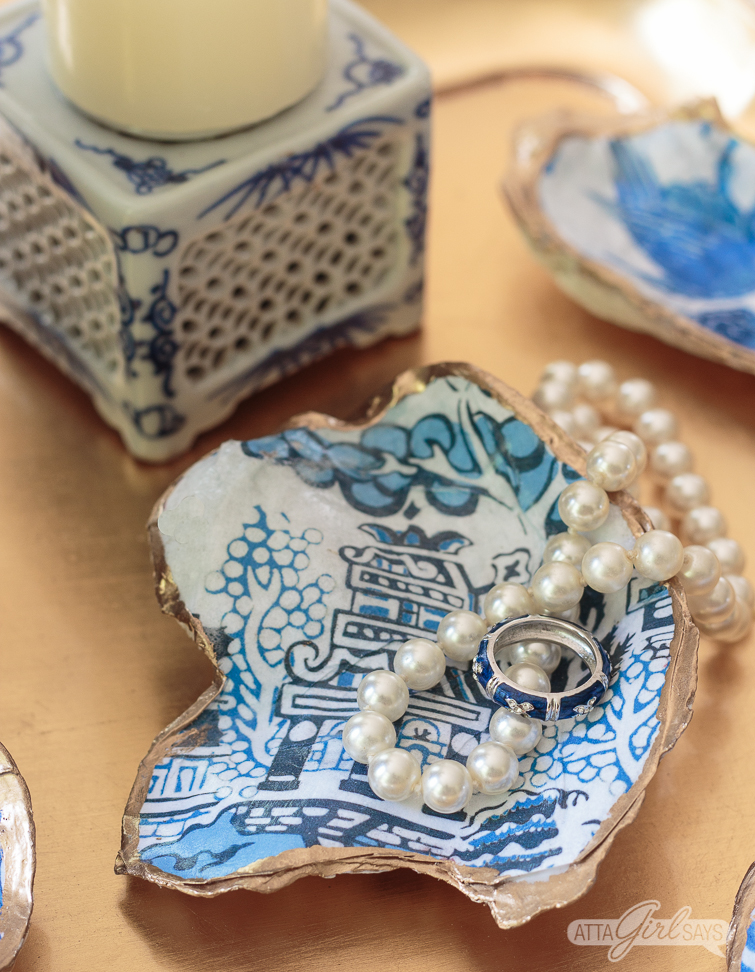
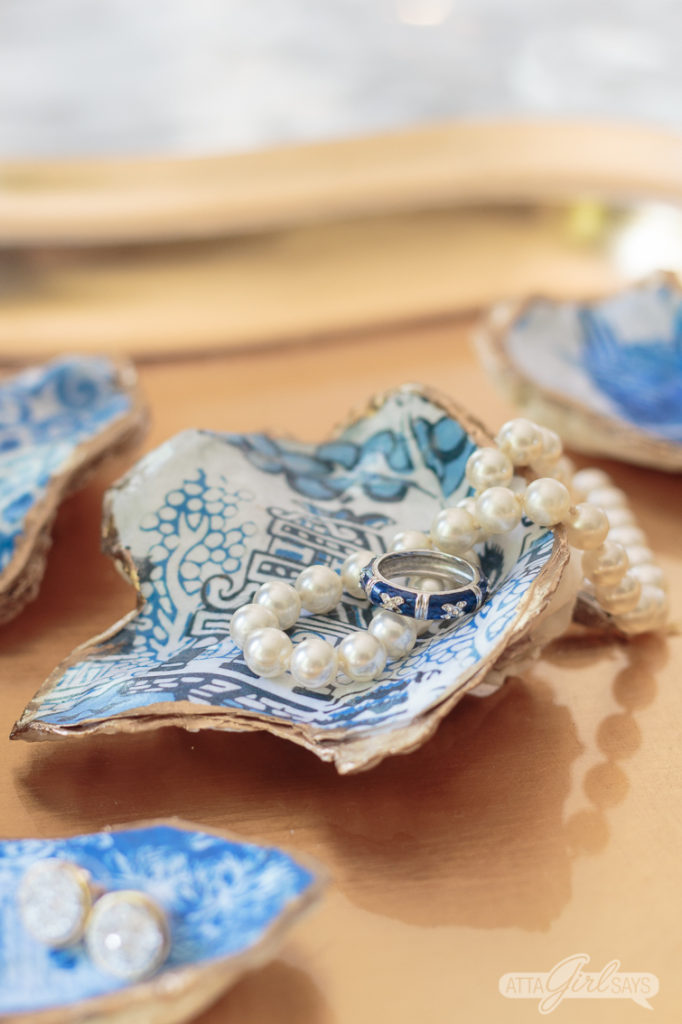
Once the chinoiserie chic oyster shells are finished you can use them as jewelry dishes or add them to a coastal table setting. You can also use them as salt cellars or add a name with a gold paint pen to turn them into placecards.
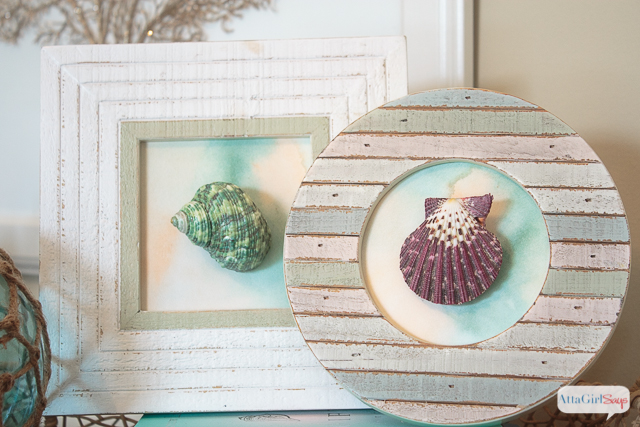
I also think they’d be pretty framed and turned into seashell artwork, like I made here. What other ways would you use these chinoiserie chic oyster shells in your home decor?
More Oyster Shell and Seashell Crafts
If you enjoyed this project, you’ll also love these other oyster shell and seashell crafts.
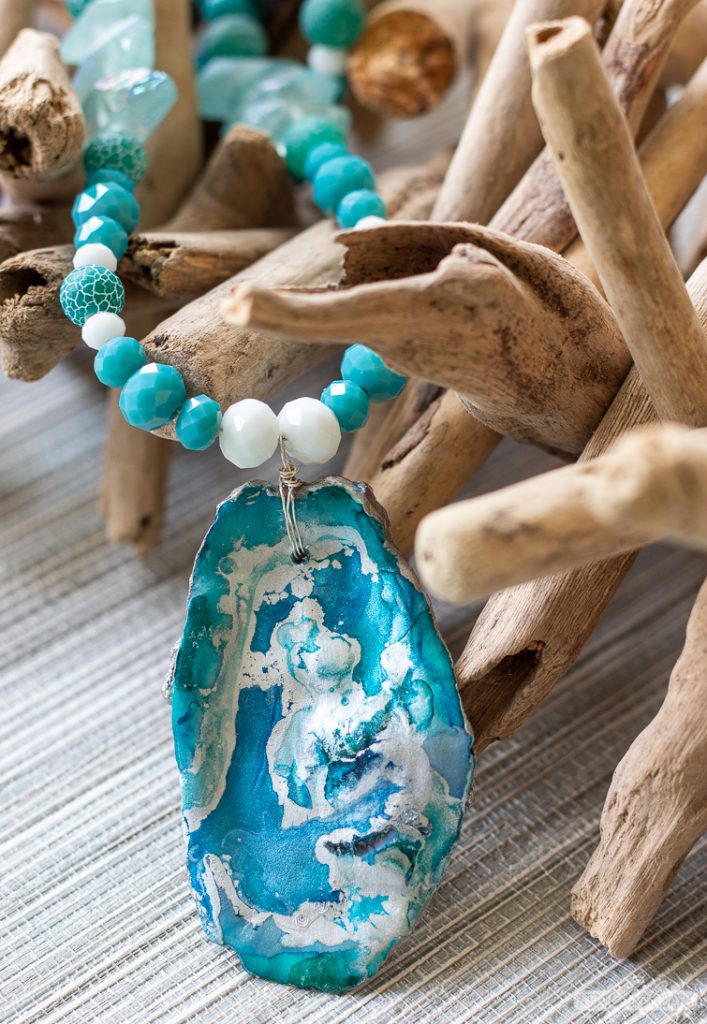


Alcohol Ink Oyster Shell Necklaces | Oyster Shell Candles | Gilded Oyster Shell Jewelry Dishes
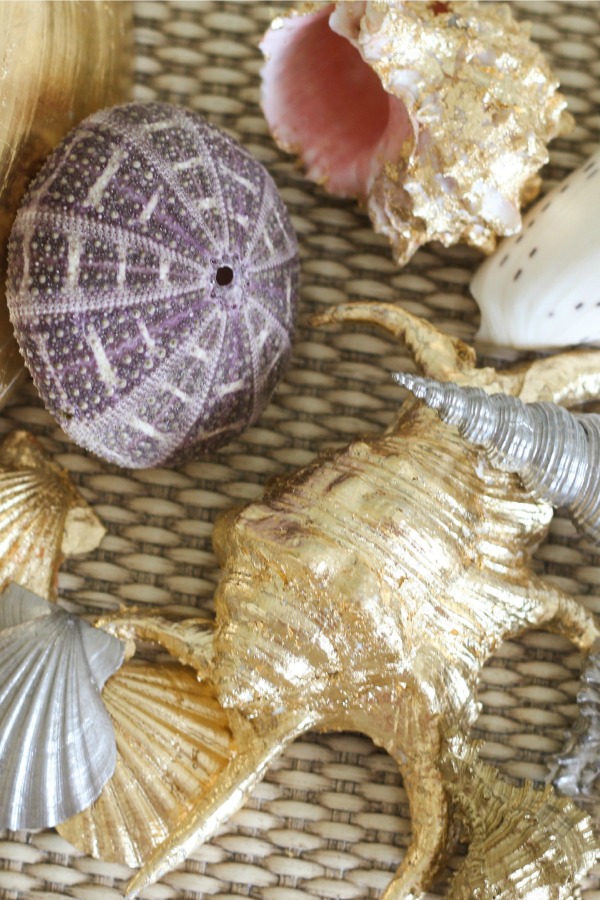
Chinoiserie Oyster Shells | Gilded Seashells | Easy DIY Seashell Artwork

25 Gorgeous Seashell Crafts to Make This Summer
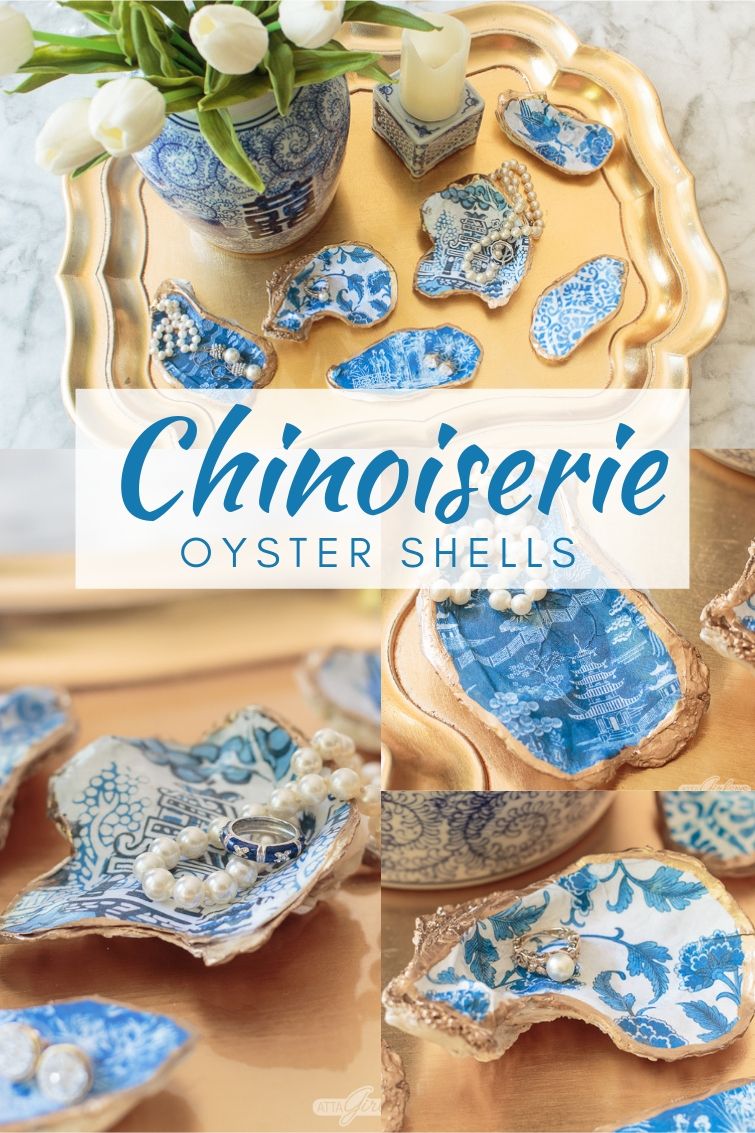
Pin This! Blue and White Chinoiserie Chic Oyster Shells
Ursula CHEVALLIER
Hello on the other side of the world,
I’m living in France and I very like your creativly ideas…we eat very often oysters and now I will keep the Oyster shells for this painting….Thanks for these wonderfull ideas…
Pia
How do you keep the printable digital images from running when you put the mod podge on? Are you printing on special paper?
Atta Girl Amy
I haven’t had an issue with the images running. I’ve used images printed on a laser printer and dry toner printer.
Tammy
Thanks so much for this wonderful idea. I’m making them to give away at my daughters shower for a parting gift.
Susan Homeroad Stevenson
These are absolutely beautiful! I love shells and beachcombing, I live near the beach so these are on my bucket list to make! Thanks for the beautiful inspiration!
Gail
This is such a creative idea! Love how the shells turned out! I had never heard of digital paper and found lots in purple! My head is spinning with ideas! Pinned
Atta Girl Amy
Isn’t it great! Now that you’ve gone down that rabbit hole of digital paper designs, you’ll find so many things you must make! I think they were originally intended for scrapbooking, but there are so many uses. I’ve used some of these blue-and-white patterns for gift wrap, and I also used them to make a few graphics for my website.
Michelle James
Amy, these oyster shells are simply stunning! The navy and white just pops with the gold. These would make great gifts too! I had so much fun teaming up with you and look forward to seeing more oyster shell crafts! 🙂
Atta Girl Amy
It was so fun “crafting” with you, even if we had to do it virtually. Maybe sometime we can craft together IRL. I can’t wait to see what else we can come up with using oyster shells!