

Learn the quickest and easiest way to paint a decorative ceiling medallion plus get tips on to install a ceiling medallion.
If you’re a DIYer, then you’ve surely heard the adage, “Measure twice, cut once.” I learned a similar important lesson with this ceiling medallion makeover project — test first, paint once.

It’s a lesson I already knew, and one I usually always follow when choosing paint colors. But for some reason, I decided to forego sample pots and swatches on the wall, and just choose a color from my paint deck.

Which is why I ended up painting this ceiling medallion three times! First a French blue that looked more lavender in the room, and then a dark gray that looked more taupe in the light of our dining room.
This is a sponsored post, and it contains affiliate links for your shopping convenience. Read my full disclosure policy here.
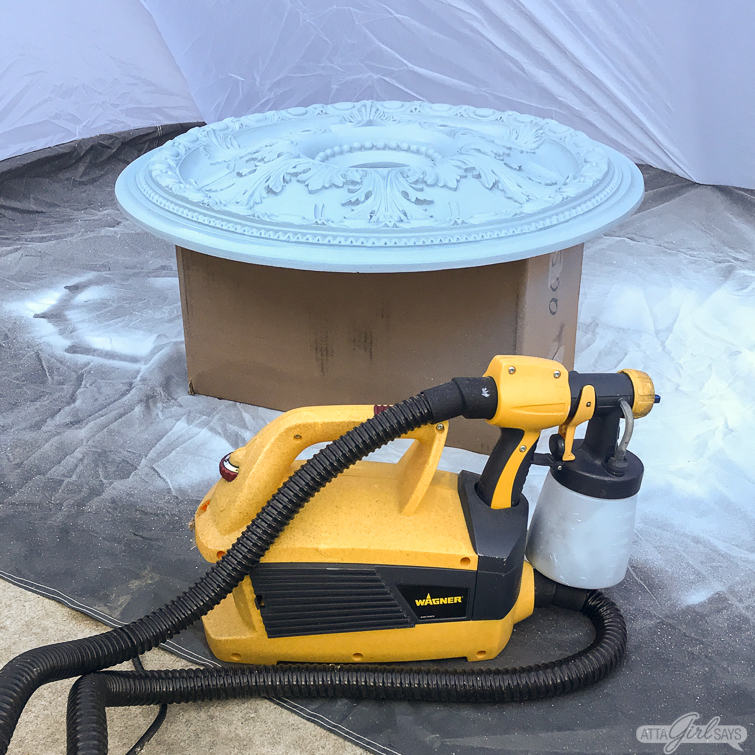
It’s a good thing that I wasn’t tackling this project with a brush, but with my Wagner FLEXiO 4000 paint sprayer.
Because I honestly probably would have given up and just scrapped the plans to dress up the ceiling in our dining room.
Head over to my Instagram feed for a chance to win a Wagner FLEXiO sprayer of your own. You’re going to love it!
As you probably noticed, the ceiling medallion (which I scored at a yard sale) is very decorative. It has lots of raised details and crevices that are nearly impossible to paint with a brush or a roller. It would have taken lots of coats and lots of time to cover with a brush.
But using a paint sprayer takes about 10 minutes per coat. But I managed to turn a 20-minute painting project into a three day ordeal, including two trips to the paint store! That’s the nature of DIY sometimes. Sometimes things don’t go as planned, and you have to go with Plan B or Plan C.

Good thing I had my husband and son set up my Wagner Studio Spray Tent. It got a lot of use this time, as I painted night and day, outside and later inside our garage while it rained outside.
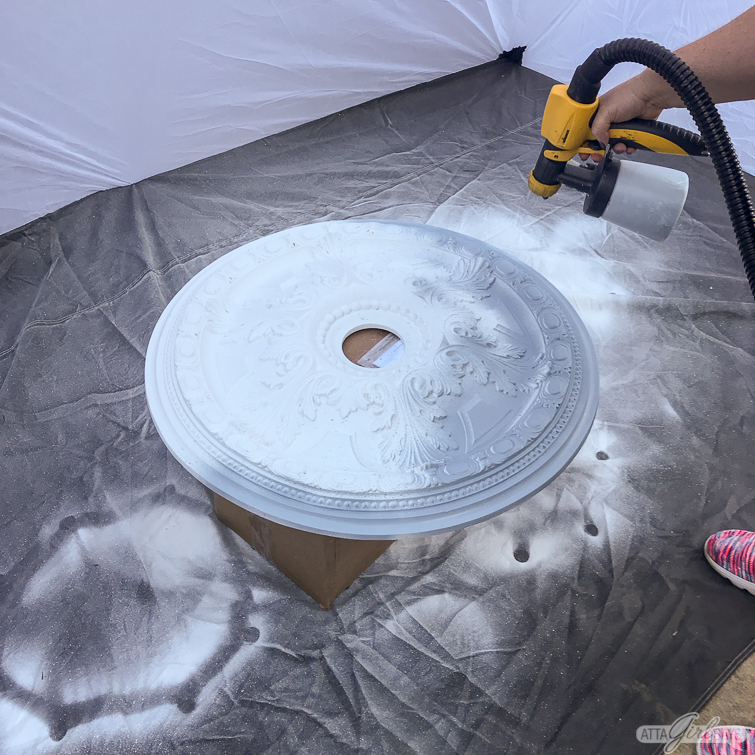
Of course, the painting was the easy part. I just loaded the paint into my Wagner sprayer — three different colors, three different times. Then I pulled the trigger and watched the color change almost immediately.
Heck, I did even bother changing into my painting clothes!
But I just wasn’t feeling it after putting on two coats of the first color, a lovely French blue from Behr. The color was a perfect match for the blue in our new dining room wallpaper, but the purple undertones were a little too much for the room.
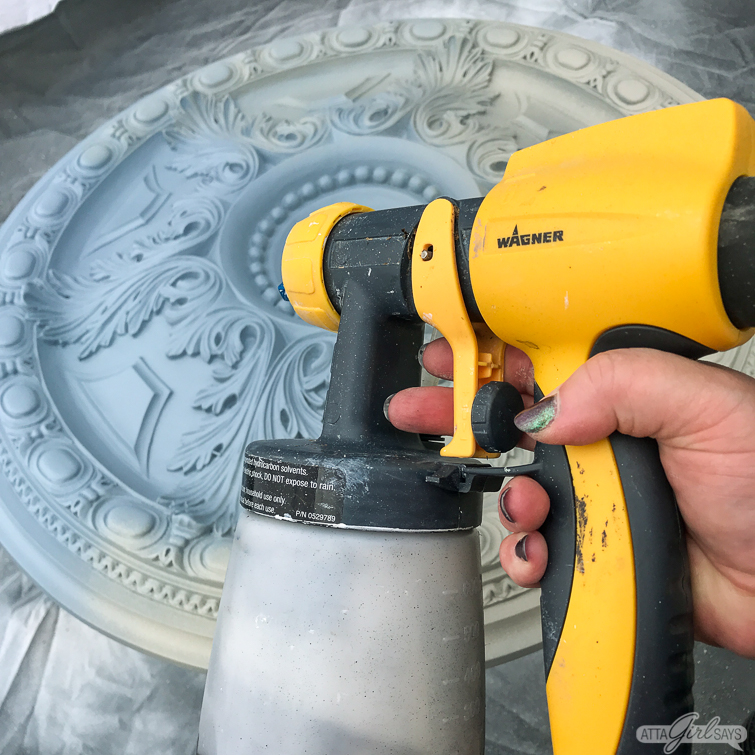
So I filled the FLEXiO 4000 with some leftover Sherwin Williams Intellectual Gray from our powder room. In the windowless bathroom, the color is a rich, dark gray. But it looked more taupe or greige in the light-filled dining room.
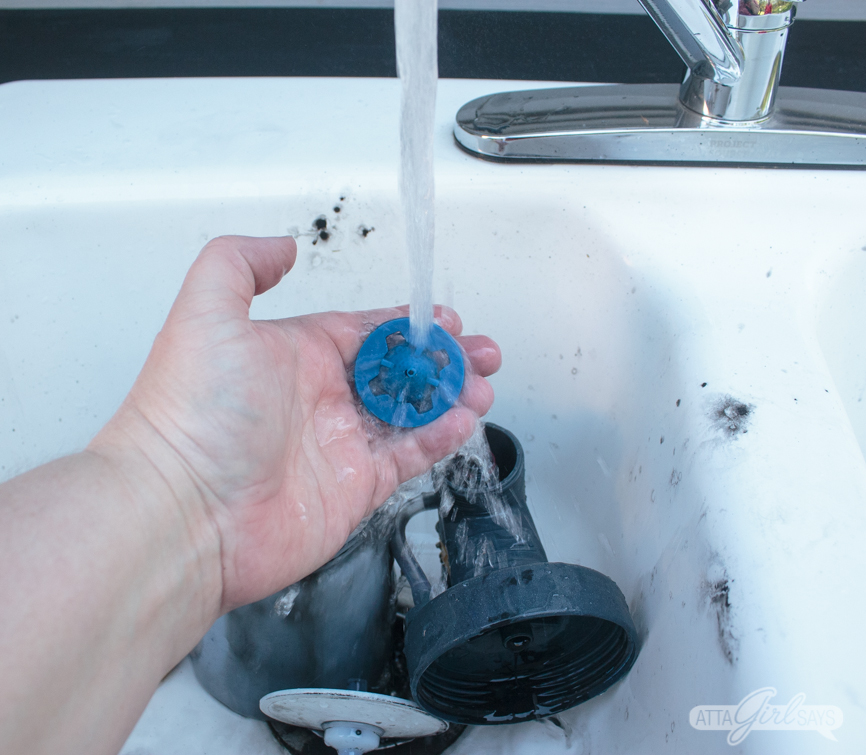
So I cleaned out the sprayer and headed to the paint store had them color match the aqua hue in the wallpaper.

The third time was the charm, thankfully.
Before we get into how to install a ceiling medallion, a few tips/lessons from my do-over DIY.
- Definitely use a sprayer to paint a ceiling medallion. You’ll get quick, even coverage in a fraction of the time required with brush or roller painting.
- Before painting the medallion, buy sample pots of paint and test them in the room.
- Or use adhesive paint swatches, painted poster board or foam core, or paintable adhesive swatches to see what the color looks like in your room and on the ceiling.
- Before making a final color selection, view the paint samples in different light — night and day — with the lights on and off to make sure you’re satisfied with the color.
How to Install a Ceiling Medallion
We used a lightweight polystyrene ceiling medallion in our dining room, so mounting it was really easy.

If your ceiling medallion is a single piece, instead of two halves, you will have to take down your chandelier or light fixture temporarily.
Make sure that the canopy of your light fixture is slightly larger than the hole in the medallion. When you reinstall the light fixture, the canopy should hold the medallion in place.

If your ceilings are uneven, of if you’re using a heavier medallion, you may want to use Liquid Nails to secure it to the ceiling. You can use brad nails to hold the medallion in place while the Liquid Nails are drying.
If you’re unfamiliar or inexperienced with electrical work, please hire a professional to install your lighting. You don’t want to make a mistake when working with electricity. That would be a DIY disaster!

I really love the drama that the painted ceiling medallion adds to our dining room ceiling, although I’m now second-guessing the color of those shades that I dyed. I’m thinking I may need to replace them, after all, or have another DIY do-over and dye them again to match the medallion. Or maybe I just need a new chandelier. See how one project begets another and another and another?
Don’t forget to enter the giveaway to win a Wagner FLEXiO 4000 paint sprayer on my Instagram feed.
More Wagner Projects to Inspire You
Every month, I’m sharing a new DIY project in partnership with Wagner using their paint sprayers, heat guns, rollers and other tools to inspire you to try them out for your own DIY projects.
Don’t miss these other projects of mine using Wagner products:
- DIY Outdoor Farmhouse Sink
- Painted Outdoor Furniture Makeover
- How to Paint Windsor Chairs Without Losing your Mind
- Removing Veneer with a Heat Gun
- Outdoor Bistro Chairs Makeover
- Tween Bed Makeover
- Painting Bamboo & Rattan Furniture with a Sprayer
- Nightstand with Faux Zinc Top Makeover
- Embossed Chalkboard Tags
- DIY Folding Camp Stool with Wood Burned Finish
Pin This! The Easy Way to Paint a Ceiling Medallion

[…] How to Paint a Ceiling Medallion […]