
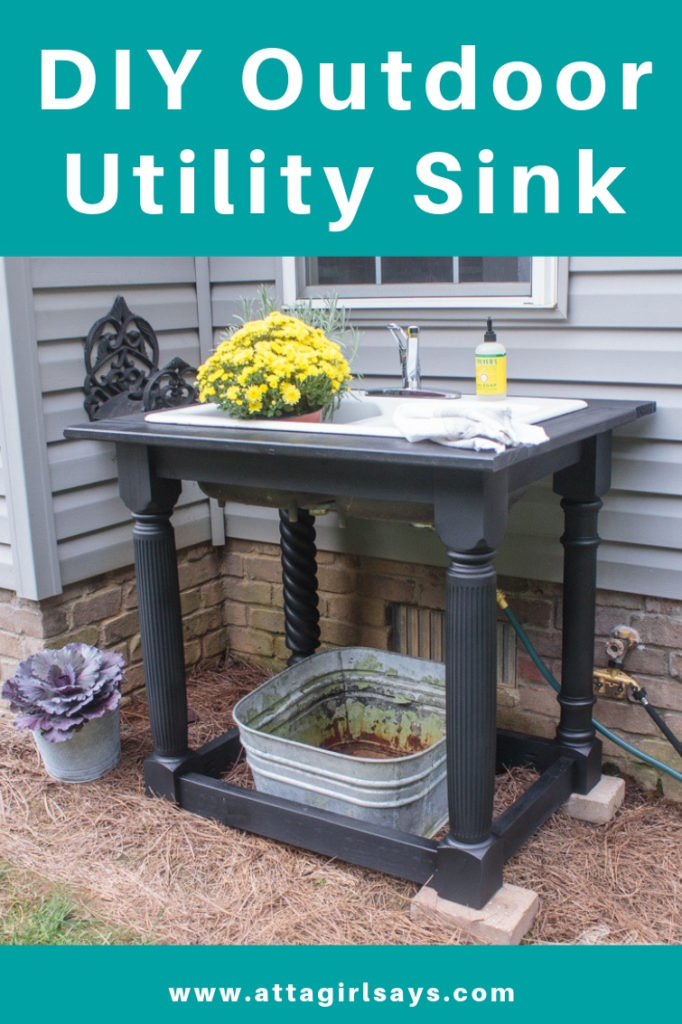
Learn how to build a farmhouse-style DIY outdoor sink and how to hook up the plumbing to an outdoor water supply. With an outdoor sink, you’ll have a space to wash produce from the garden, water plants, and clean up after all your outdoor projects.
I’m going to tell a little secret about myself today that could cost me some DIY cred: I am so bad at finishing up projects.
Without the motivation of a deadline, I have been known to let things languish in an almost finished state for weeks, months and even years. But once I finally finish up a project, I’m mad at myself for procrastinating for so long!

Take this DIY Outdoor Sink that I finally finished up…almost two years after buying the salvaged cast iron sink and starting to build the base!

Do you know how many times I could have used this sink over the past two years to clean up after painting projects, to wash produce from the garden and to clean muddy shoes?

You don’t realize how handy a utility sink is until you have one!

This is a sponsored post, and it contains affiliate links for your shopping convenience. Read my full disclosure policy here.
A new partnership with Wagner gave me the kick-in-the-pants I needed to finish up this outdoor sink, paint it and get it installed in our backyard. Throughout the year, I’ll be sharing monthly DIY projects, sponsored by Wagner, to inspire you to tackle those must-dos and want-to-dos in your home. You’ll learn how to use Wagner sprayers, heat guns and other tools to get finally tackle those projects you’ve been putting off or dreaming about.
I’m really excited about all the exciting projects we have planned for our house, indoors and out, as part of this collaboration. I’ll be teaming up with Kim from Salvaged Living for these posts, as well, so you’ll get a double dose of DIY inspiration.
This month, since spring weather has finally arrived, we decided to use our Wagner FLEXiO Series sprayers on some outdoor projects.
Be sure to visit Kim to see how she transformed an outdoor swing with her Wagner FLEXiO sprayer.
How to Build an Outdoor Sink
Today, I’ll show you how I finished up the sink, painted it and hooked it up to our outdoor spigot.
If you want to build an outdoor sink of your own, you’ll need the following tools and supplies:
- Salvaged cast iron farmhouse sink
- 4 36-inch tall chunky island legs, 4X4 posts or table legs
- 8-foot pressure-treated 2X4 boards
- Pocket hole jig
- Drill
- Circular saw
- 2 1/2 inch outdoor screws
- Nail gun
- wood glue
- Tape measure
- T-square
- Work gloves
- Safety glasses
- Wagner FLEXiO 4000 Paint Sprayer
- DecoArt Curb Appeal Paint in Black
- Kitchen sink faucet
- brass hose splitter
- Plumbing supplies

When we last left this project, I had built part of the base for the outdoor sink and found a secondhand cast iron sink basin to use outdoors.
I used pressure-treated 2X4s, as well as some mismatched turned wooden legs for the sink pedestal. You can read more about how I constructed it here.
I already owned the wooden legs and wanted to repurpose them for this project. But you may prefer to use pressure-treated deck posts as a more durable, all-weather option.
After dry fitting the sink in the pedestal, I decided I needed to add more stability at the base. So I added box stretchers to the bottom of the legs.
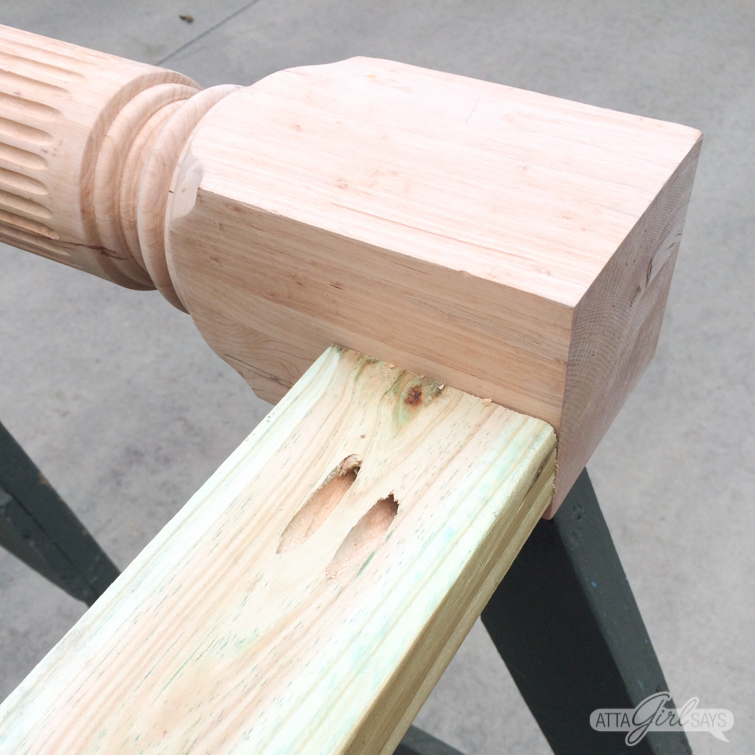
Again, I used 2x4s and attached them using pocket holes, made with my handy Kreg jig. If you’re building an outdoor sink of your own, the exact measurements for the stretchers will depend on the size of the sink you are using.

I wanted to give our outdoor sink a more finished look, so I also built a decorative ledge for the top, using pressure-treated lumber. I used wood glue and nails to secure it to the base.
I was so excited to start painting that I forgot to shoot a true “before” photo of the completed build before starting spraying.
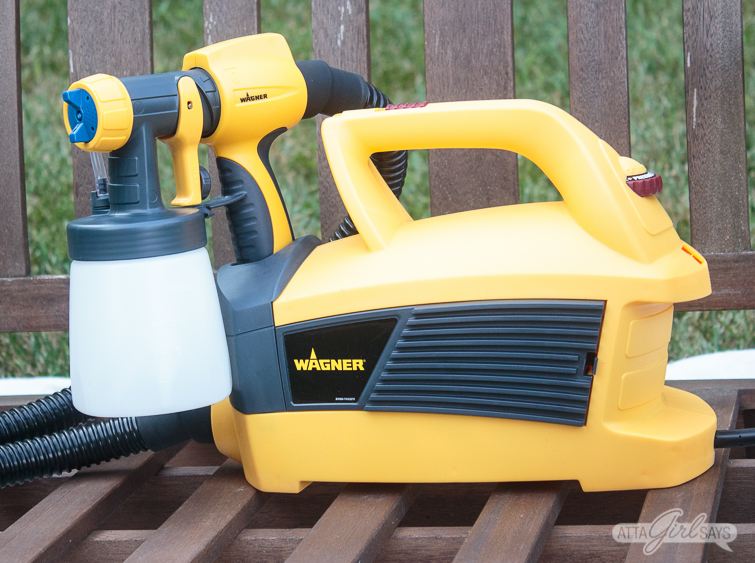
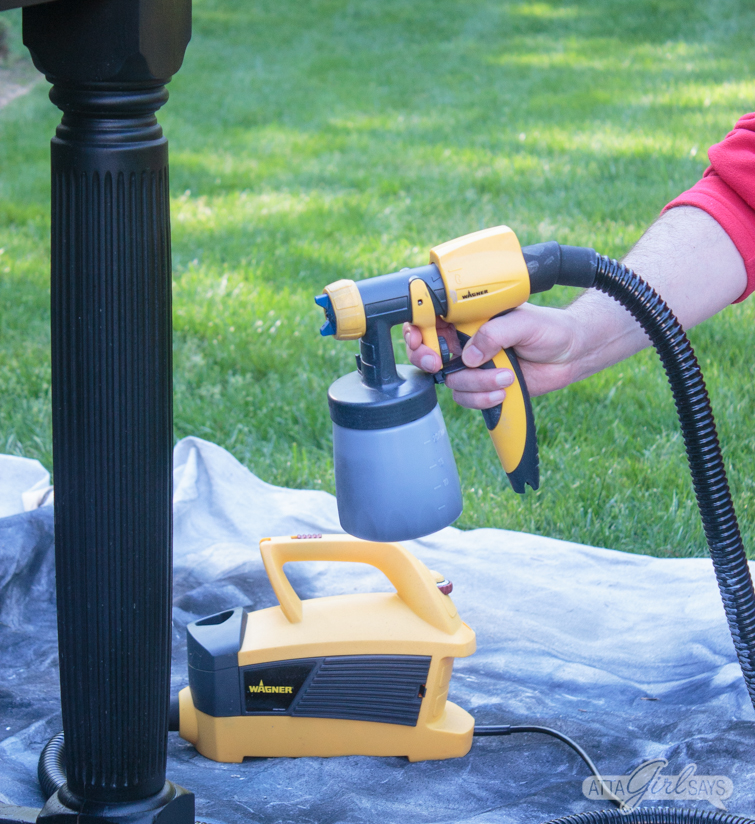
I used my Wagner FLEXiO 4000 sprayer with the detail nozzle to paint the outdoor sink. It’s my favorite sprayer to use on furniture pieces. While the iSpray® Nozzle is great for walls, ceilings and larger sets of furniture, I like the smaller Detail Finish Nozzle for paint projects with lots of spindles and curves, like those turned legs on the outdoor sink. It’s also a great size to hold — not too heavy even when filled fully with paint.
You’re able to adjust the spray pattern on the FLEXiO to flow vertically, diagonally or horizontally using the blue tip on the front of the sprayer. When I’m working on furniture pieces, I adjust the nozzle tip frequently, depending on what surface area I’m spraying. It’s so much easier and quicker to get full coverage with a sprayer than with a brush.
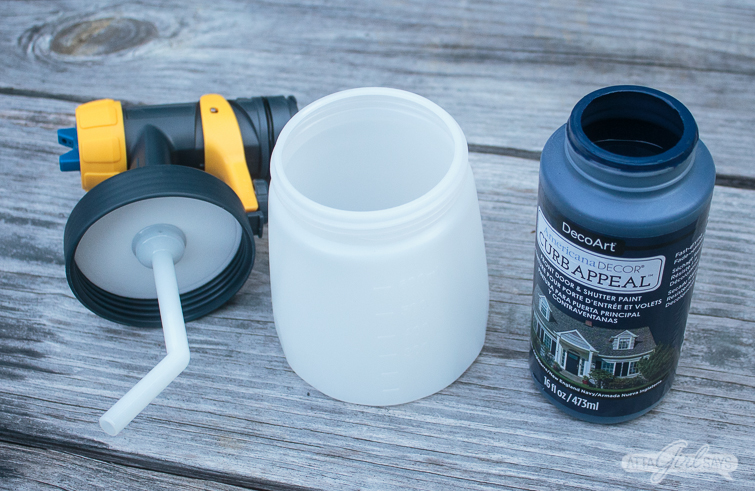
We used DecoArt Curb Appeal paint, which is formulated for exterior use, on the wooden sink base. One thing to remember when working with pressure treated lumber: Allow the wood to dry out for several weeks or even months before painting it. Otherwise the paint will peel.

In this case, I guess my procrastination was a good thing.
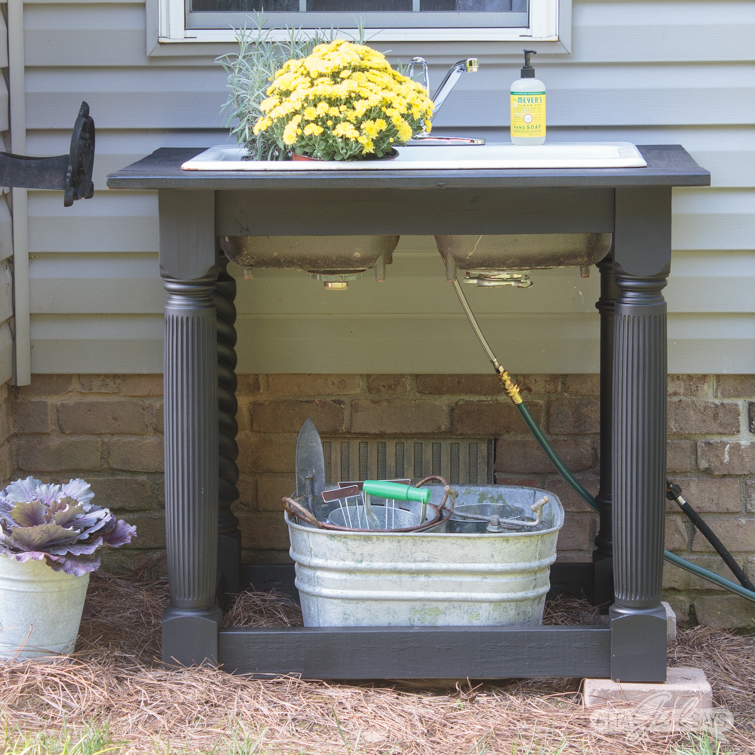
Once the paint had dried, we moved the sink base into place near our outdoor water faucet. Since our yard is sloped in this spot, we ended up having to level the sink with some leftover landscaping pavers.
Next, came the hardest part of this project. Lifting the heavy cast-iron sink into the base. This is definitely a two-person job, and if you can delegate it to some brawny teenagers, all the better! I kept hoping our next door neighbor would wander over so I could ask him to lend a hand. But my husband and I managed on our own, without anyone’s fingers getting crushed or any marital spats!
We did not use any sealant to hold the drop-in sink into place. I just didn’t think it was necessary for outdoors, and it will make it easier to remove the sink basin if I ever need to repaint or make any repairs to the wooden base.
While I would have liked to have found a cool, old faucet for the outdoor sink, I didn’t want to delay plumbing it any longer. So I bought an inexpensive single handle faucet at the hardware store.
We also needed a brass hose connector/splitter, so we can connect our hose, the sink and another soaker hose to the same outdoor spigot. I recommend taking the sink faucet you’re using and any connectors and parts that came with it, to the hardware or plumbing supply store so you get exactly what you need in the correct sizes to attach the faucet to the water supply. (Remember, you’ll only need to hook up the cold water.)
You’ll likely need a brass connector to attach the faucet water supply line, a length of leader hose and another brass fitting to connect that to the faucet. The actual types and sizes will depend on your particular configuration. That’s why I recommend taking everything to the store so you can ask for assistance in finding exactly what you need. I also found this post from Designs By Studio C helpful in knowing what plumbing supplies to purchase.

You can attach a PVC drain underneath the sink, but for aesthetic reasons, I chose not to do that. We just let the gray water flow from the basin into a bucket below.

And while I have Instagram fantasies of taking beautiful photos of cut flowers here, we built this outdoor sink for utility. No more hauling dirty brushes and sprayers and mud-coated shoes inside to the kitchen sink.
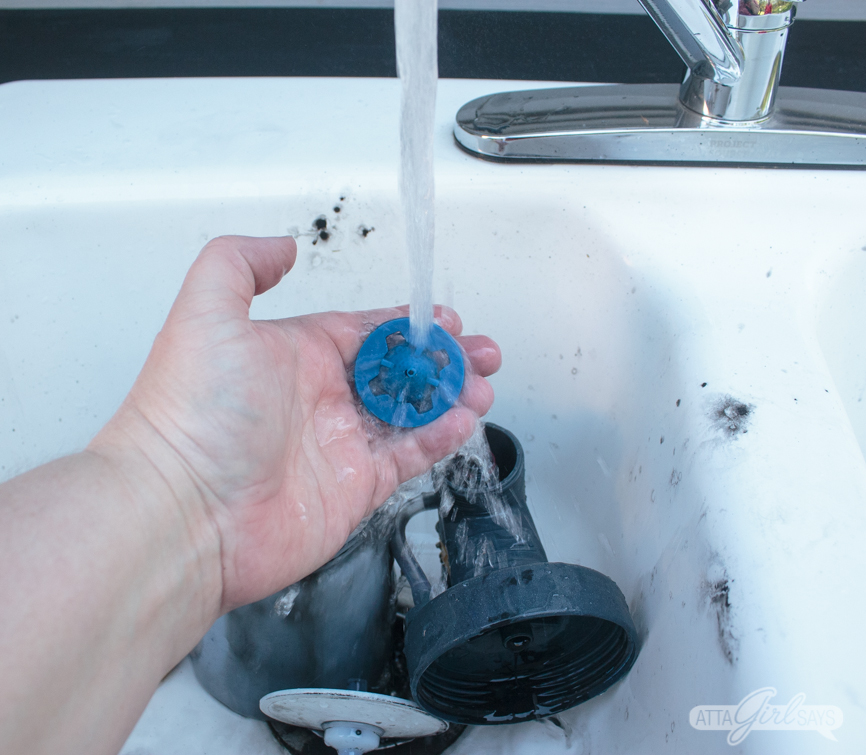
They’ll get cleaned up outside…
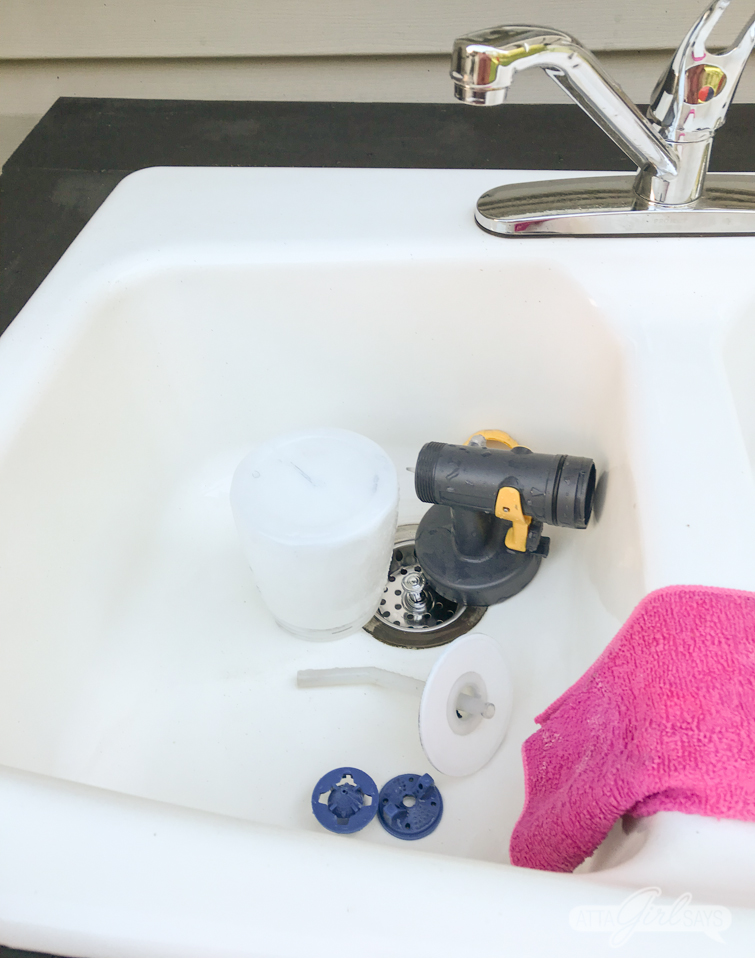
… so they’re ready for the next project.
Pin This! Farmhouse Style DIY Outdoor Sink
Check out these other Wagner paint sprayer projects:

Quick & Easy Outdoor Furniture Makeovers

The Easy Way to Paint Windsor Chairs
Cher
That looks fantastic (I’m so jealous)!! Thank you so much for linking to my post about connecting it to the water supply – I’m glad you found it helpful!
Atta Girl Amy
It was so helpful! I took your list with me to the hardware store to buy plumbing supplies. (The guy working in the store told me I didn’t need one of the connectors, but he was wrong! We did need it. So glad I had your list.)
Paula@SweetPea
What a handy thing to have in your backyard! It not only is stylish, it’s functional. When I’m at the beach I always like sinks that people have in their backyards for fish cleaning. Your sink reminds me of those.