
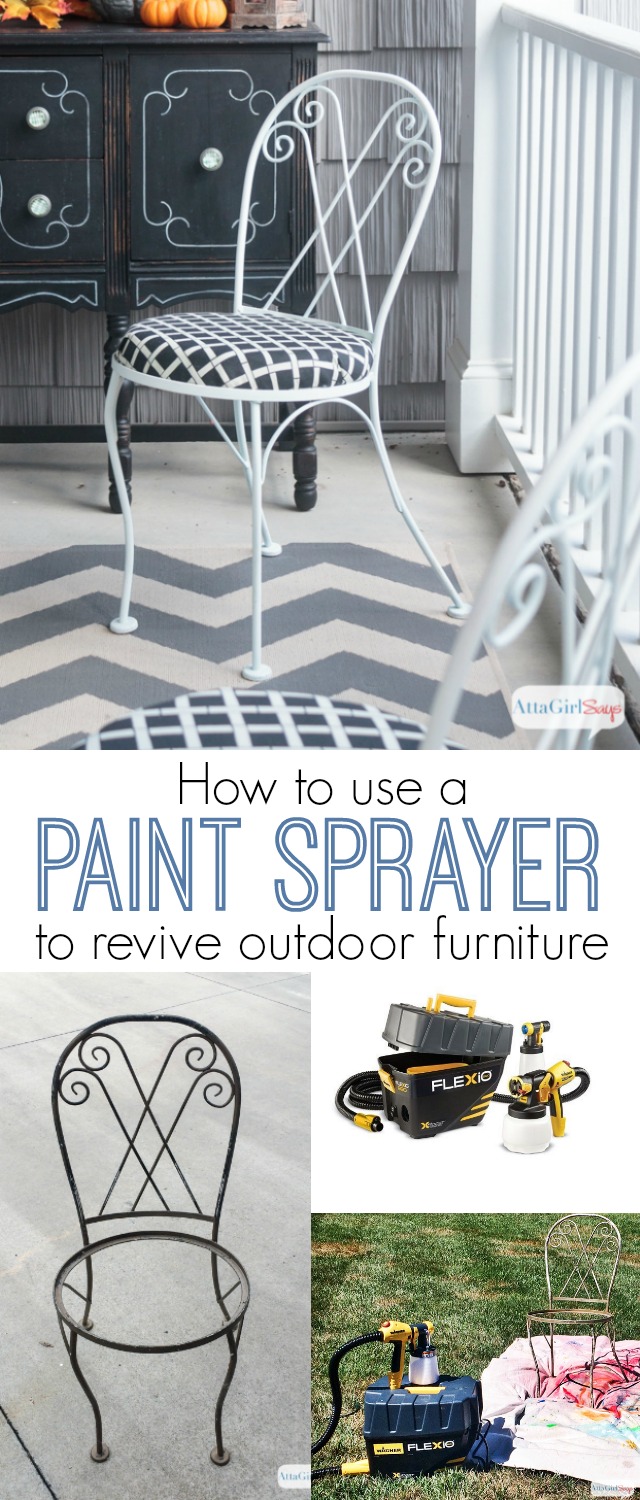
Sometimes, my husband knows all the right things to say…
Or maybe he’s just trying to save money.
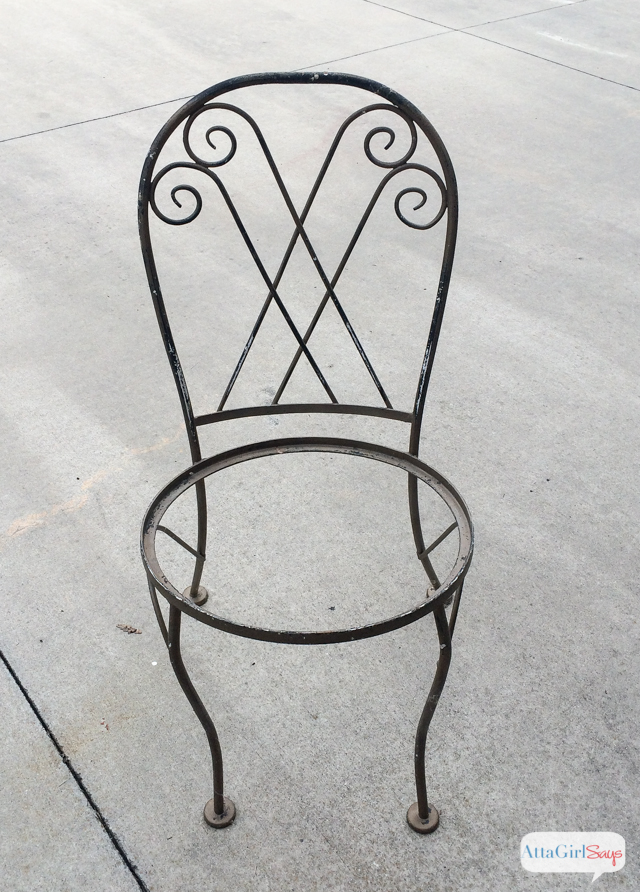
He’d seen the dismal state of these iron bistro chairs when I brought them home from a yard sale.
So when I sent him a photo of the finished makeover, he responded with amazement.

“Wow, these look like they came from Ballard Designs.”
He may have just said that to encourage more DIYing and less shopping around these parts, but I’ll take him at his word.
Of course, I can’t take all the credit for this trash-to-treasure transformation.
Disclosure: This post is sponsored by Wagner, but all opinions are my truthful and my own. It also includes affiliate links. Read my full disclosure policy here.
I had a little help from my new Wagner Flexio 890 Paint Sprayer, my favorite new tool in my painting arsenal.
It is, hands down, the best sprayer I’ve ever used. I had zero issues with paint splattering or clogging in the nozzle, and overspray was minimal — mostly due to my experimentation and the slightly windy conditions on the day I was painting.
It provided great coverage and a really nice, smooth finish on the chairs that would have taken me hours and lots of touch ups with a brush.

Before we get into how to use a paint sprayer, let’s tackle the why.
Why did I use a sprayer for this project rather than a brush or spray paint?
Why use a paint sprayer?
- Saves considerable time compared to using a brush. I didn’t exactly set a timer when I was working on these chairs because it was so hot outside on the day I was painting. But I estimate it took me less than an hour to completely spray both chairs with three light coats, not counting drying them.
- Use any paint formulation you want. Since these chairs are going to live outside on my front porch, I wanted to paint them with a durable outdoor paint. I used DecoArt Americana Outdoor Living in Picket Fence in the Flexio 890.
- Smooth, drip-free finish. The Flexio 890 sprays with a very fine, directed mist that you control with the spray nozzle. At first, you may think you’re not getting coverage, especially if you’re painting something scrolly like these chairs. But with each successive coat and pass of the sprayer, you’ll see the finish develop. Because of that, I didn’t experience any paint drips. Using a brush, drips would have been hard to avoid on such a narrow, curved surfaces as these chair backs.
- Easier to paint fine details. Have you ever tried to use a paintbrush to paint details or hard-to-reach spots, like the areas where scrolls meet on this chair? Normally, I would have turned these chairs upside down and every which way to ensure all spots were covered. But with the sprayer, I just left them upright, adjusted the spray-pattern nozzle and moved the handle around to get those hard-to-reach places.
- Easier on the back and body. As I’ve gotten older, things don’t move and bend like they once did. I don’t like having to contort or lay on the ground to paint chair and table legs. It’s so much easier to move the sprayer around than to contort myself into position or to constantly change the position of the furniture I’m painting. These chairs were lightweight, but I’m tackling our kitchen table next with the sprayer, and I can’t easily move it by myself.
How to Use a Paint Sprayer
The Wagner Flexio 890 couldn’t be simplier to use or to clean up.
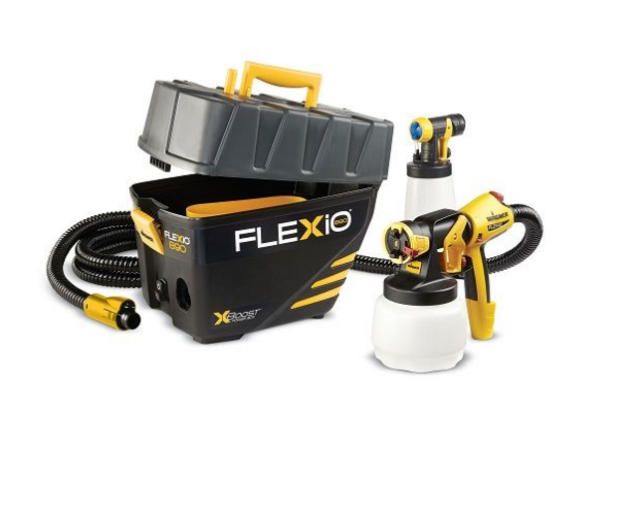
It comes with two spray nozzles, one for fine detail work and one for broader surfaces.
I used the smaller, detail nozzle for the chairs.
Once you determine which nozzle to use with your project, fill the attached cup with paint, thinning as necessary. (The Flexio can handle latex paint without thinning. I didn’t have to thin the white Outdoor Living paint either. If I had used a darker color, which tends to be thicker, I probably would have added some water to ensure a smooth flow through the sprayer nozzle.)

The sprayer comes with a long air hose that you attach to the case, which contains the air compressor. Plug in the compressor, switch on the power on the case, adjust the spray dial and spray pattern, then pull the trigger on the sprayer and you’re in business.
For best results, you should spray from about six inches away from the surface, with the sprayer perpendicular to the surface. (You can spray closer if you reduce the air power and dial back the flow.)
When spraying, it’s best to make parallel passes, left to right or up and down, at a measured consistent speed. Try to keep your wrist level as you spray. (Don’t go too fast or too slow; with practice, you’ll master the right speed.)
As someone who has issues with carpal tunnel, I liked the fact that the air compressor is separate from the spray gun, unlike other paint sprayers I have used. It is lightweight and has more power than comparable handheld sprayers.

(I’m sorry for my lack of in-process shots for this makeover. I got so busy — and overheated — while spraying in the sun that I forgot to snap photos. And then it started raining, and there was a mad dash to move everything into the garage.)
After taking these before shots, I ended up raising the chairs off the drop cloth and onto a pallet to make spraying the feet and legs easier.
Cleanup was easy, too. The spray nozzle comes apart, so you’re able to clean out any paint that could dry and clog it.

You can see from these after shots that the sprayer delivered a smooth and even finish.
Painting these chairs was definitely the easiest and quickest part of this makeover.
The prep work and reupholstery took more time and effort.
The chairs had a lot of uneven spots, rust patches and paint drops on them. So my husband and I spent a good bit of time sanding them down to the metal before I painted them.
And once they were painted, I had to make new plywood seats for them, using the jigsaw.

Admittedly, I need to work on my compass-making and jigsawing skills. My plywood circle is far from perfect. Thank goodness for batting.

And for the deep-dish pizza pan that was the exact size of my seat cause that tie-a-string-to-a nail-to-make-a-compass trick was not working for me.
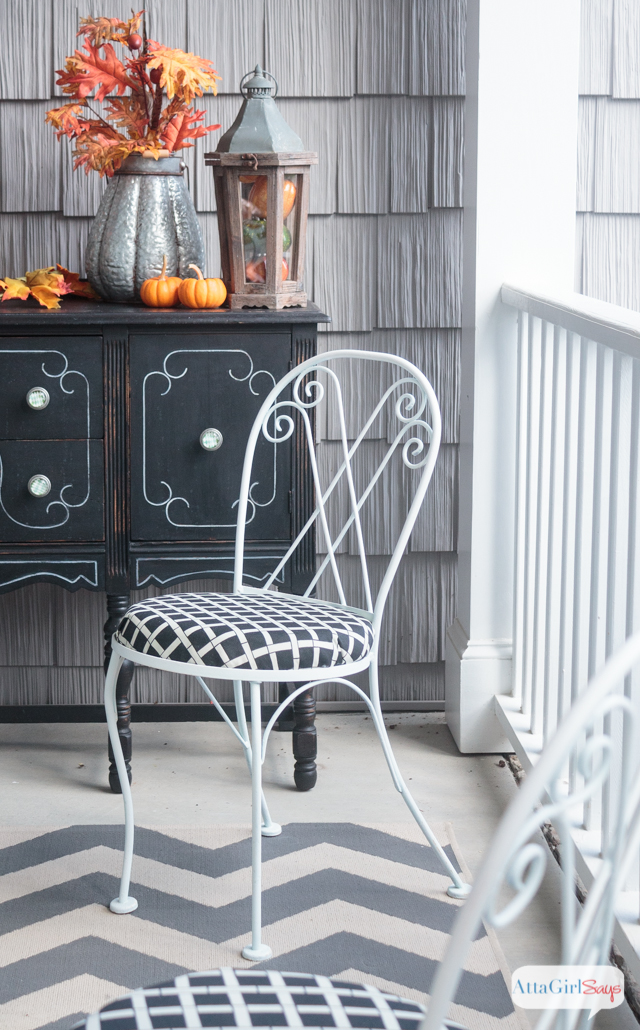
Because I wanted these chairs to be comfy, as well as attractive, I opted for 2-inch foam for the seats.

The outdoor black bamboo lattice fabric is from OnlineFabric.net

To make the cushions, I laid my fabric face down on the table, topped by a layer of batting, the foam seat and the plywood circle.

Trim the fabric and abatting about 3 inches larger than the seat and begin stapling. Staple from the center of each side, then work your way around the circle. Use your whole hand, not just your fingers, to smooth the fabric over the side and work out any wrinkles or pleats.
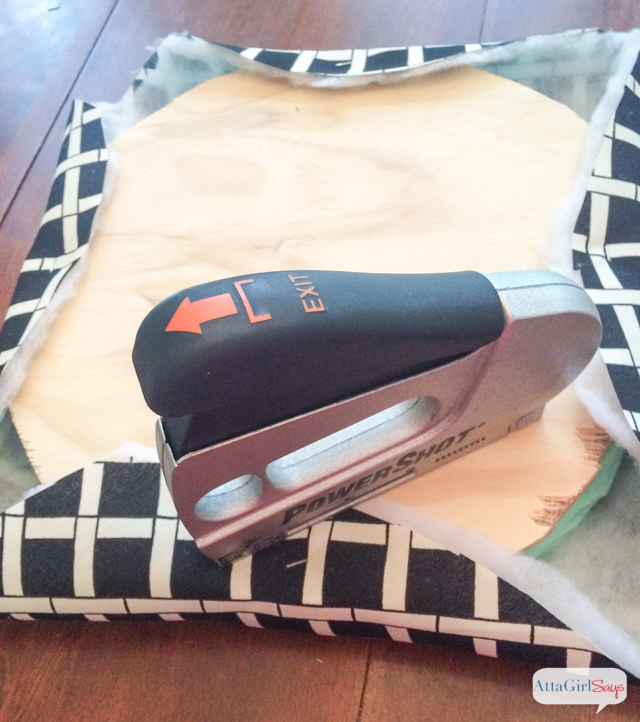
I used my PowerShot Staple Gun for the upholstery. But a pneumatic staple gun would be even better.
If you’re an experienced upholsterer, I think it’s possible to finish a round seat without any pleats. But I’m not that good. I did try to minimize the pleats, though, and hid them to the back of the chair when I put the seats back in.

I’m really pleased with how these $5 yard sale chairs turned out.

With my vintage glider and black painted buffet and now these chairs, I have a nice entertaining and conversation area on the front porch, just in time for the lovely fall weather.
And about that paint sprayer…
I have other big makeover plans using it. Stay tuned. Soon, I’ll be sharing more tips and on how to use a paint sprayer when I finally tackle painting our kitchen table and four Windsor chairs. So many spindles…
Bruce
Not trying to keep you out of the stores – I really do think these chairs turned out great!
Nicole
Your outdoor space looks so nice! I love the chair makeover, too. Thank you for sharing your post at the #HomeMattersParty this week. We hope you’ll join us again when the next party goes live this Friday at 12AM EST.
Maria
Wow! What a transformation. I love how the sprayer helped you paint the chair more evenly! And you upholstered it with THE perfect fabric! Thanks so much for sharing this with us on #shinebloghop! Love that you were able to join us this week
Cynthia Chilson Finger
Your front porch looks lovely, comfy and cozy … I’m afraid I would never get anything done if I had a front porch like yours. Thanks for sharing!
Atta Girl Amy
Thank you so much, Cynthia. Wait until you see what the porch looks like for Halloween!