
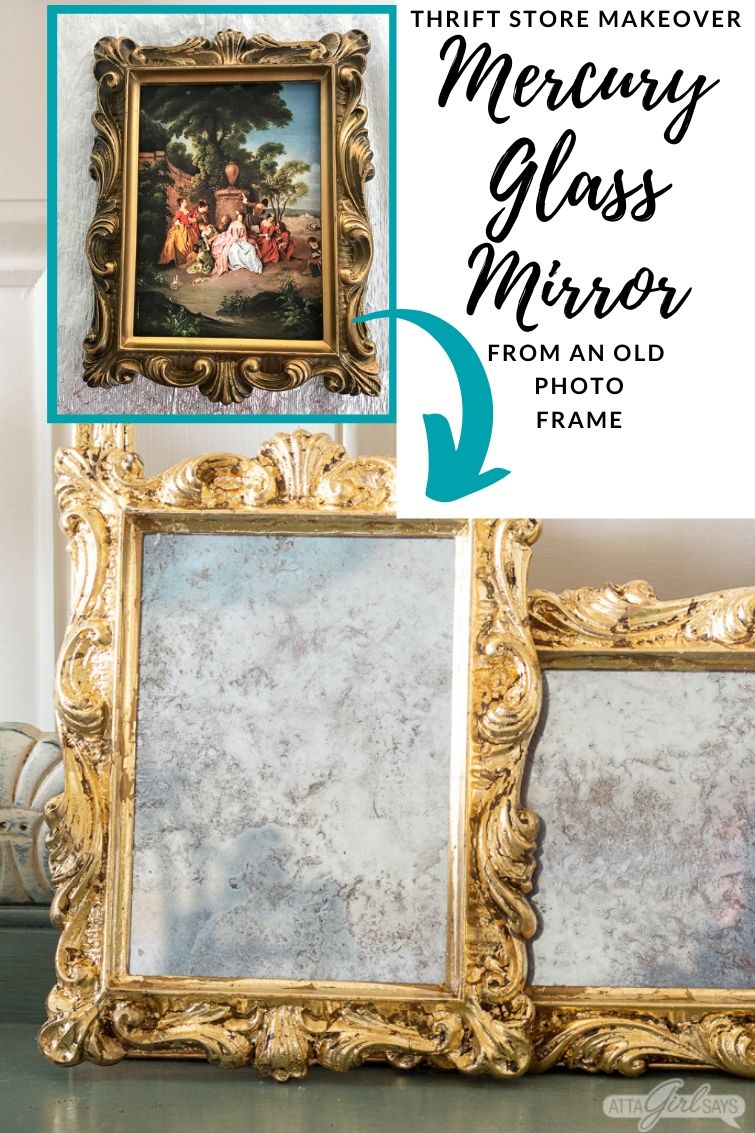
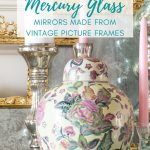
Learn how to tranform a dated thrift store frame into a glam gilded mirror that looks like a high-end antique. You’ll learn how to make DIY mercury glass using mercury glass spray paint, as well as how to add instant glam to old frames with gold leaf.
If you’ve ever shopped for antique gilded mirrors, you know they can be pricey. But with this inexpensive DIY, you can get the antique look for much less!
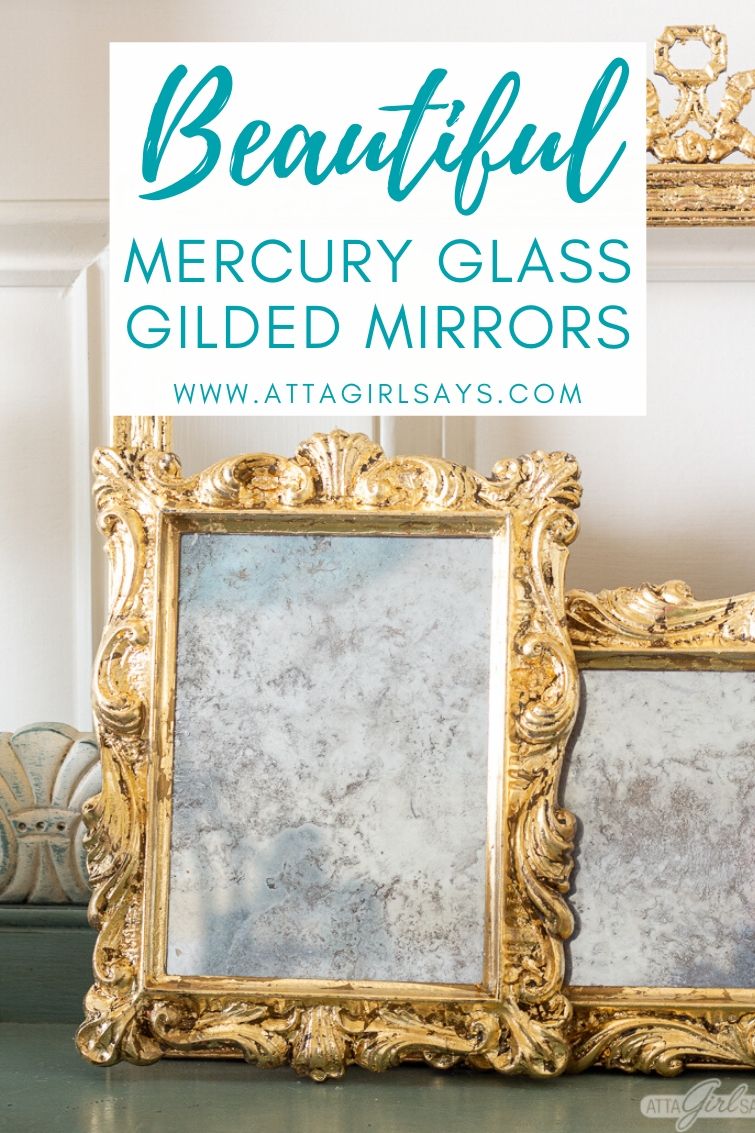
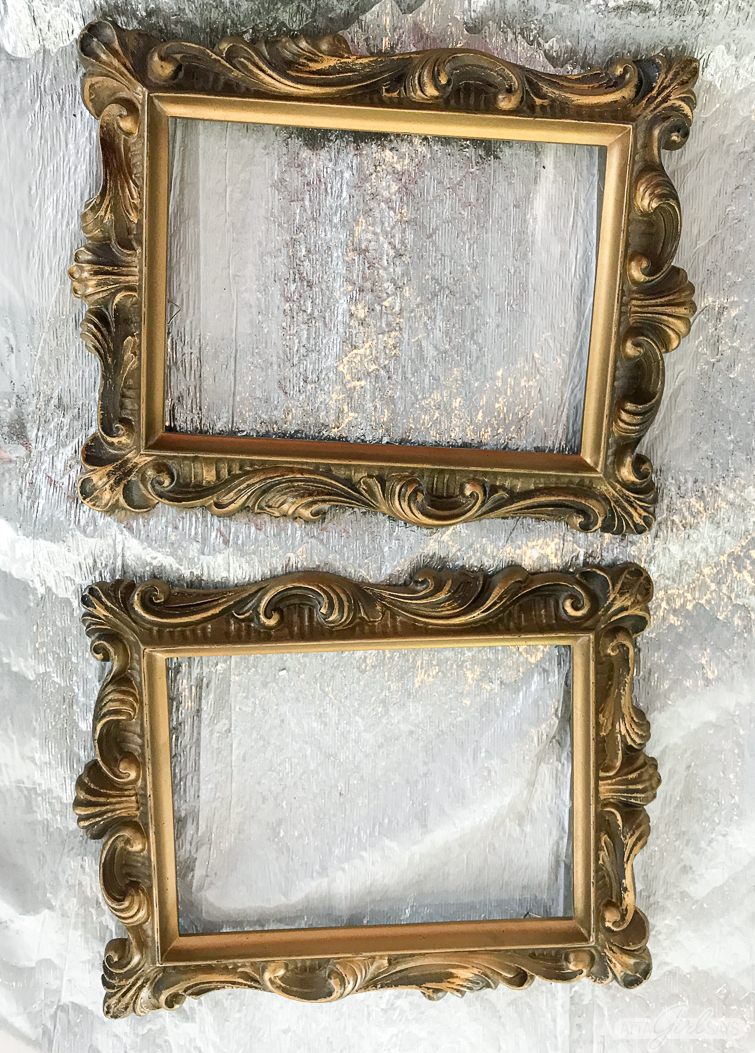
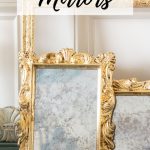
Turn ornate, old picture frames, which are cheap and abundant at thrift stores, into DIY mercury glass mirrors.
Ths project combines my love for gilding with the techniques I used to make a mercury glass mirror from an old windowpane. It’s an easy afternoon project that will add instant glamour and vintage character to your home.
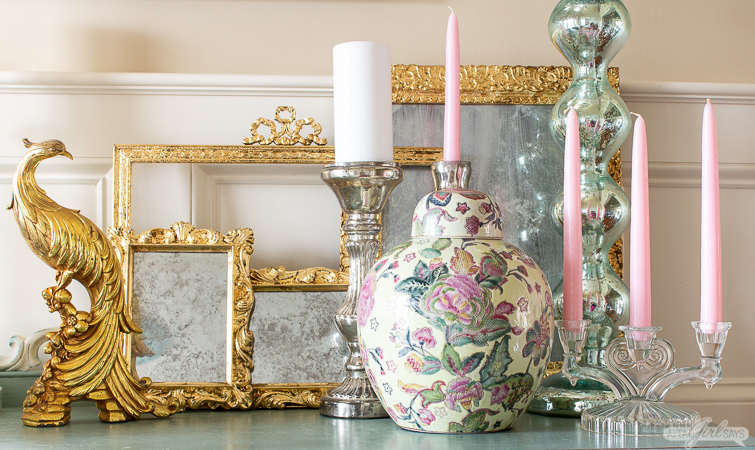
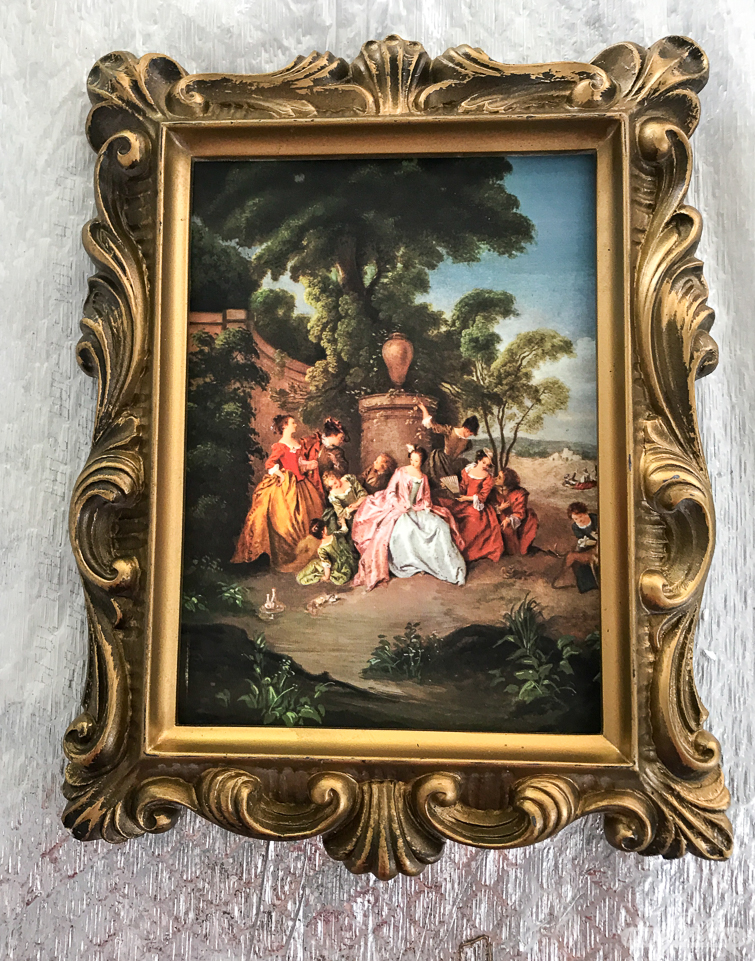
I’ve done this technique on vintage frames, both large and small. I usually look for ornate mirrors — wood, plastic or resin frames will all work for this project.
This post contains affiliate links for your shopping convenience. If you make a purchase based on my referral, I earn a small commission, at no additional cost to you. Read my full disclosure policy here.
If the frame is missing the original glass, you can purchase a replacement piece at the hardware store or a craft store. (I need to do that for the empty frame shown above.)
Supplies To Make DIY Mercury Glass Gilded Mirrors
- Thrifted Frames with Glass – I like using ornate frames because they look expensive when gilded.
- Mercury Glass Spray Paint – I have used both Krylon Looking Glass Spray Paint and Rustoleum Mirror Effect to create the DIY mercury glass finish.
- Gold Leaf Sheets – These are normally sold in booklets with tissue paper between each sheet. You can buy gold, silver, copper and other metal finishes, as well as variegated leaf like I used for these aged copper Easter eggs for different effects.
- Adhesive Size – This is a special thin glue that allows the gold leaf to adhere to the frames when it dries to tack.
- Foam Paintbrushes – You’ll need two small foam brushes, one to apply the adhesive size and another to burnish the gold leaf onto the frame.
- Vinegar and water – To create the DIY mercury glass finish, you’ll need a spray bottle filled with 2/3 cup water and 1/3 cup white vinegar.
- Paper towels or soft cloth – These are used to blot away some of the mercury glass spray paint to create the antique effect.
- Water-based Sealer – Use a spray-on or brush-on sealer to protect the gilded finish. This step is optional.
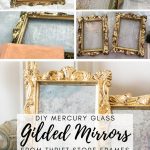
How to Make An Antiqued Gilded Mirror
The process to make an antique gilded mirror is simpler than you might think. And while you do have to wait for paint and glue to dry, it’s not time consuming at all.
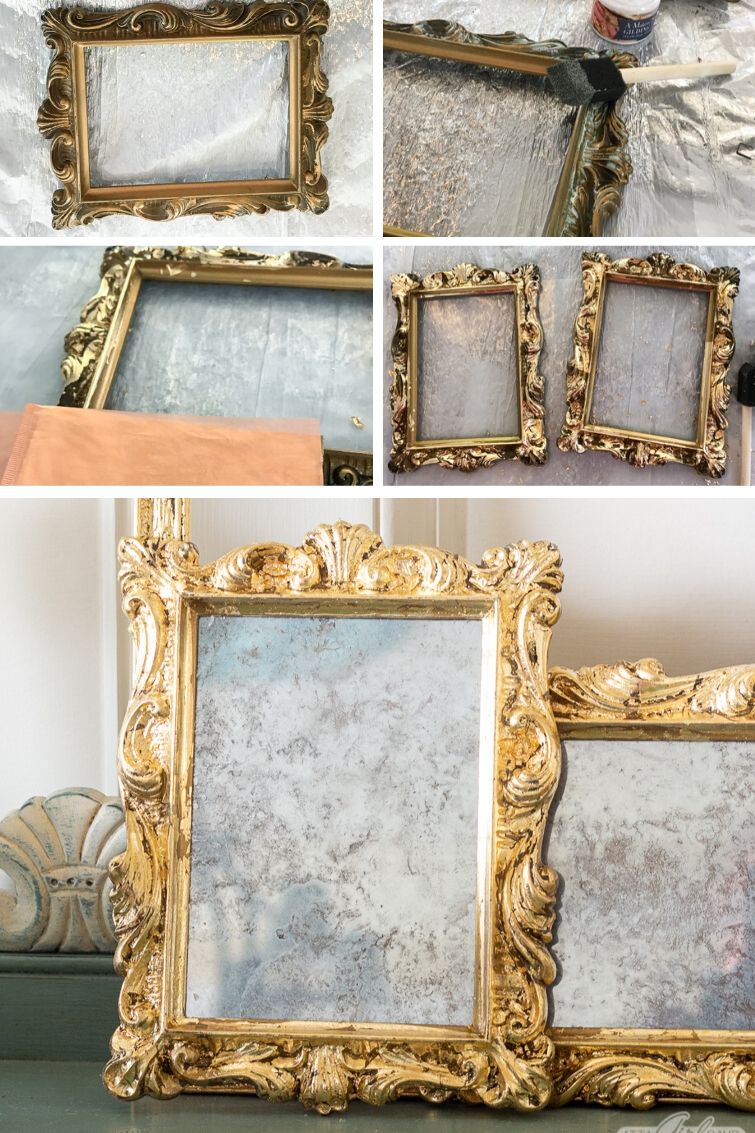
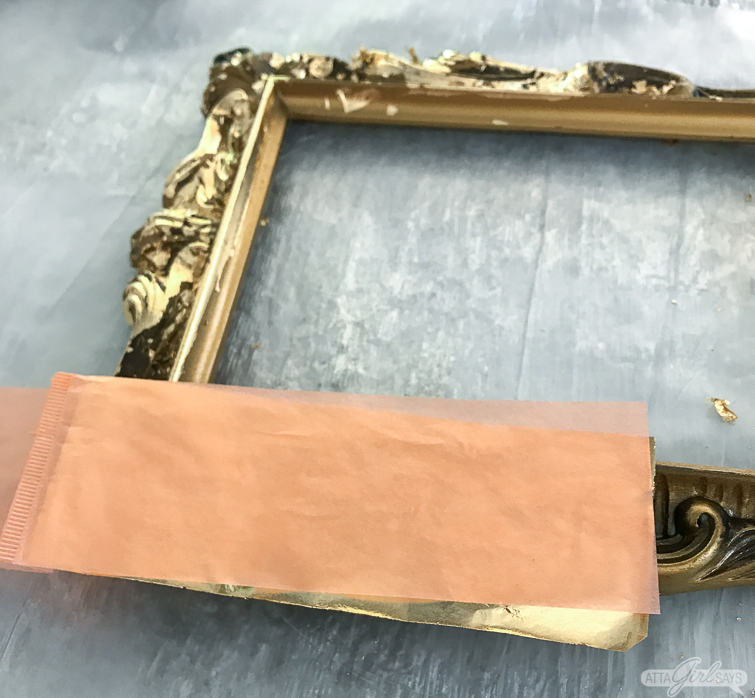
To start, you’ll need to disassemble your photo frames and remove the glass.
Clean the frame and the glass thoroughly on both sides to prepare for gilding and painting.
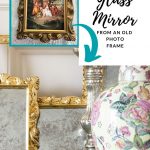
How to Create DIY Mercury Glass
I have an entire post dedicated to using Looking Glass Spray Paint to make a mercury glass mirror. You’ll want to check it out for step-by-step photos as well as lots of tips and tricks to acheive the vintage, mercury glass look.
Here are the basics:
- Shake the mirror spray paint well and apply a thin coat to one side of the glass.
- Let the first coat dry for about a minute, then spritz lightly with the vinegar-water solution.
- Blot gently with a paper towel or soft cloth to remove flecks of paint to create the mottled look of mercury glass.
- Apply a second thin coat of the spray paint, let dry for a minute, then spray and blot.
- Continue layering and removing paint until you have the look you want.
- Between coats of paint, make sure to check how the mirror looks from the other, reflective side of the glass.
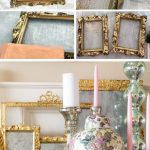
How to Use Gold Leaf Sheets
While the mirror is drying, you can move onto gilding the frame. For more tips on gold leafing, as well as a tutorial on using liquid leaf, make sure you check out this post.
Make sure the frames are clear of any dust, dirt or grease.

Apply a thin coat of adhesive size to the photo frame, making sure you don’t miss any little nooks or crevices.
All the adhesive size to dry and come to tack, usually about 5 to 10 minutes. (Check the directions on the brand of glue you are using for exact drying times.)
When the size is ready for leafing, it will be sticky, or tacky, to the touch.
Gold leaf is usually sold in square booklets with tissue paper between each sheet of thin leaf material.
For a project like this, I find it helpful to cut the booklet into strips that are slightly wider than the width of the frame. Be sure to cut so that the bound edge is intact.
Fold back the tissue paper covering to reveal a sheet of gold leaf and place it on the frame. Be careful not to touch the leaf with your hands, as it will tear. Instead, hold onto the tissue paper along the bound edge.
Use a clean, dry foam paint brush to press the leaf into the frame, brushing away any excess.

Continue adding leaf around the frame. You may have some spots that have not been gilded.
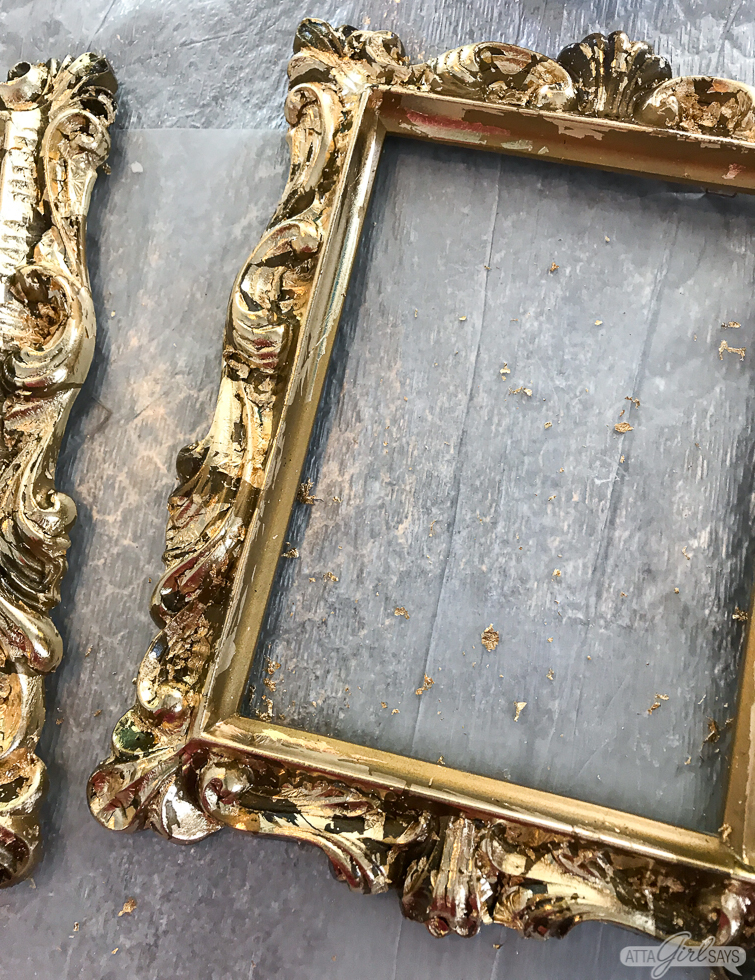
This is to be expected, especially when working with more ornate frames.
You can touch up any missed spots by applying more adhesive size over those areas, allowing it to dry to tack and repeating the gold leafing process.
You may find it helpful to cut the gold leaf sheets into smaller pieces for these touchup areas. You can also use any leftover flakes from the leafing process for these touchups.
I like to leave a little of the original finish visible when I’m gold leafing, as I think it adds to the authenticity. Antique mirrors would not be perfectly gilded.
If you don’t like the original color of your frames, you can always paint them first before applying the adhesive size and gold leaf. A lot of times, antique mirrors were painted red or rust before being gilded. Many gold leafing starter kits come with a red basecoat, as well as an antiquing glaze.
If you like, you can seal the gilded frame with a spray-on or brush-on sealer to prevent flaking or tarnishing.
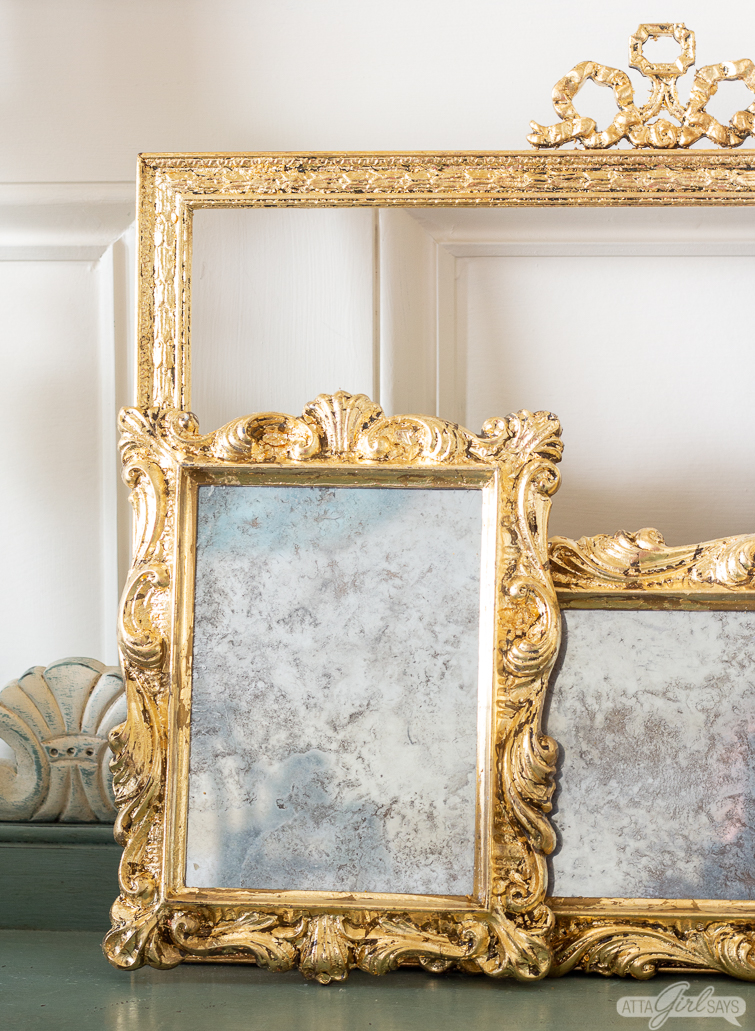
Reassemble the gilded frame with the DIY mercury glass mirror, making sure the reflective side is facing out.
More Mercury Glass and Gold Leaf Projects
You might enjoy these other projects using mercury glass spray paint and metal leaf.
- Mercury Glass Windowpane Mirror
- Mirrored Mercury Glass Mason Jars
- Mercury Glass & Sea Glass Votives
- Gilded Seashells
- Aged Copper Easter Eggs
- Metallic Foil Pumpkins
- Metal Leaf Oyster Shell Jewelry Dishes
Pin This! DIY Mercury Glass Gilded Mirror

Leave a Reply