
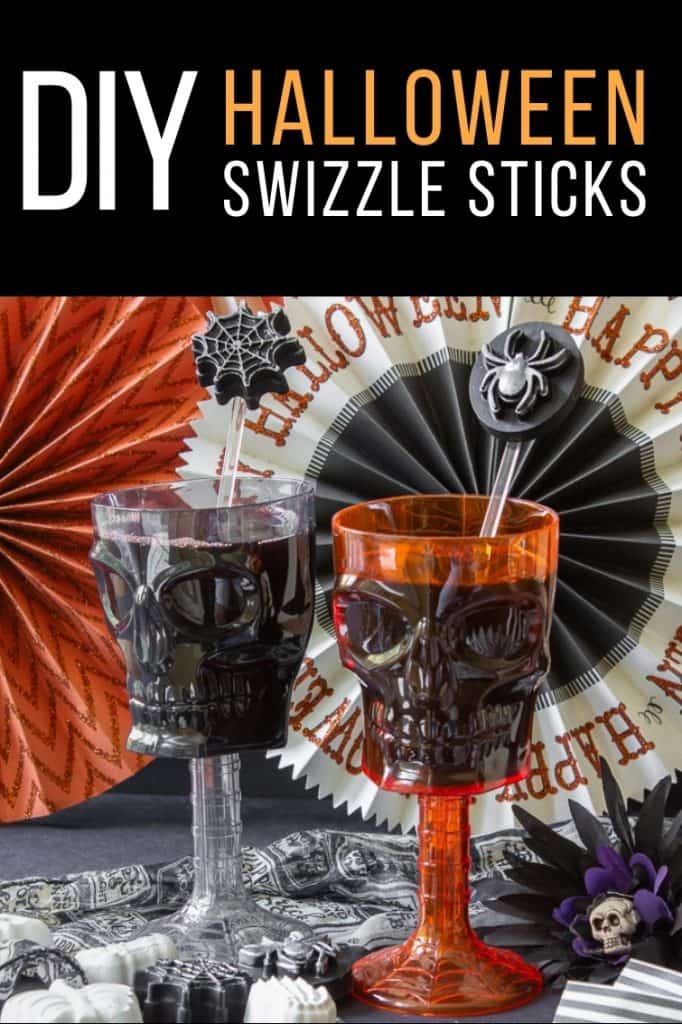
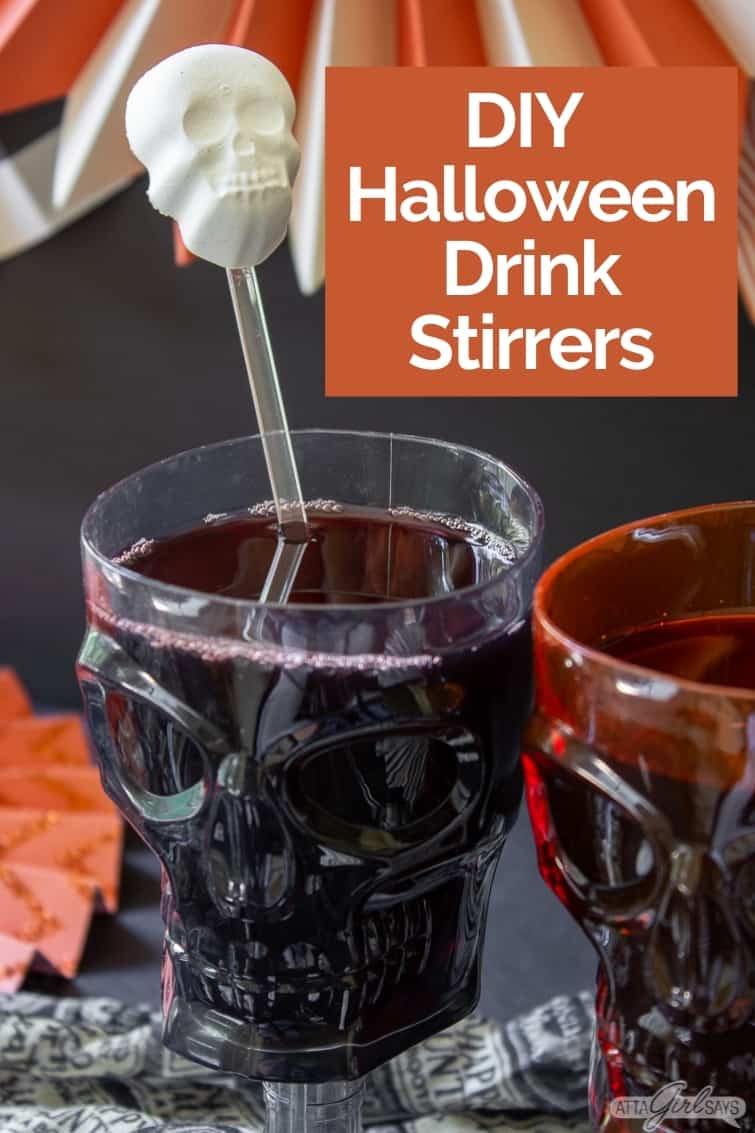
These Halloween cocktail stirrers are scary easy to make using quick-setting resin and silicone ice cube molds. The resin castings can also be used to make spooky Halloween decor and jewelry.
If you’ve never worked with quick-setting resin before, prepare to be bewitched! It’s magical watching the resin change from liquid to solid, right before your eyes. These Halloween cocktail stirrers are ready to paint in just minutes!

I first started experimenting with resin last year when I made these Halloween treat jars and resin skeleton plaques. After making some DIY pineapple swizzle sticks this summer, I knew I had to make some spooky drink stirrers for Halloween.
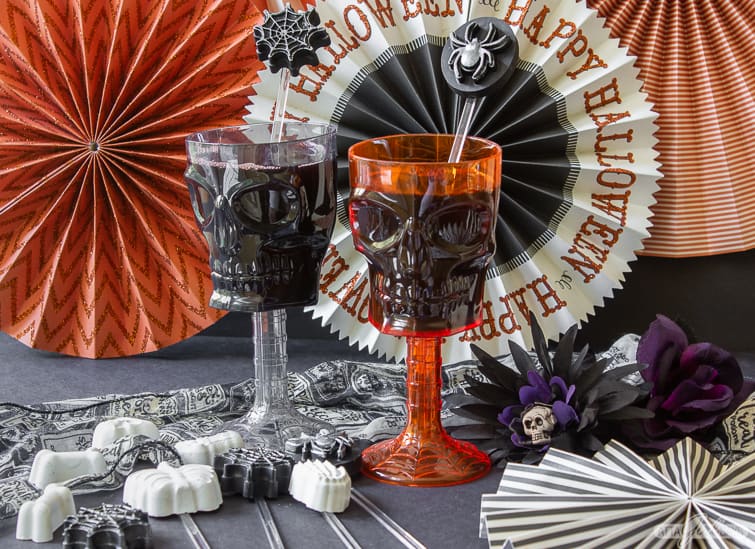
These would look so scary on my haunted harvest Halloween table!

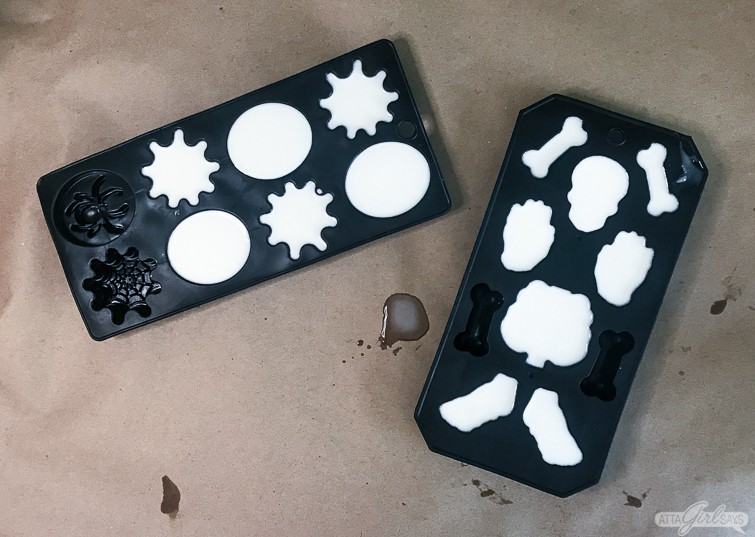
You can make custom drink stirrers in a vareity of shapes using silicone molds. The dollar store and the Target dollar spot are my favorite place to find seasonal molds, like the Halloween ice cube molds I used for this project.
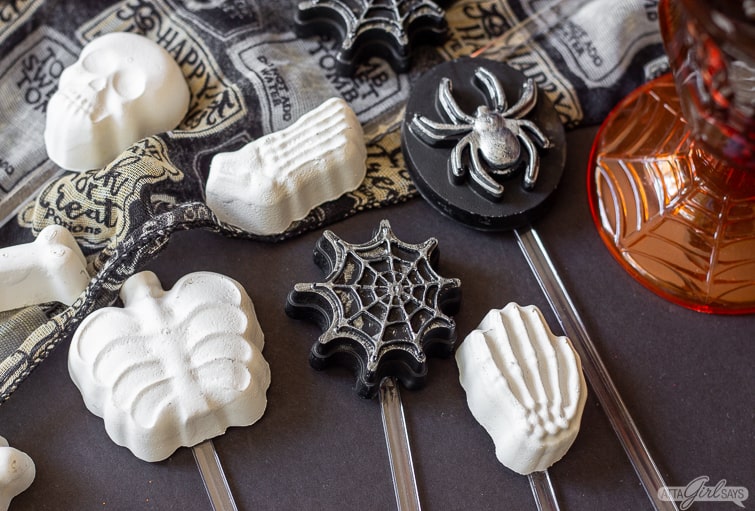
I used two different ice cube molds to make these scary drink stirrers. One is a full skeleton and the other features spiders and spiderwebs.
Which design is your favorite?
This post contains affiliate links for your shopping convenience. If you make a purchase based on my referral, I earn a small commission, at no additional cost to you. Atta Girl Says is a participant in the Amazon Services LLC Associates Program, an affiliate advertising program designed to provide a means for sites to earn advertising fees by advertising and linking to Amazon.com. Read my full disclosure policy here.
Supplies to Make Cocktail Stirrers

- Amazing Casting resin kit (Make sure to get the 10-minute cure time resin in white)
- Rubber gloves
- Paper or plastic cup (not styrofoam) for mixing the resin
- wooden stick
- silicone mold or ice cube tray (you can find the trays I used here and here.
- Scissors (optional)
- Sand paper (optional)
- plastic drink stirrers
- E6000 glue
- matte black spray paint and white spray primer
- silver craft paint
How to Make Halloween Swizzle Sticks
Protect your work surface with kraft paper, plastic or wax paper. Make sure to wear the plastic gloves included in the casting kit.
The quick-setting resin kit comes with two different solutions that go through a chemical reaction and harden when they’re mixed together. The kit also includes a set of measuring cups and stir sticks.
Make sure you purchase the white resin that cures in 10-minute for this project. There are other types of resin with a longer working time and different finishes.

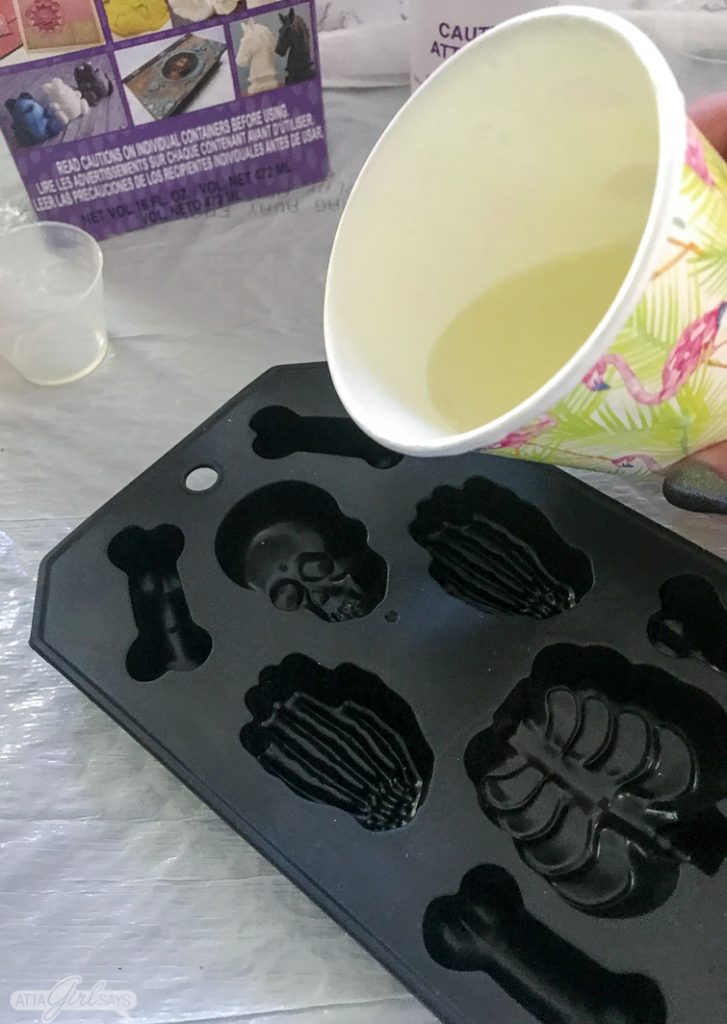
To create your Halloween castings, measure equal parts of Solution A and Solution B into the separate plastic measuring cups.

Pour Part A and Part B into a plastic cup and stir with a wooden stick until blended.

As the solutions combine, the mixture will become slightly milky. The resin begins curing in just a few minutes, so you need to work quickly to pour the resin into the mold.

Fill the mold completely, trying not to overflow the individual cavities.
The resin will begin to change colors, from clear to white, as it cures and hardens. It also generates heat as it cures, so the mold and the castings may be hot to the touch.

Allow to cure completely and harden before removing the castings from the molds.

The resin can take anywhere from five to 15 minutes to cure, depending on how large your mold is. You’ll know it’s ready it becomes white and solid and is cool to the touch.
At this point, you can pop the castings out of the mold. When you first remove the resin pieces from the mold, they may feel slightly greasy. You can wipe away any residue to prep them for painting.
If necessary, use scissors to snip away any bits of hardened resin that overflowed the mold. You can also use sandpaper to smooth the edges.
I’ve made a quick video of the casting process to show you just how easy these are to make.
Spray paint the resin pieces in your chosen color. I used matte black spray paint for the spider and spiderweb swizzle sticks. For the skeleton pieces, I used white spray primer to give the bones some texture.
Don’t forget to spray the pieces front and back.
Once the black spray paint had dried, I dry brushed silver craft paint onto the spiders and spiderwebs to make them pop.

Once all the paint has dried completely, add a bit of E6000 glue to the flat end of the plastic swizzle stick and attach to the resin pieces. Be mindful that excess glue might lift the paint.
You may have to prop the drink stirrers on a small box of the handle of a wooden spoon to hold the sticks in the right place while the glue dries. Allow the cocktail stirrers to dry flat for several hours, until completely set, before using.
See this post for more tips on assembling drink stirrers.
One the glue has dried, handwash the drink stirrers and mix up your favorite cocktail or mocktail.

A few you may want to try:
- Vampire’s Kiss Cocktail
- Purple People Eater Halloween Punch
- Easy Green Party Punch
- Moonshine Old Fashioned
Shop for Supplies for This Project
Pin This! DIY Halloween Cocktail Stirrers


Sara
These are so awesome! Love all the Halloween styling!