Skip to primary navigation
Skip to main content
Skip to primary sidebar
Atta Girl Says
About
Contact me!
Advertise
Disclosure
Privacy
Shop
Home Tour
Email
Facebook
Instagram
Pinterest
Twitter
YouTube
Search
menu icon
Cooking
Main Dishes
Side Dishes
Appetizers
Drinks
Soups & Salads
Desserts
Canning & Preserving
Decorating
Holiday & Seasonal
Fall Decor
Christmas Decor
Winter Decor
Crafting
Holiday & Seasonal Crafts
Fall Crafts
Christmas Crafts
Homemade Beauty
Printables
Entertaining
Homekeeping
Email
Facebook
Instagram
Pinterest
Twitter
YouTube
search icon
Search
Cooking
Main Dishes
Side Dishes
Appetizers
Drinks
Soups & Salads
Desserts
Canning & Preserving
Decorating
Holiday & Seasonal
Fall Decor
Christmas Decor
Winter Decor
Crafting
Holiday & Seasonal Crafts
Fall Crafts
Christmas Crafts
Homemade Beauty
Printables
Entertaining
Homekeeping
Email
Facebook
Instagram
Pinterest
Twitter
YouTube
×
Easter
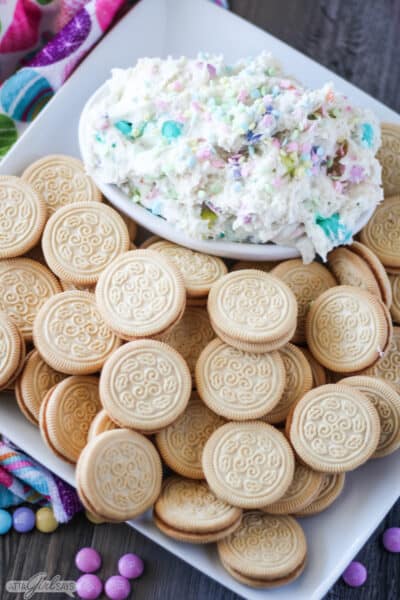
4-Ingredient Easter Funfetti Dip
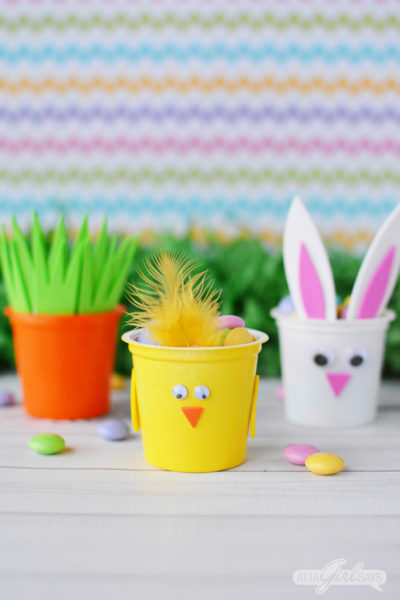
Recycled K Cups Easter Candy Treats for Kids
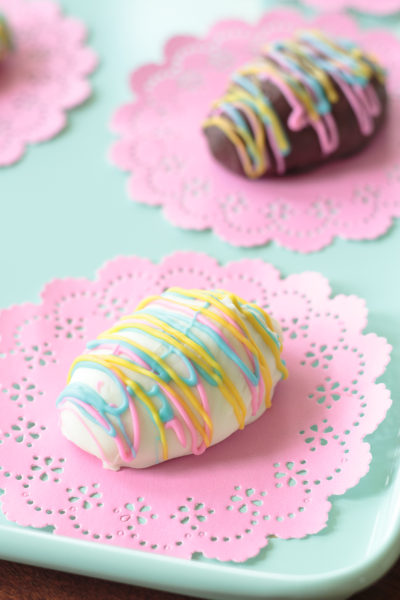
Chocolate Covered Peanut Butter & Coconut Eggs
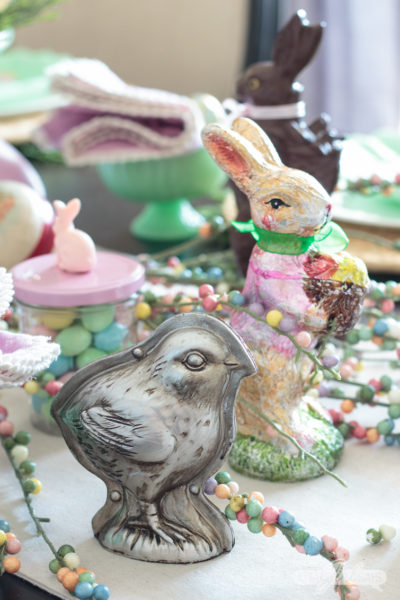
An Ode to Candy Easter Table Decor
Easter Candy Surprise Tissue Paper Carrots
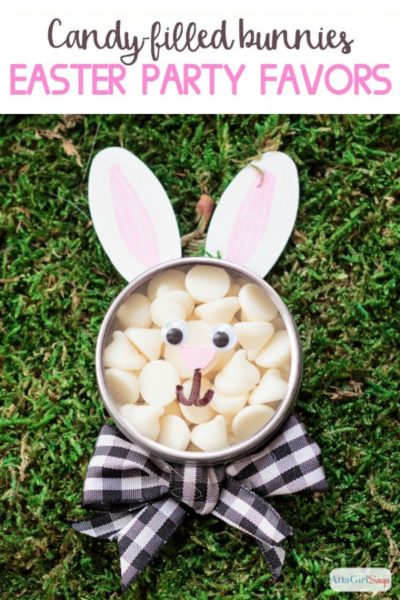
Candy Bunnies Easter Party Favors
Easter Peeps Sugar Body Scrub Soaps
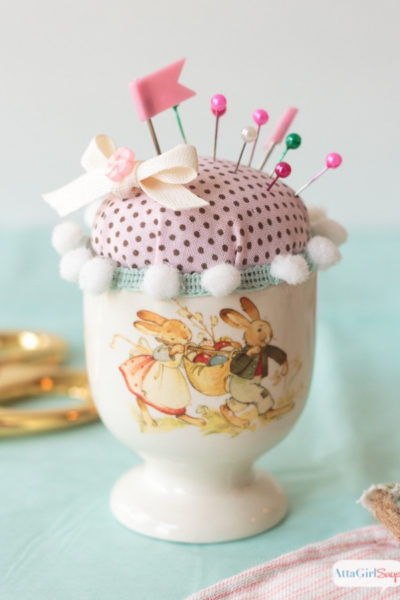
DIY Vintage Easter Egg Cup Pin Cushion
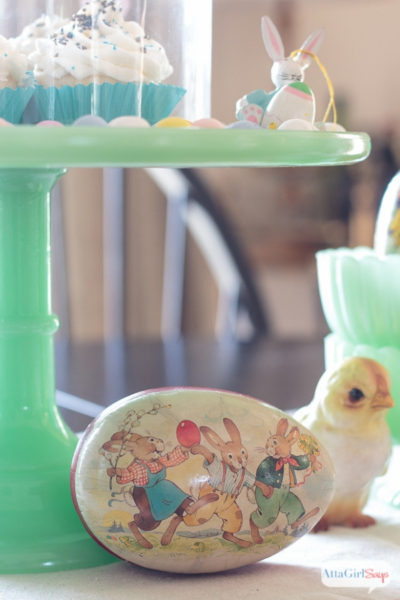
A Very Vintage Easter
Decoupaged Easter Egg Craft
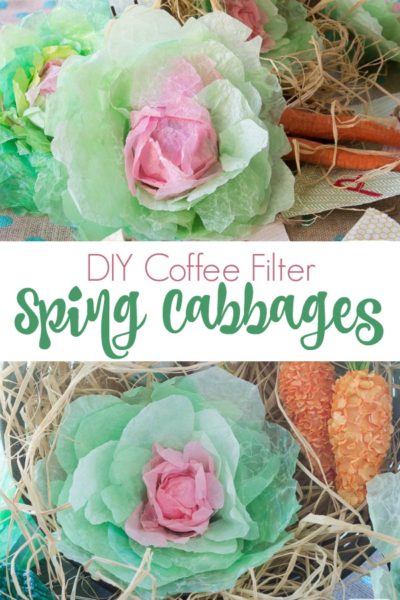
Coffee Filter Crafts: DIY Spring Cabbages