
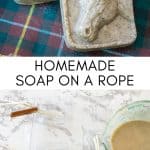
Shower that special guy with love with this DIY soap on a rope. This easy melt-and-pour soap recipe, which you can make in your microwave, combines coffee grounds, coconut oil and goat’s milk with a masculine scent.
I’ve been wanting to try to make DIY soap on a rope for a while, and I’m finally sharing a recipe — just in time for Father’s Day.
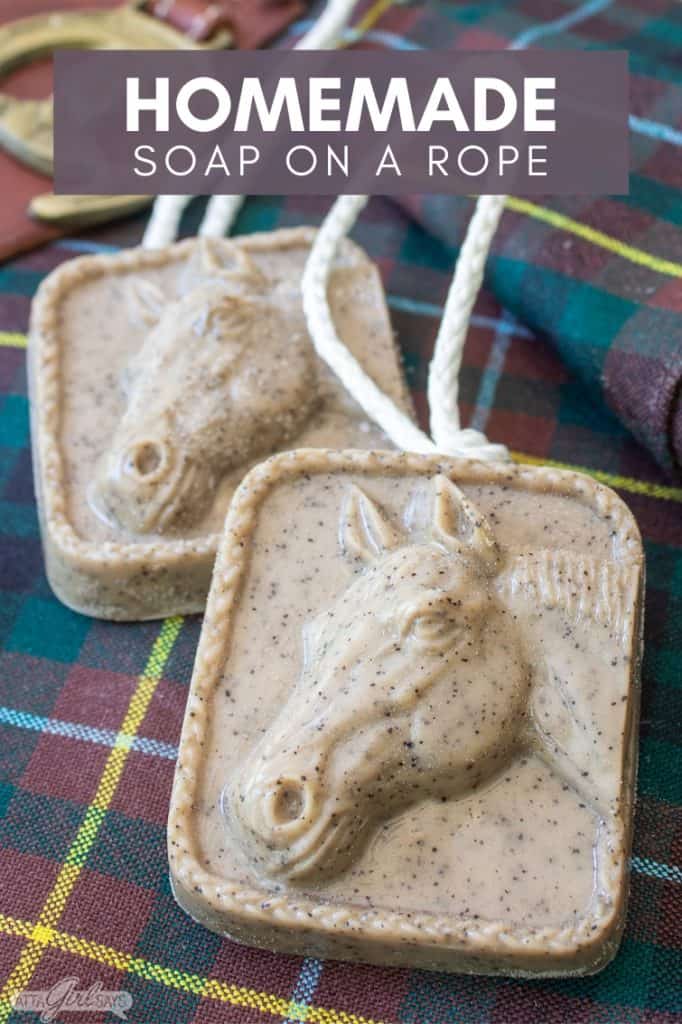
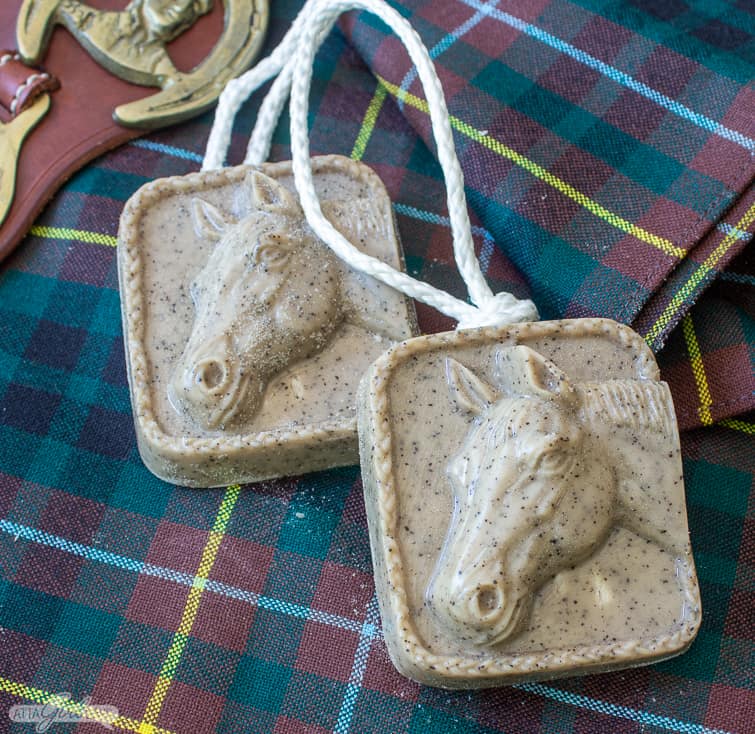
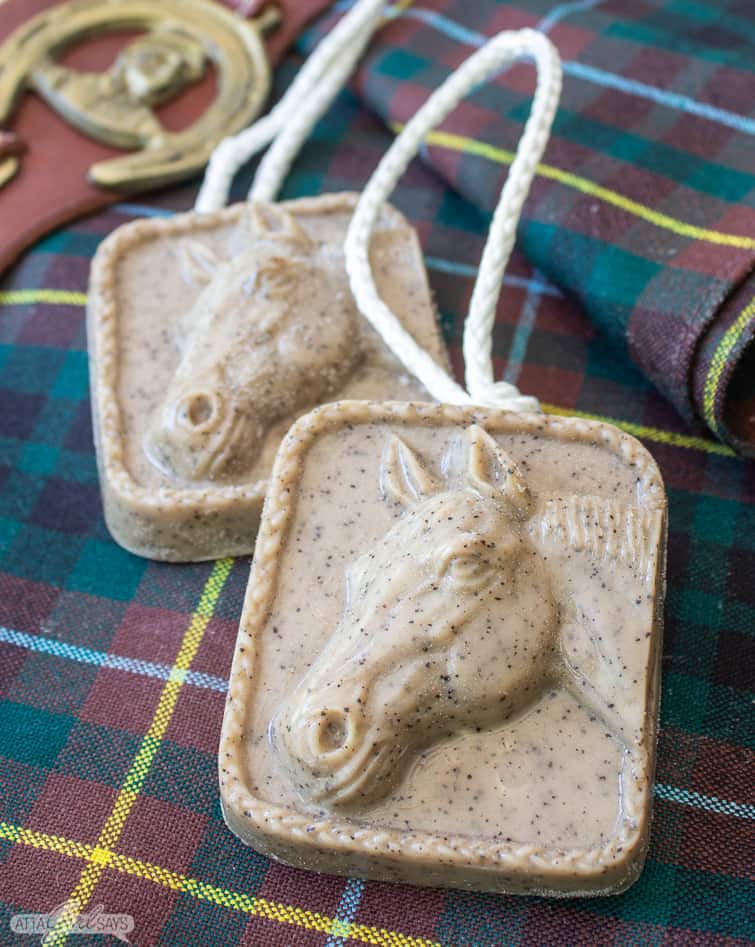
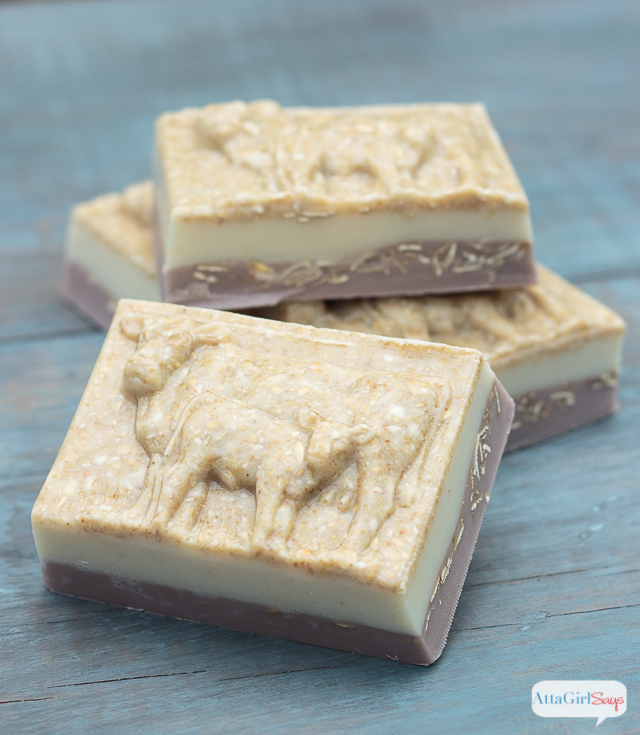
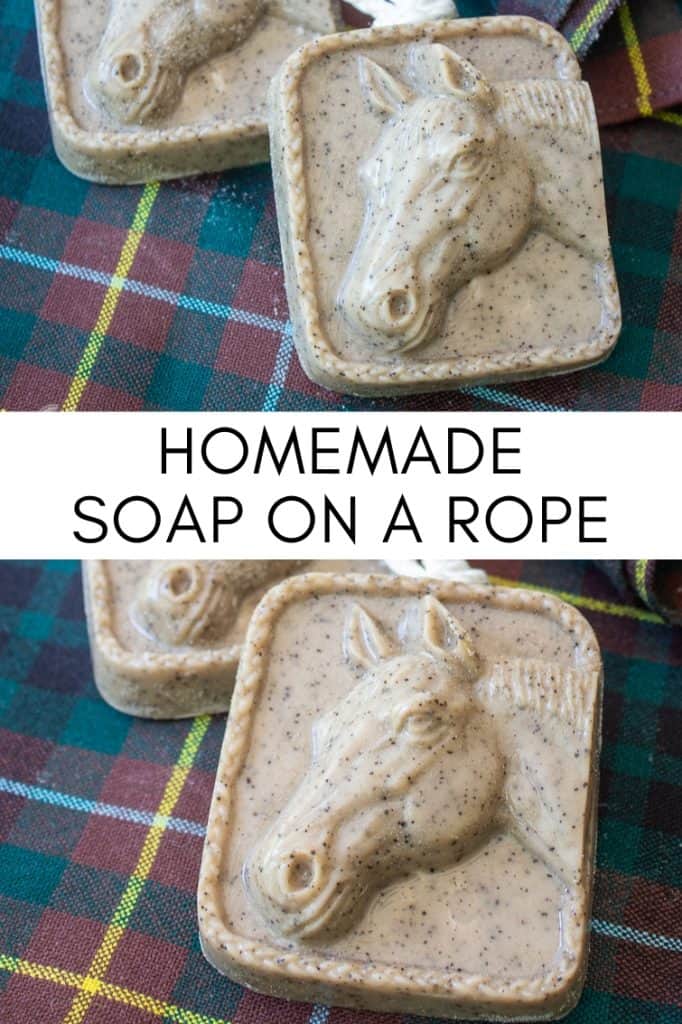
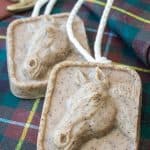
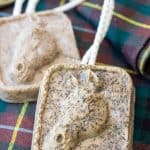
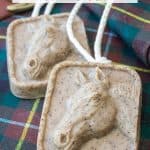
Horse lovers are sure to like this equestrian-themed soap, as well. (Favors for a Kentucky Derby party?)
But the strong, masculine scent makes it the perfect homemade gift for dads, husbands, brothers and boyfriends. He might also enjoy some homemade exfoliating coffee body scrub to use with the soap.
This post contains affiliate links for your shopping convenience. If you make a purchase based on my referral, I earn a small commission, at no additional cost to you. Read my full disclosure policy here.
You can use any fragrance you want when making this soap, as long as you follow the same proportions in the recipe. But I recommend Honey & Leather or Tobacco & Bay Leaf. These scents blend nicely with the coffee grounds used in the recipe, and they also work well with the horse head soap mold.
Supplies to Make DIY Soap on a Rope
- 12 ounces goat’s milk melt-and-pour soap base
- 4-6 milliliters of fragrance oil
- 4-6 milliliters of vanilla color stabilizer
- 2 teaspoons used coffee grounds
- 1 teaspoon coconut oil
- digital scale
- nylon rope
- soap mold
- large glass measuring cup or bowl
- spatula or spoon
- graduated pipettes
- infrared thermometer
- alcohol in a spray bottle
- clothespins

How to Make DIY Soap on a Rope
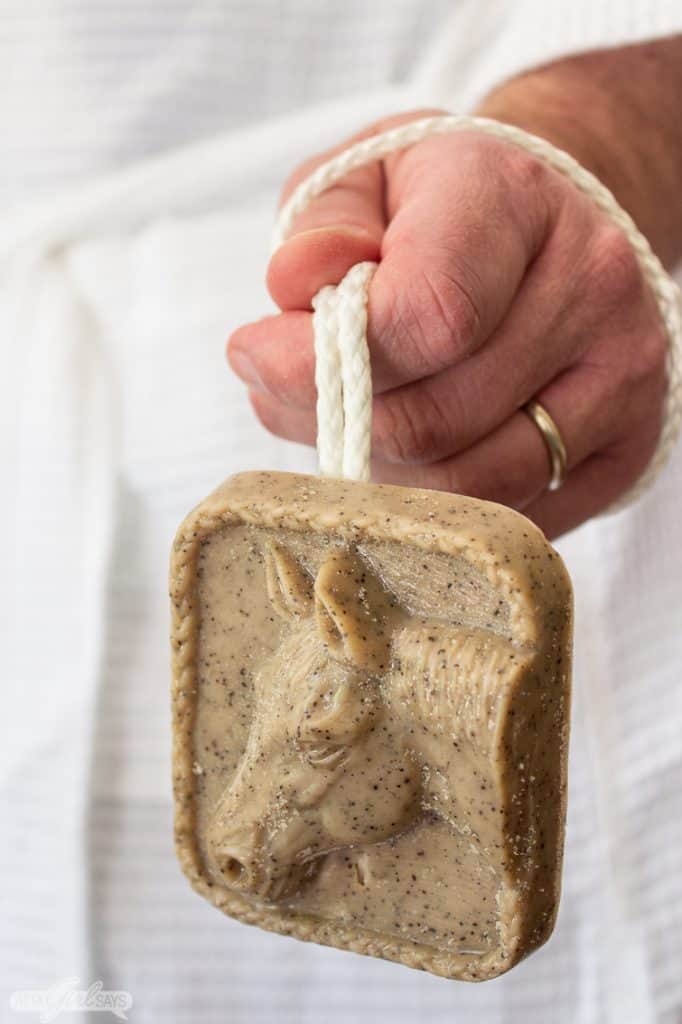
Prepare the soap molds by cutting long lengths of rope. Make sure the rope is long enough to easily slide over a man’s hand when the soap is unmolded. Use clothespins or other clips to secure the rope over the mold. Be sure to leave a long tail, at least 2 inches, to embed in the soap.
Cut the soap into cubes and place in a large microwave-safe measuring cup or bowl, along with the coconut oil. Heat on high, in 30 second bursts, until the soap is completely melted.
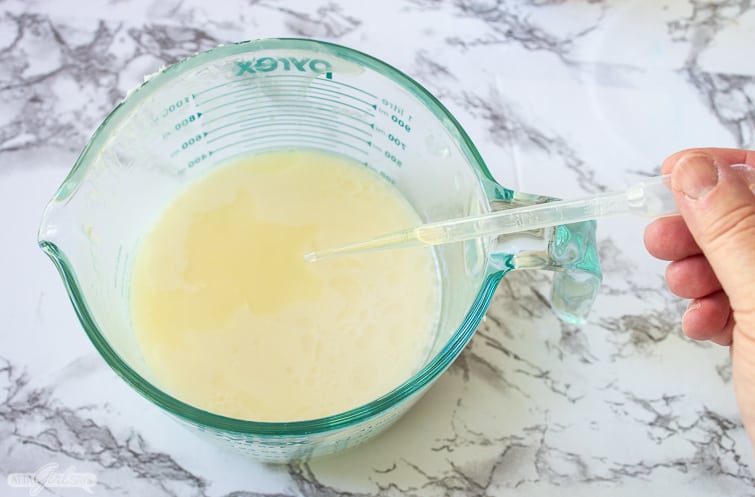
Use a graduated pipette to add fragrance oil and an equal amount of vanilla color stabilizer to melted soap. The vanilla color stabilizer will prevent the soap from discoloring in scents that contain any vanilla. Stir well to incorporate the fragrance throughout the soap.
These masculine scents can be fairly strong, particularly the Tobacco and Bay Leaf, so I recommend using 4 milliliters and adding more, depending on personal preference. You can safely add up to 6 milliliters of fragrance to this recipe, but it will definitely be strongly scented.
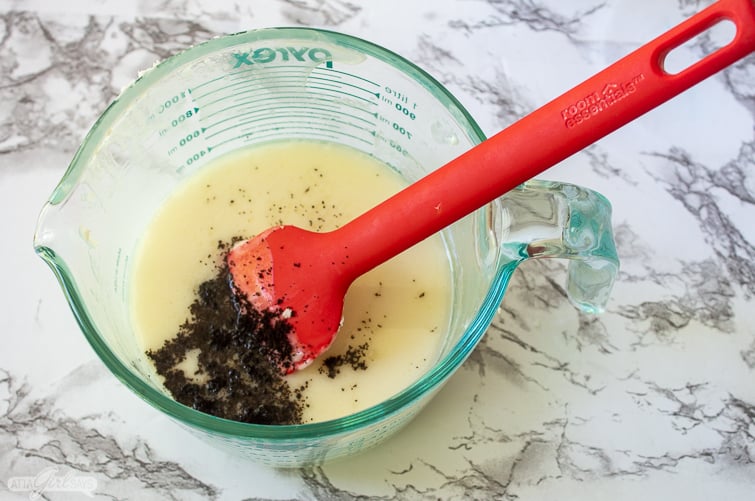
Next, stir in the used coffee grounds. Again, stir well to incorporate the grounds throughout the soap.

Pouring the Soap
Allow the soap to cool to between 120-125° F. This keeps the coffee grounds distributed throughout the soap, instead of sinking to the bottom of the mold. I use an infrared thermometer, aimed at the surface of the soap, to check the temperature.
If you pour the soap while it’s too hot, the coffee grounds will settle as the soap cures and hardens.
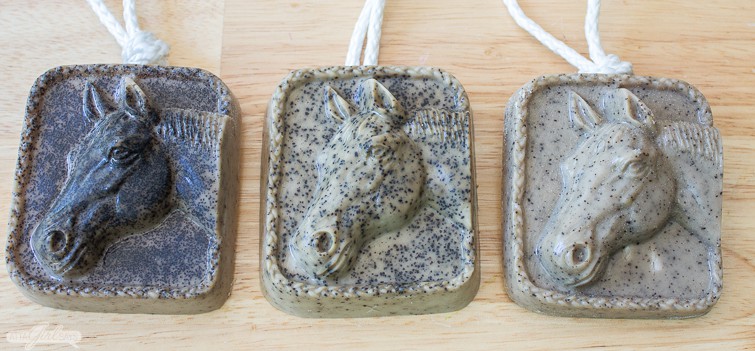
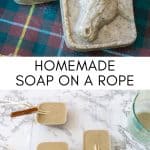
The photo above shows what happens when you pour the soap at different temperatures.
The soap bar on the left was poured immediately after the coffee grounds were added. As you can see, all the coffee settled on the bottom of the mold because the temperature was too high.
The middle bar was poured when the soap was between 130-135° F. The coffee grounds are better incorporated throughout the soap, but more of them did settle into the bottom of the mold.
The bar on the far right was poured when the melted soap was between 120-125° F. The coffee grounds are distributed evenly throughout the bar of soap.

When the soap is the correct temperature for pouring, spritz the mold lightly with alcohol so it will be easier to unmold. Pour the melted soap mixture into the molds, being careful to cover the rope.

After pouring, spritz the soap lightly with alcohol to pop any bubbles. Allow the soap to harden and cure completely for several hours, or overnight, before moving or unmolding.
To remove the soap from the molds, remove the clothespins holding the rope in place. Gently pop the soap out of the molds, pressing from the bottom.

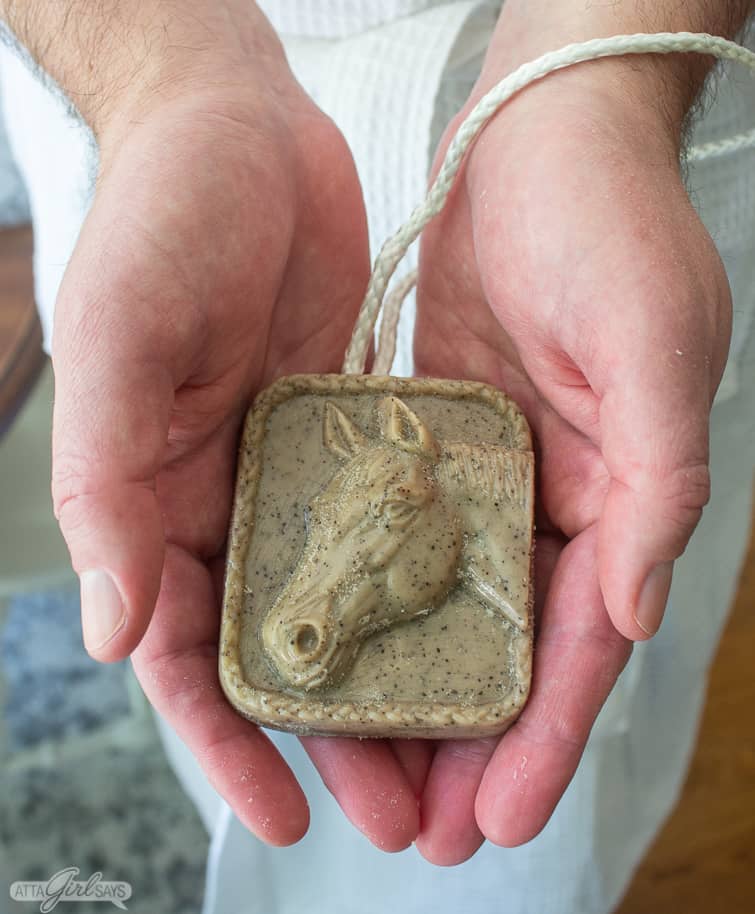
You can leave the rope long or tie a knot, snug with the top of the soap, depending on your preference.
Wrap the soap tightly in plastic.
Variations
As I mentioned before, you can use any fragrance you like in your homemade soap. Just be sure to use an equal amount of vanilla color stablizer if you’re using a scent with an vanilla content. This will prevent discoloration. If the scent you’re using doesn’t contain vanilla, you don’t have to use the stabilizer.
You can also use another mold design for your soap on a rope. Just be sure the mold is deep enough to accommodate the rope.
You can also add rope to a bar of soap after making it. I don’t know that this is as secure as embedding the rope in the soap. But it’s probably a bit easier and quicker.
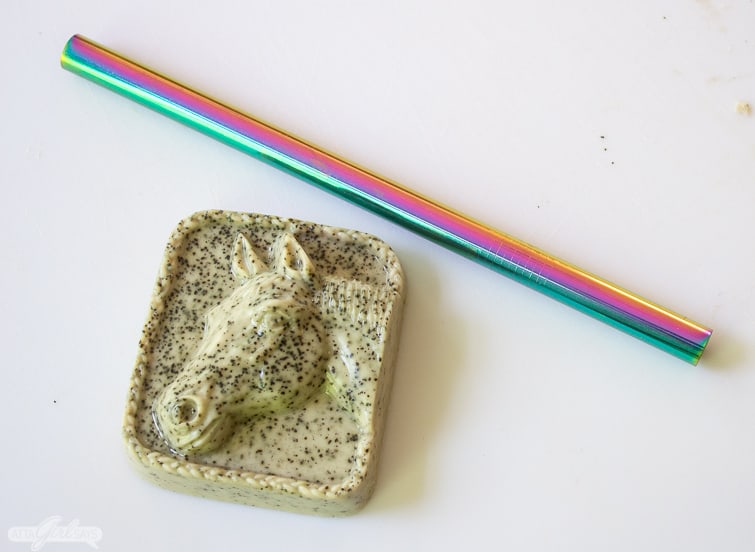
I used a large reusable metal straw — the kind you might use for drinking smoothies or milkshakes — to cut a hole in the bar of soap.

Press the metal straw firmly into the soap, then carefully remove the straw and soap plug.

Loop a piece of rope through the hole and tie to secure.

And there you have it, soap on a rope — two ways!
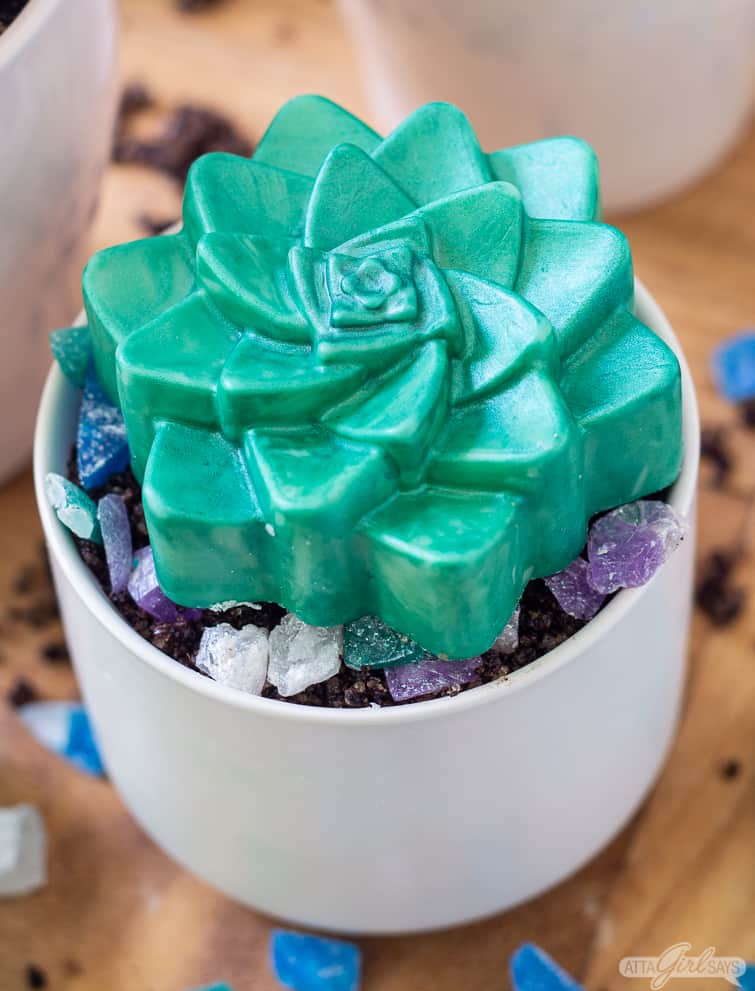
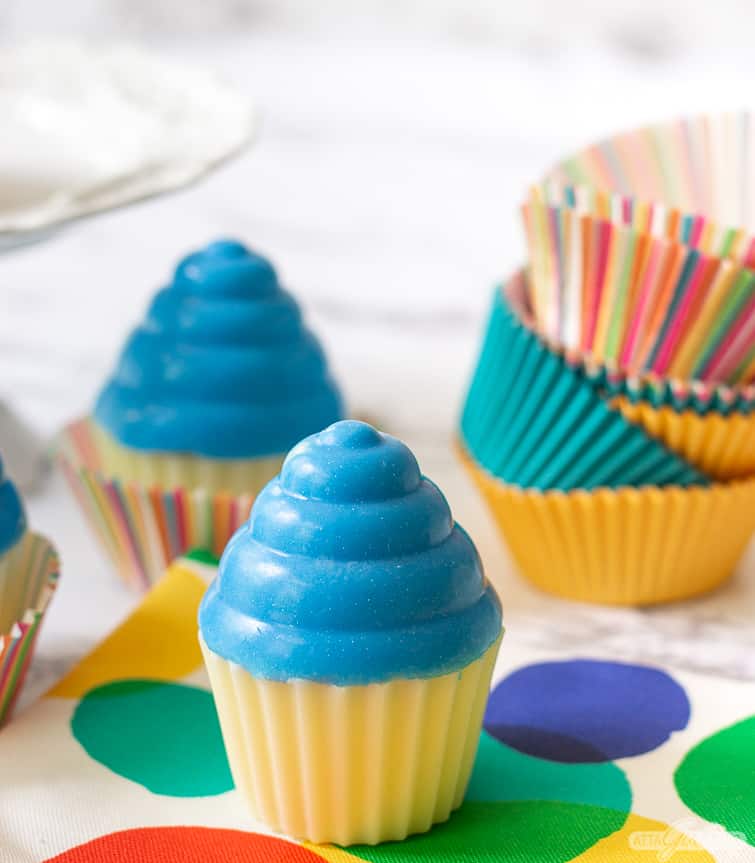
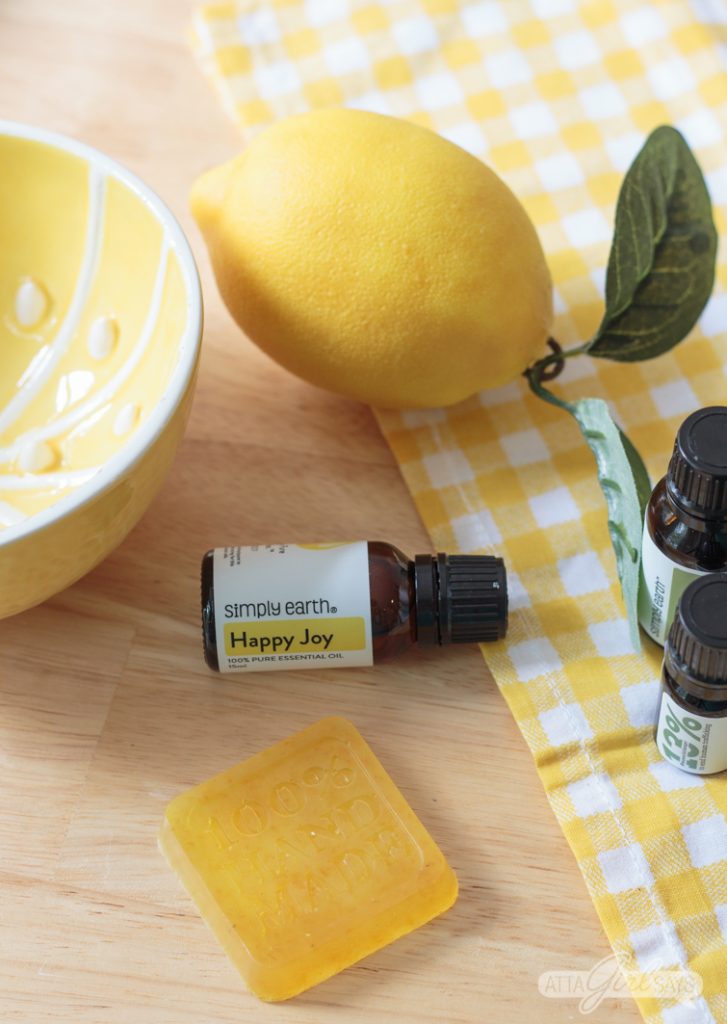
More DIY Soap & Bath ProDucts
If you liked this project, check out these other homemade soaps and bath products you can make for yourself or as gifts.

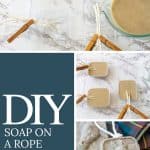
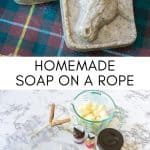
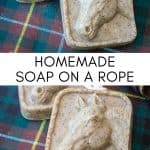
Pin This! DIY Soap on a Rope


Nicole
I love how these horse soaps turned out, you make it looks so easy. What a great gift!
Michelle James
These are awesome Amy! I really want to try this for my Dad & Son. Looking for molds on Amazon, now!