
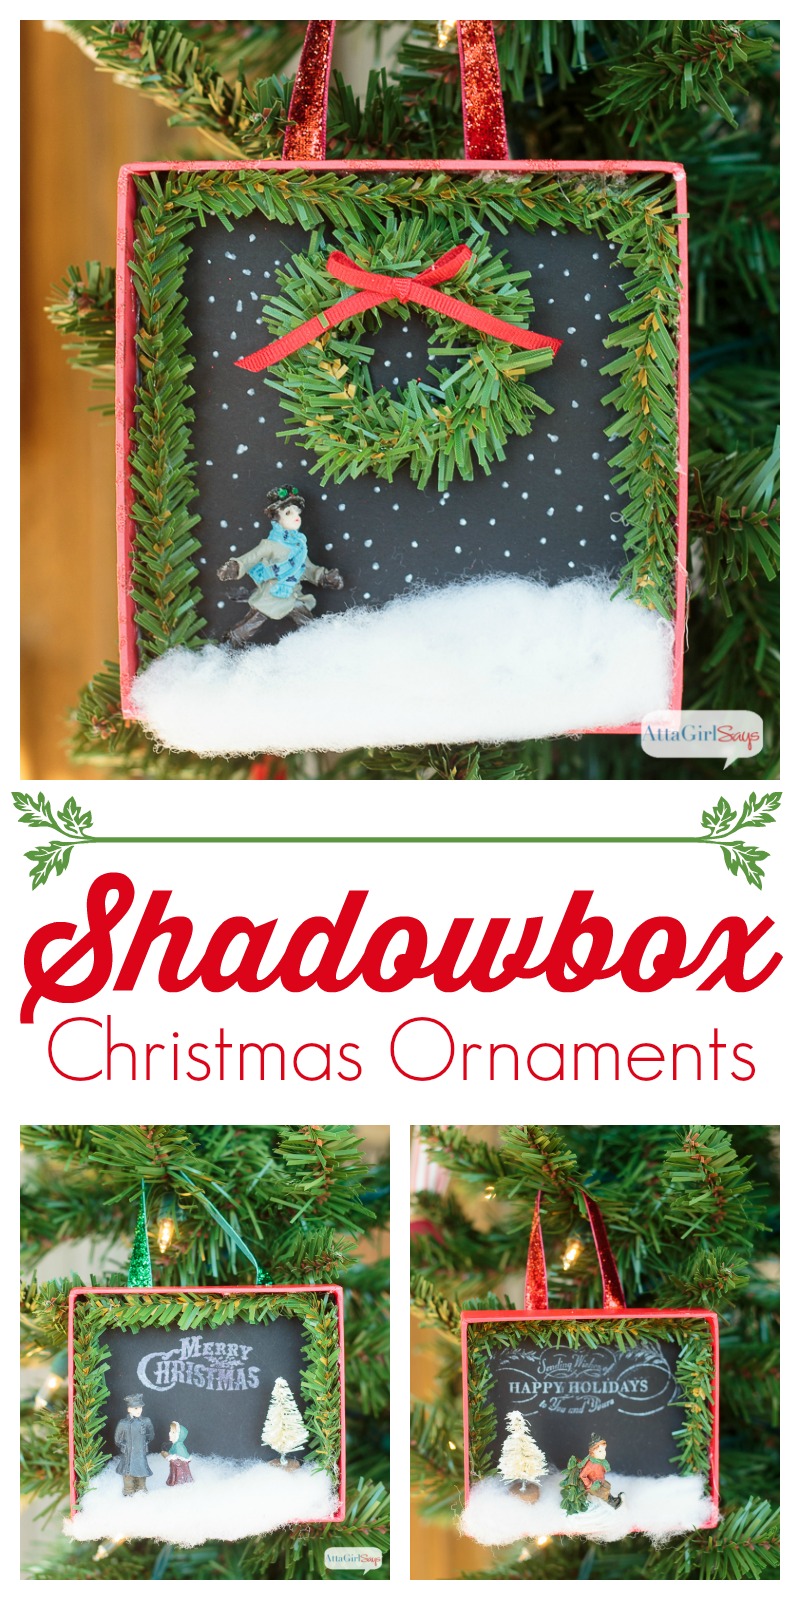
We dropped in at the Pottery Barn Outlet recently, and I saw the cutest shadowbox Christmas ornaments. Then I looked at the price tag and decided I could make some DIY Christmas ornaments, every bit as cute as the originals, but for a fraction of the price.
I first shared this post at Tatertots & Jello around Thanksgiving, but in case you missed it in the aftermath of a turkey coma and Black Friday shopping, I wanted to share here, too, as part of this month’s Celebrations of Home hop with my favorite creative bloggers.

My fun little craft is quick, cheap and easy — plus it’s a great way to reuse old gift boxes.
At our house, we always end the Christmas season with a bunch of boxes with missing tops or mangled bottoms. These DIY Christmas ornaments are a great way to repurpose them.

As I mentioned, this project was inspired by an ornament I saw at Pottery Barn. For their price, you could DIY a dozen of these ornaments!
Supplies:

Disclosure: This post contains affiliate links. When you click and make a purchase based on my referral, I earn a small commission, but there is no additional cost to you. I only recommend products I love and use. Read my full disclosure policy here.
- small gift box
 with lid
 - black card stock
- scissors
- double-stick tape or gluestick
- garland ties or chenille stems
- seasonal stamp
- white craft stamp pad
- white ink chalk pens
- mini bottlebrush trees
- miniature Christmas figurines
- quilt batting
- ribbon
- hot glue
 with lid
 or chenille stems


Instructions:
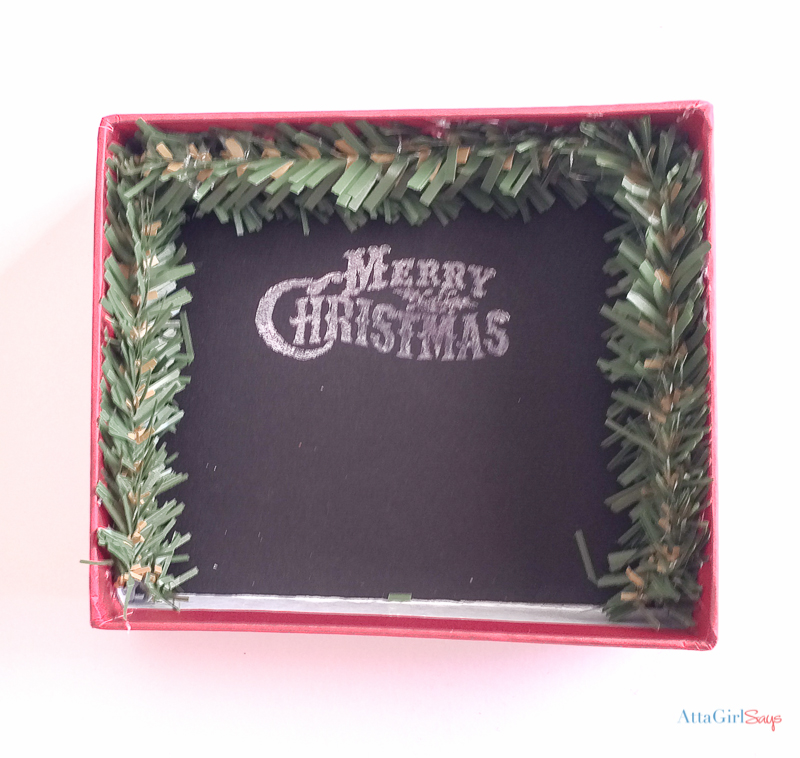
Cut a piece of black cardstock or chalkboard paper to fit the inside of your box. (You can use the top and bottom of each box to make two ornaments.) Secure the paper glue or double-stick tape.

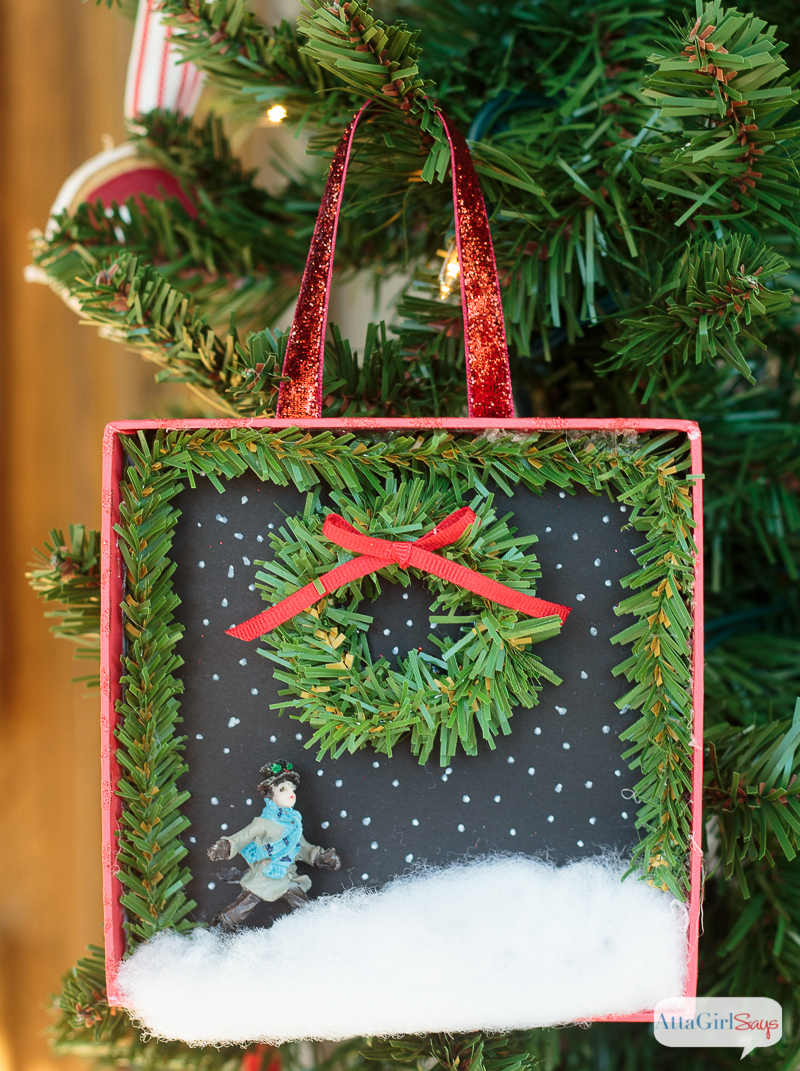
Glue a garland tie, decorative ribbon or a chenille stem around the inside edge of the box to cover any white spots.

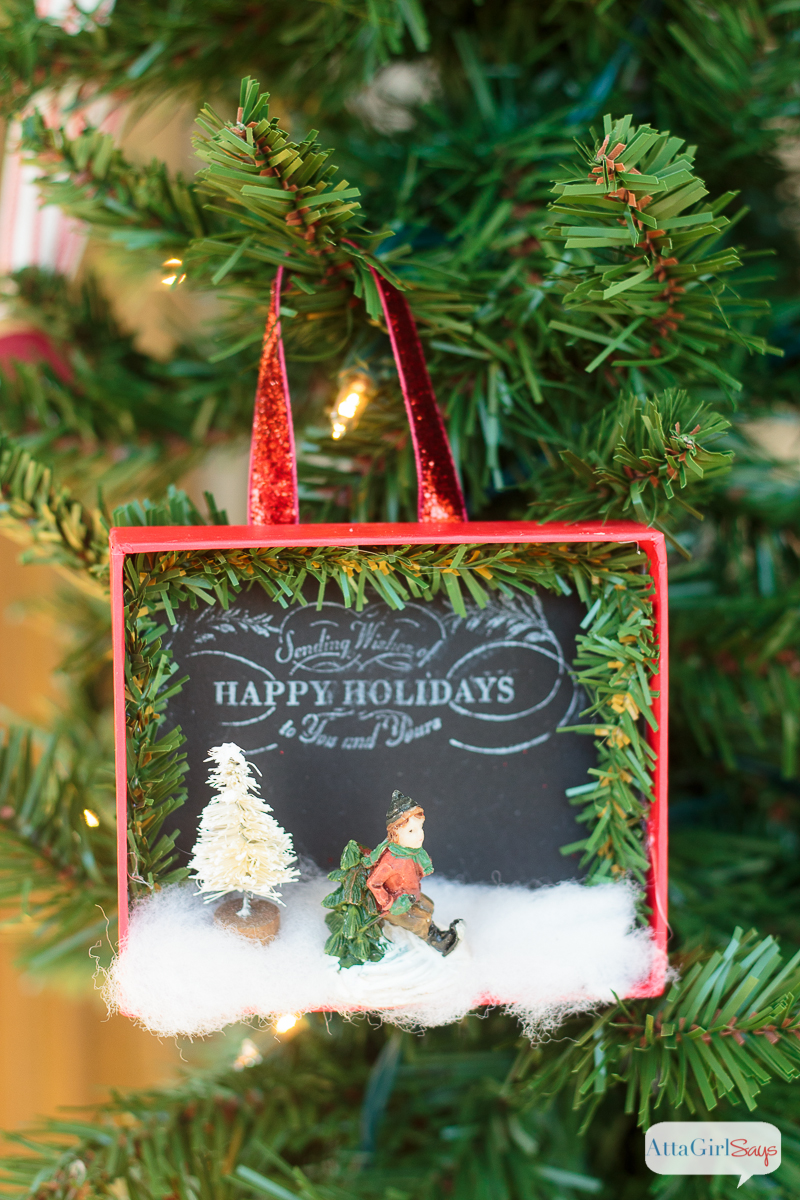
Decide on how you want to place your miniature trees and figures. Then use the white ink to stamp a seasonal message inside the box.
Alternately, you could use a chalk pen to write “Merry Christmas” inside the box or use a free chalkboard printable. There are lots available online.
Another idea is to use a piece of scrapbook paper with a festive print.
Using hot glue, place the miniature figures in the bottom of box.
Use hot glue to add quilt batting “snow” to the scene, working it around the figurines and mini trees. Be careful not to burn your fingers when gluing on the snow.
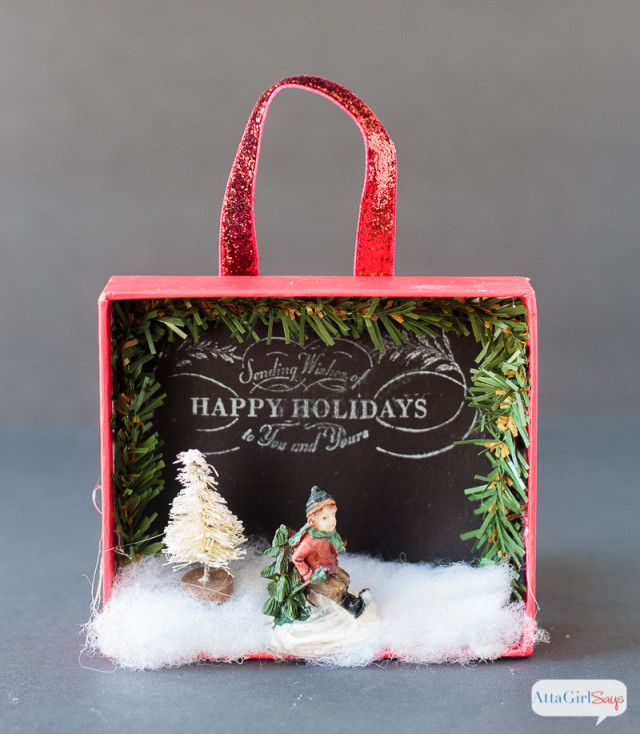
Use hot glue to attach a ribbon hanger to the back of each box.
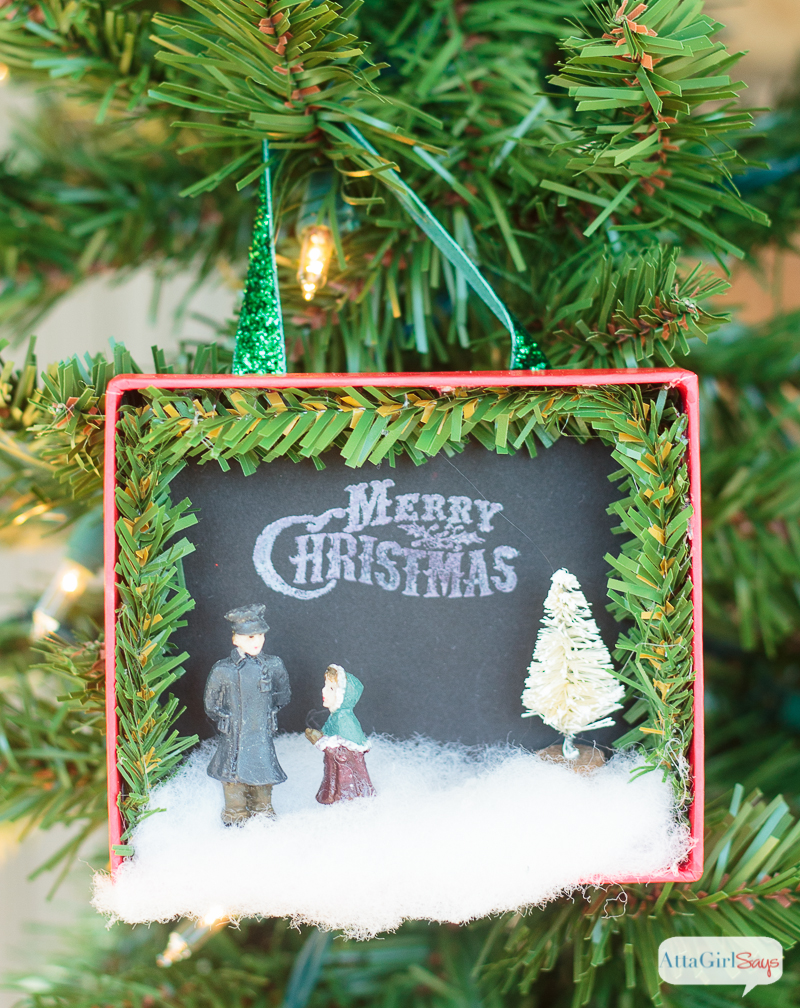
Feel free to add a dusting of glitter to your shadowboxes or use a chalk pen to draw snowflakes, as I did on this version.
In case you’re wondering, I found my miniature figurines at the dollar store, but you should be able to find an assortment of them at your craft store. I’ve linked to a few options
 on Amazon in the supply llist.
You’ll also find bottlebrush trees and miniature gift boxes there, too, if you don’t have any in your gift wrap stash. And feel free to use patterned card stock in your boxes if you want to skip the stamping step.
I loved how these turned out, and I can’t wait to make more.
Confessions of a Plate Addict
What a cute idea! My little grands would love doing this! Hugs…Debbie
Linda
Extra cute. Thanks for the tutorial. Merry Christmas, Linda
Suzy @ Worthing Court
These are so adorable, Amy! I love that they look like they tell a little story.