
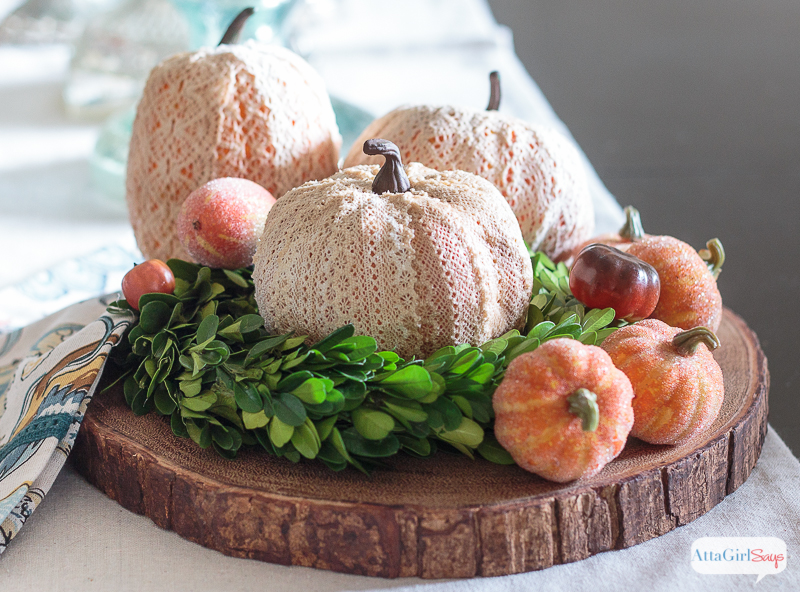
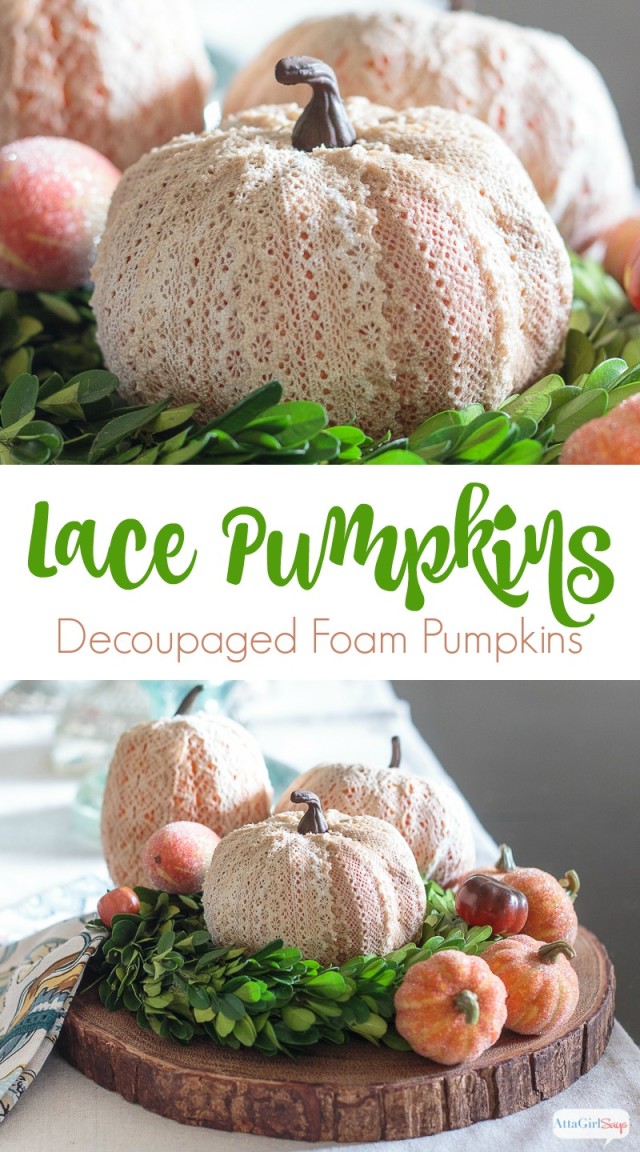
Use crochet lace ribbon and decoupage glue to transform inexpensive foam pumpkins into stunning seasonal decor for fall.
I tend to go overboard with fall decorating. I can’t get enough of pumpkins, apples, gourds and fall foliage. But all those trips to the orchard and pumpkin patch can really add up!
So I love to mix in faux pumpkins and apples along with the real. But I don’t always love the way the fakes look. Thankfully, there are lots of crafty ways to transform foam pumpkins and apples. Plus, you can use them year after year, unlike the real thing.
Disclosure: This post contains affiliate links for your shopping convenience. I only recommend products and companies I love. Read my full disclosure policy here.
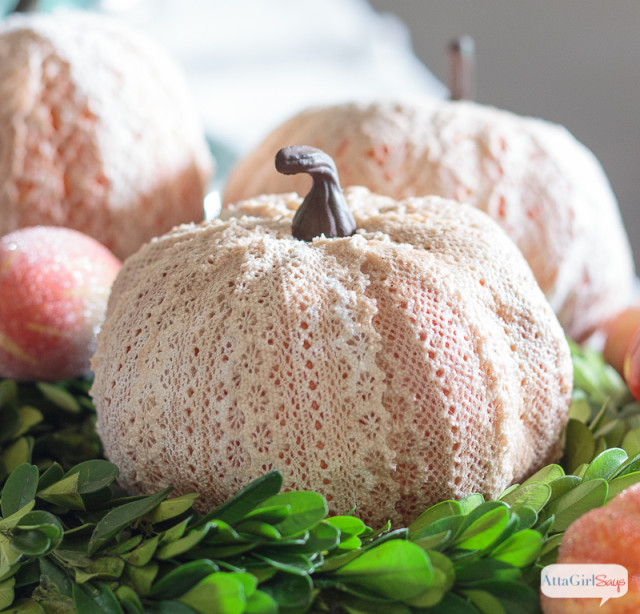
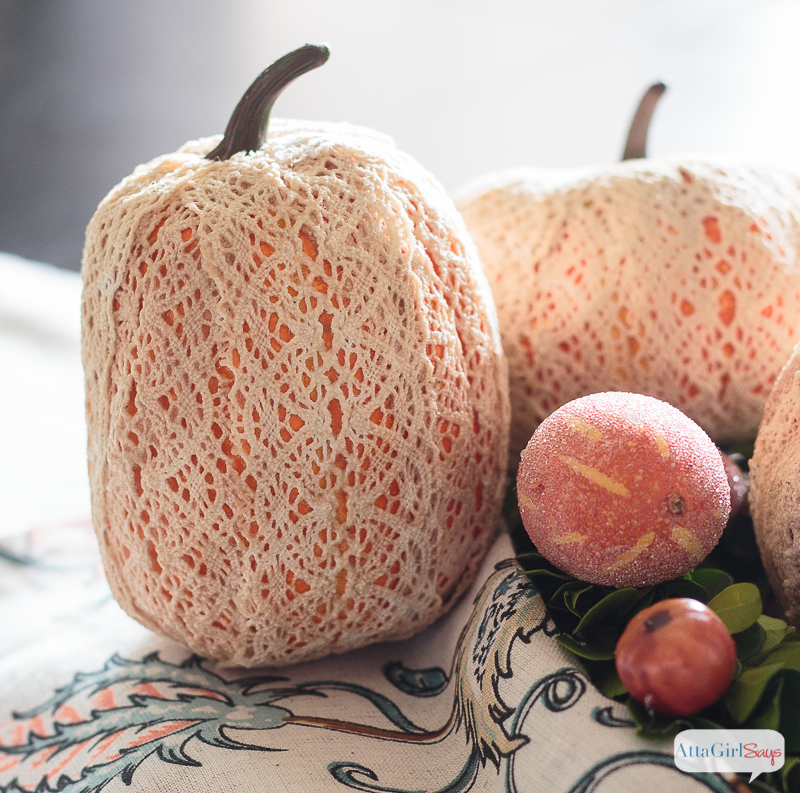
For this project, I decoupaged crochet lace ribbon over foam pumpkins to use in my fall displays. I love the vintage look of these pumpkins.
Dollar Tree is my favorite place to buy foam pumpkins. Because where else are you going to find a pumpkin for $1? I also buy larger craft pumpkins or multi-packs of mini pumpkins and gourds at Michael’s.
I’m normally not a fan of the over-bright orange color on these foam pumpkins. But for this project, I liked how the orange played peek-a-boo through the holes in the lace ribbon.
However, if you like, you can paint the pumpkins before applying the lace. For a neutral look, paint them to match them cream or white to match the lace. Or choose a contrasting shade to match the colors in your home.
Supplies
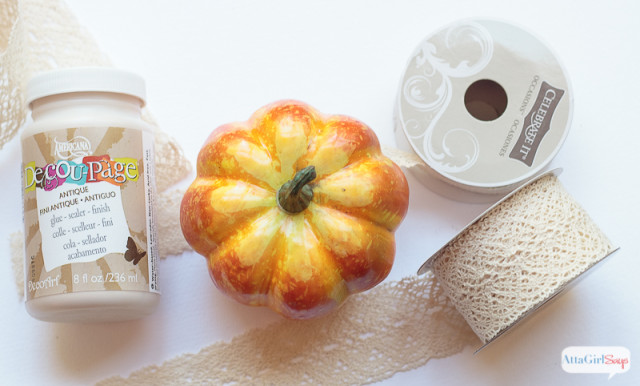
Foam pumpkins
Crochet lace ribbon
Scissors
Decoupage glue
Foam brush
Brown craft paint
Paintbrush
Spray adhesive, optional
Instructions
Remove the stems from the foam pumpkins and paint them brown.
Cut strips of lace ribbon, long enough to cover the pumpkin from stem to base.
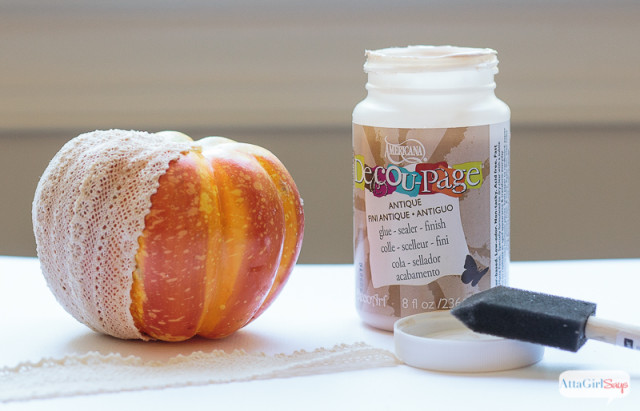
Use the foam brush to apply a thin coat of decoupage glue to the ribbon. Apply the ribbon, glue side down, to the pumpkin, then brush over the top with a thin coat of decoupage glue.
Decoupage glue comes in many different formulations – matte, gloss, glitter and more. I used an antique formula to give these pumpkins a vintage look. When dry, it adds a brown tint to the ribbon.
Continue applying strips of ribbon to the pumpkin, overlapping slightly. With these mini pumpkins, I found it easiest to work in small sections, applying three or four strips and allowing them to dry before continuing.
Once the entire pumpkin was covered with ribbon and dried, I added another coat of decoupage glue to the surface to seal it.

If you prefer to work more quickly, you can use spray adhesive to attach the ribbon to the pumpkins. (I used Elmer’s Fast Tack Spray Adhesive.)
Spray a thin coat of adhesive to the back of the ribbon and apply to the pumpkin. Continue until the entire pumpkin is covered with ribbon, then seal with two coats of decoupage glue.
The more coats of antique decoupage glue you apply, the darker it will stain the lace.
For more ways ideas for crafting and decorating with foam pumpkins, check out these posts:


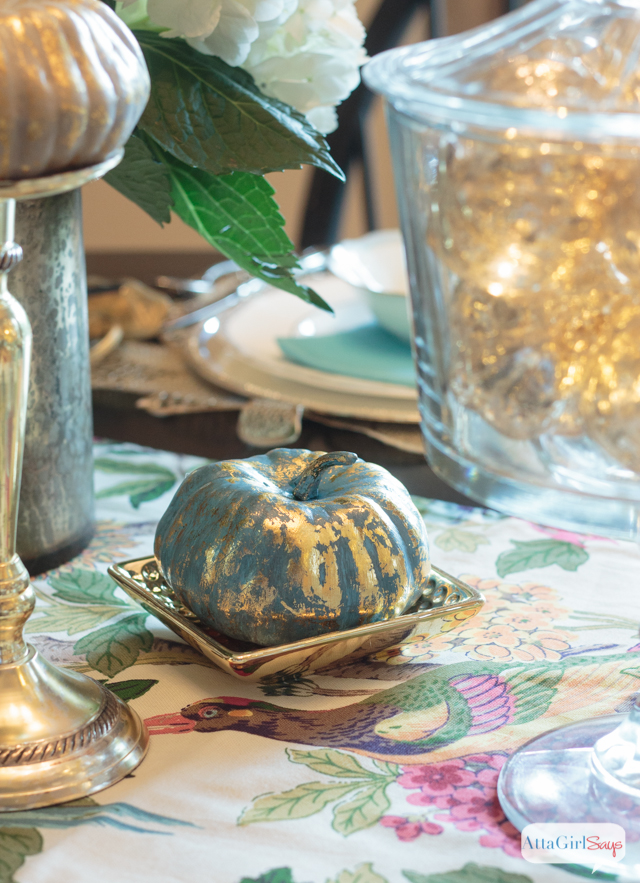
Jewel Tone Mantel Decor with Painted Foam Pumpkins
Leave a Reply