
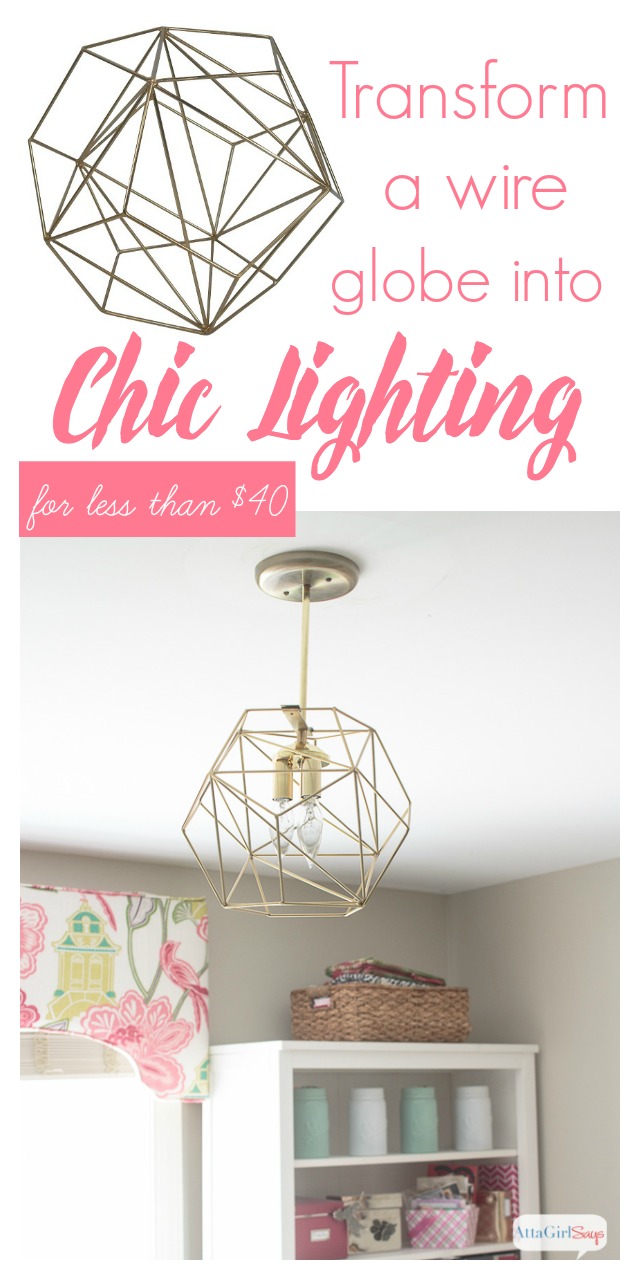
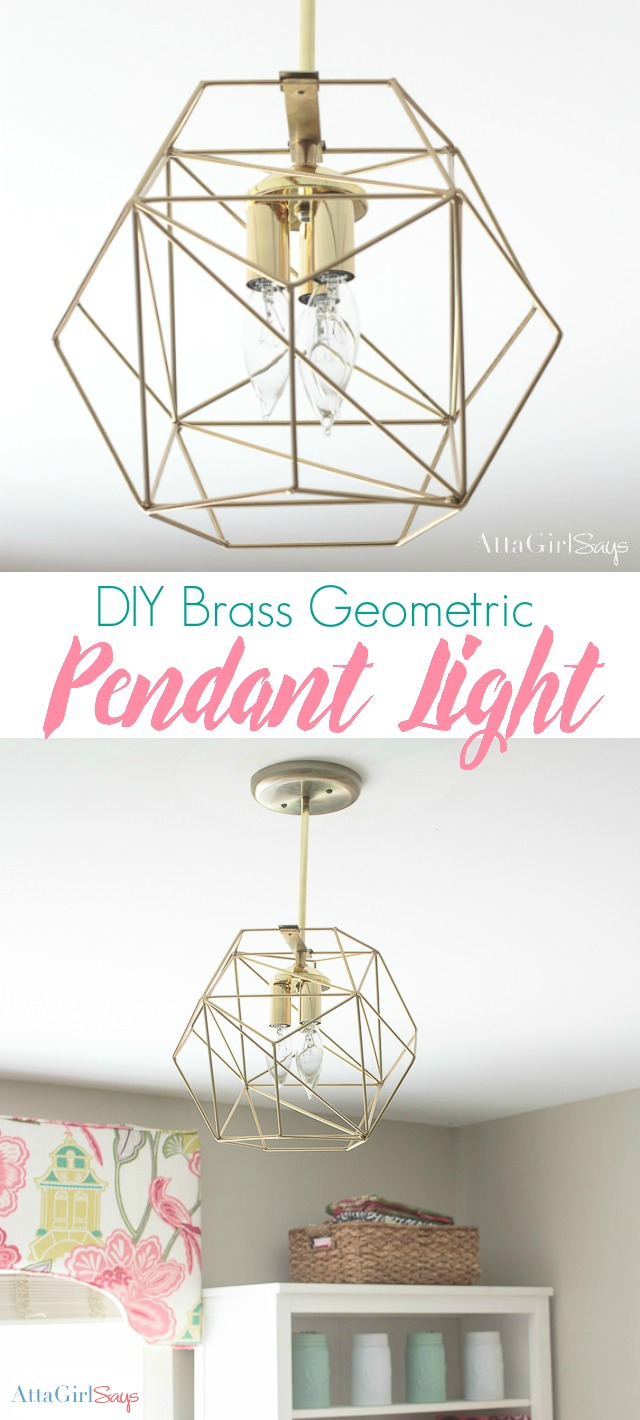
Why spend hundreds on a chic geometric globe pendant light when you can DIY one for less than $40?
Geometric globe pendant lights are so chic, but it’s impossible to find an affordable version. I know because I’ve been searching for one ever since I updated my my office and craft room.
Disclosure: This post contains affiliate links, but I only recommend products I love. If you make a purchase based on my referral, I will earn a small commission, at no additional cost to you. Read my full disclosure policy here.
So what did I do? I made my own for less than $40, using a $20 decorative brass figurine from Target and some basic lamp parts. (OK, so my Dad, who is a retired electrical engineer and steampunk lamp maker, made it for me, but I was there to take photos and assist.)
Our inspiration was a gorgeous, but pricey brass ceiling light from Pottery Barn Kids. $299? No thank you!
I love our $40 version, and the extra money I have left in my wallet.
Want to make your own globe pendant light? My dad is going to show you how.
But first, I should preface these instructions with a warning that you should always be careful undertaking any DIY project, especially one involving electricity. Be sure to turn off the electricity before installing new lighting or working with wiring. Projects such as this one involve inherent risks. Please be sure to use all safety precautions when using power tools, working with electricity or other dangerous objects or materials. If you do not have experience or expertise working with electricity and wiring, you may want to hire or consult a professional.
Supplies
- Crossbar
- Brass canopy
- 8-inch brass-plated pipe
- Pipe coupling
- Pipe nipple, 3/4″ long
- 4 brass lock nuts
- 3-lamp brass cluster or antique brass-plated socket
- 2 brass screws, 2″ long
- 2 18/2 lamp wires, 2 feet
- 2 ground wires, 2 feet
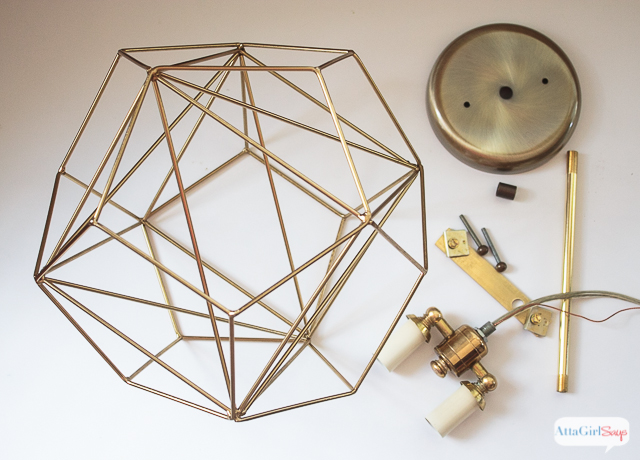
- Brass figurine
- Flat brass stock
With the exception of one item, we bought all our lamp-making supplies from TX Lamp Parts. I’ve linked to the specific products above. The most expensive item was the 3-light brass cluster to hold the light bulbs, which was $12.50. (You could also use a cheaper single socket, depending on your lighting needs.) Everything else we used cost less than $2.
In some of these how-to photos, you will see a two-light socket that we repurposed from an old pendant light. After testing, we ended up switching that socket out because the exposed light bulbs, even at 40 watts, were too hot to use with the plastic chandelier candle covers. Since this fixture is hanging in my office, I also needed the additional wattage that the three-light socket provided.
Since the bulbs in this fixture face downward, we recommend either a single socket or the 3-light cluster from TX Lamp Parts. (This is the socket TX Lamp Parts recommended to us.) Always use the wattage recommend.

We started with this abstract wire geometric figurine from Target. But you can find similar versions at lots of home decor stores. Just be sure to select one that will be large enough for the space where you’re hanging the light.
The trick was figuring out how to attach the light socket to wire figure.
For that, my dad used a piece of flat brass stock he had in his workshop. You should be able to find similar pieces at the hardware store, a sheet metal dealer or online. Just be sure that the brass stock is at least 1/8-inch thick and 3/4-inch wide. Cut to the brass stock to the required length for your fixture and drill or thread holes for the clamping screws and the fixture pipe.
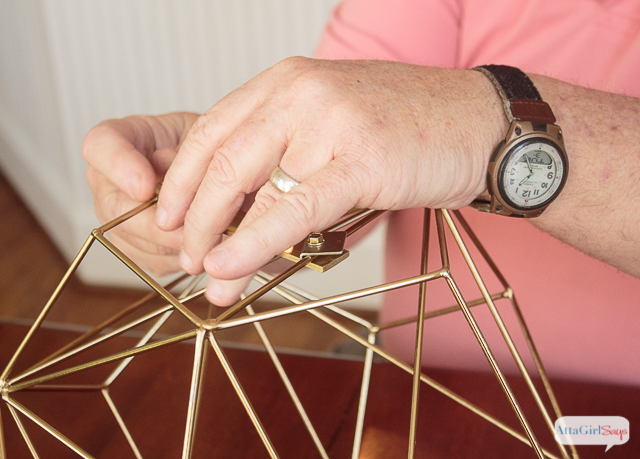
Here you see my dad attaching the brass stock it to the Target figurine. He is essentially sandwiching the wire figurine between a long piece of brass stock and two shorter squares of brass stock at each end, secured with clamp screws and nuts. (See the diagram elsewhere in this post for the exact configuration.)

Now, we’re ready to assemble the light fixture.
As you can see from the photo above, you don’t necessarily want the hole for the pendant pipe in the center of the brass stock. The wire figurine is an abstract shape, different on each side, so you’ll need to figure out how to place the pipe so it hangs level and so that the socket is centered in the light fixture.

Next, thread the wired socket through the hole in the brass stock and attach using locknuts.
Here’s where having an electrical engineer for a dad really comes in handy. He’s created a diagram that shows exactly how you assemble the globe pendant light fixture.

The numbers on his drawing correspond to the numbers on the supply list above. Click the photo above or here to download a printable version of the diagram.

Next, thread the lamp wires through the brass pipe.
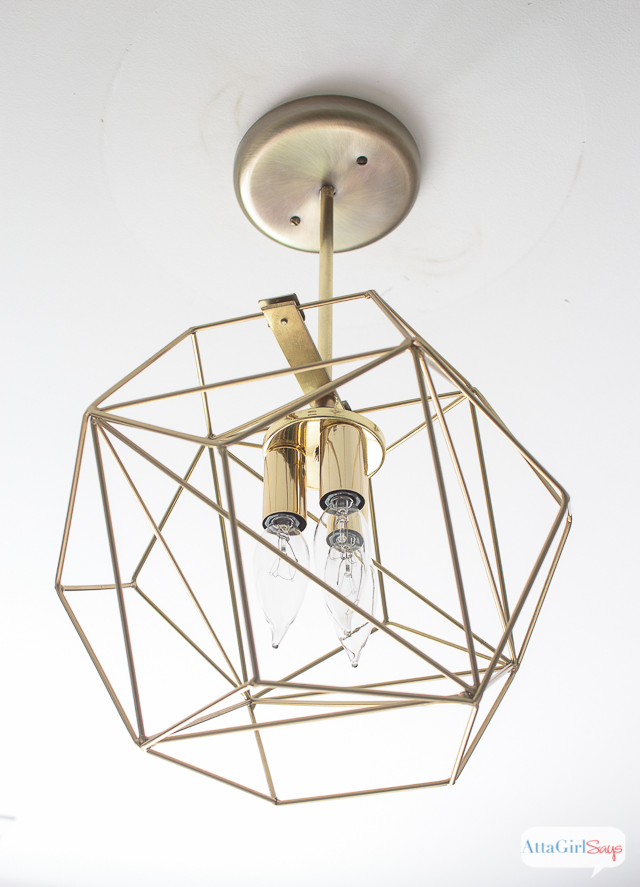
That’s the basic assembly, except for installing the canopy and hard wiring the fixture into ceiling.

I was so happy to get rid of the basic builder dome light in my office.

My dad was able to use the existing wiring and junction box to mount the new fixture.

I’m not going to walk you step-by-step through the installation because I’m not an electrician. And there are lots of tutorials online by pros that will show you how to rewire and change a light fixture.
Every home’s wiring is different, and each fixture presents its own challenges. So, if you don’t know what you’re doing, better to leave it to the pros.

For instructions on how to assemble the canopy, please refer to the printable diagram my dad provided.

Now let’s gaze at the awesome brass geometri globe pendant light my dad made for me (and not at the ceiling that I need to touch up.)

I might be 40-something, but I can still count on my Daddy (and my Mama, too) to help me out with a project.
I’d say we make a pretty good DIY team.
If you love this project, be sure to pin it. And if you have any questions about how we made this DIY globe pendant light for my home office, leave a comment below and I’ll have my Dad respond.

See more of my craft room makeover, filled with lots of clever DIY projects, here. There are a couple of lamp makeovers.

If you’re stumped about chandeliers and lighting fixtures, you need my By the Numbers Guide for Choosing a Chandelier, including instructions on how to hang lighting, buying the right size fixture and making sure you have enough light to illuminate your room.
Laura
I love this! Such a creative idea. I see these orbs all the time at Target and think they are so cute. I would have never thought to make one into a light. Thanks for linking up to The Creative Exchange. We will be featuring your project this week!
Tania
Love this project! It turned out so pretty, so much better than the boob light! My dad helps me with projects still too and I’m in my late 40’s! Thanks god for awesome talented dads!
Tania
Crystal
Great idea! I hate the dome in my home office too. Theres not enough light! Lucky for me I am married to an electrician! Thanks for sharing at #HomeMattersParty Hope to see you back!
Hatton
Love the pendant! I discovered your blog through the wine down Wednesday blog hop – that window treatment fabric caught my eye and I was so excited to discover you posted a link to it in your craft room makeover blog post!! Thank you! Gorgeous room. You are so talented!!
Atta Girl Amy
Thank you so much, Hatton. You are too sweet. I can’t take too much credit for the pendant; that was mostly my dad’s handiwork. But I am so glad you liked my craft room makeover. That fabric was kinda one of those “have to have it” things. I totally fell in love with it after I saw another blogger use it on a chair makeover. I had to email her for the fabric name so I could find it for my craft room.
Karla @SmallTownRambler
What a great idea and this is absolutely beautiful! My Dad is an electrician and installs anything electrical for me…and I am happy to let him do that! 🙂
Atta Girl Amy
It’s great to have a handy dad who is willing to do the tricky projects for us. I can’t tell you how many times my dad has installed lights or repaired lamps or fixed cords for me over the years. I bet yours has done the same countless times.
brooke
This is so cool!!! Pinning for sure!!!
Kate
Great tutorial for a budget friendly light fixture! It’s really handy to have all of the supplies matched up on the diagram 🙂
Lara
great idea! I love it! I love the drawing diagram.
Atta Girl Amy
Glad you found it helpful. The diagram was my dad’s doing. It really does come in handy. (I guess engineers really do know what they’re doing!) I’m thinking I should include similar schematics in other blog posts. I think they would be useful to readers on certain projects.
Erin Spain
I love your light fixture, Amy! Great minds do think alike. Your dad seems much happier to be hanging it than my husband was when I made him do it! LOL
Atta Girl Amy
Totally. And when my dad helps me with projects, we never argue. Doesn’t always work that way with my husband, though. I guess I don’t boss him around like I do my hubby.
Anita
This is awesome! Thanks for sharing at Create Link Inspire.
creativejewishmom/sara
I just love it! thanks for sharing on craft schooling sunday!
Chelsee
This is so cute! I think it adds a unique design to the room. Thanks for linking up this post to the Best of the Blogosphere Linky party!
Leslie Ibanez
Who doesn’t love a good budget-friendly knock-off? Honestly, I like yours better than the original! Thanks for the tutorial!
Atta Girl Amy
Thanks so much!
Mrs Major Hoff
Love so much! I love how it’s trendy but still easy on the budget. You are ahhhhmazing! Off to Target!