
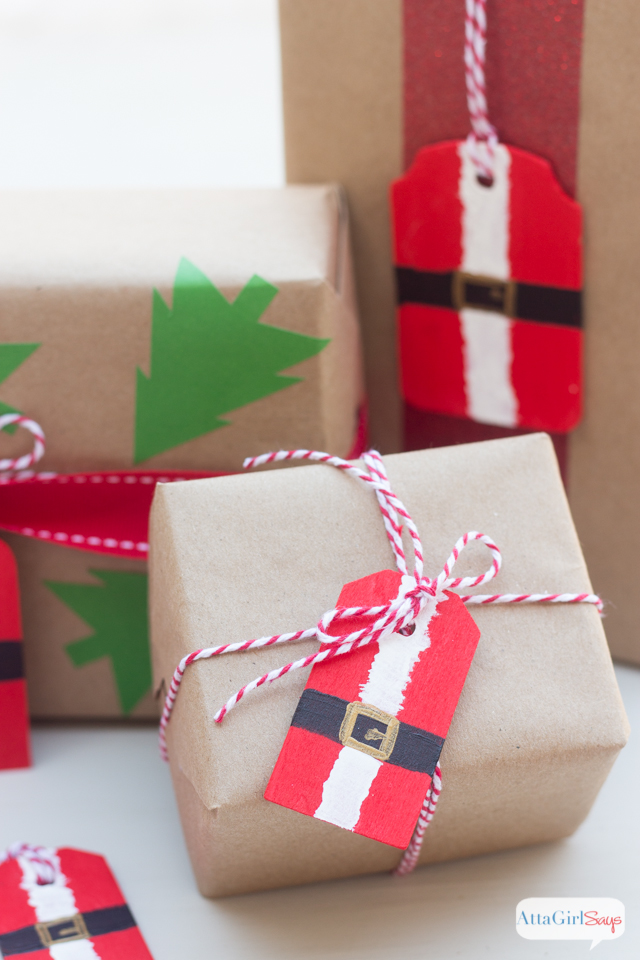
Before you head out to the store to buy expensive Christmas wrapping paper, ribbons and bows, dig around in your craft supplies. You probably already have everything you need to wrap your gifts beautifully.

These glittered package toppers are really easy to make, and they really dress up plain chalkboard paper or kraft paper.

They’re just one of the crafty and inexpensive Christmas gift wrapping ideas I’ll be sharing with you today.
Disclosure: This is a sponsored post, and it contains affiliate links. But all opinions are honest and my own. Read my full disclosure policy here.

I recently found these wooden Christmas cutouts at the Target dollar spot. The snowflakes (similar to these) are self-adhesive, which makes them perfect for Christmas gifts. The wooden “joy” sign can be repurposed as holiday decor, so it’s a gift in itself.
You’ll also need:
- DecoArt Americana Multi-Surface Metalic Paint in Gold
- DecoArt Americana Paint in Grey Sky
- DecoArt Dazzling Metallics Paint in Silver Sage
- DecoArt Crystal Glamour Dust
- DecoArt Gold Glamour Dust
- DecoArt Americana Paint in True Red
- Red German glass glitter
- Chunky gold glitter
- DecoArt Decou-Page Glue, satin finish

When you’re glittering a wooden surface, I recommend painting it first in a color that matches your glitter. That way you won’t be able to see any raw wood spots in the finished product. I painted this Santa sleigh with red acrylic paint from DecoArt.

For these silvery snowflakes, I used DecoArt Dazzling Metallics Paint in Silver Sage. For the best coverage, I recommend using a basecoat in a similar shade underneath the Dazzling Metallics paint. (I used DecoArt Americana Grey Sky for these snowflakes.)

For the Joy letters and gold snowflakes, I used a basecoat of DecoArt Americana Multi-Surface Metallics gold paint.
I also experimented with different glittering techniques for these package toppers.

For the snowflakes, I used DecoArt Glamour Dust, in gold and clear — to add sparkle.

The Glamour Dust is a really fine glitter, and it can be sprinkled right on top of wet paint. Because the glitter is fine, I didn’t find a top coat or sealer necessary.

The same technique works for the German glass glitter. Or you can apply it using a thin coat of DecoArt Decou-Page glue. Again, no top coat is necessary.

When using the chunky glitter, you definitely need to use Decoupage medium and work in small sections. I also applied a topcoat of Decou-Page glue (the satin finish) to keep the glitter from flaking off. While it goes on milky, the Decou-Page dries clear and your glitter will still sparkle.
Whenever you work with glitter, be sure to use something under your project to catch the extra flakes. Then you can easily pour them back into the glitter jar without wasting many precious sparkles.

I used the adhesive backing to attach the snowflakes to my packages. For the “joy” cutout, I used double-sided adhesive mounting squares. For this package, I used some foil plaid wrapping paper I picked up during an after-Christmas clearance sale. (Be sure to check out my list of 20 things to buy at after-Christmas sales.)

But for the rest of the presents, I just used black chalkboard paper that I also bought on after-Christmas clearance. I love to stock up on this stuff and Kraft paper because they are so versatile.

With these toppers, my packages didn’t need much more embellishment. I just added some tags I had in my craft stash. For Alex’s gift, above, instead of using ribbon, I wrapped a strip of DecoArt decoupage paper from the Gold Basics pack.

Speaking of decoupage paper, did you know you can use it to make gift bags? I used a sheet from DecoArt’s Gold Stag pack to make this custom gift bag for a Kindle Fire for our family’s White Elephant gift exchange.
Check out this video tutorial to see how to make gift bags out of decoupage paper, scrapbook paper, gift wrap or any paper you have on hand.
Here’s one last way to glitz up your Christmas gifts. Instead of using handwritten tags, try labeling packages with metallic vinyl you cut with your Cricut or Silhouette. If you don’t have an electronic cutting machine, use cursive stickers or rhinestone stickers.
I hope you’ve enjoyed these crafty Christmas gift wrapping ideas.
For more help prettying up your packages, check out these posts:

Ugly Chrristmas Sweater Gift Tags

Vintage Victorian Christmas Tags

Be sure to visit the DecoArt blog for more festive gift wrapping ideas.
Hil
I love painting a decoration to go with it. A really fun way to add on to a present.
Thanks for sharing at Bloggers Spotlight!
Theresa @DearCreatives
Lovely packaging ideas & DIY. Thanks for sharing at the Inspiration Spotlight party. Shared. Happy Holidays!
Karren Haller
Good morning, I wanted to let you know that your post as chosen to be featured on the Oh my Heartsie Girls Wonderful Wednesday this week, it will also be Tweeted and has been Pinned for sharing.
Please join us again and share something new!!
Hope you have a wonderful Holiday.
Angie Rose
Your package toppers are just beautiful! Thank you so much for sharing with us at Dishing It & Digging It 🙂
Anna
Such a cute idea! I love adding a personal touch to my wrapping.
Julie
I love these, they will make perfect tree decorations too so a gift as well as a gift wrap embellishment – perfect!