
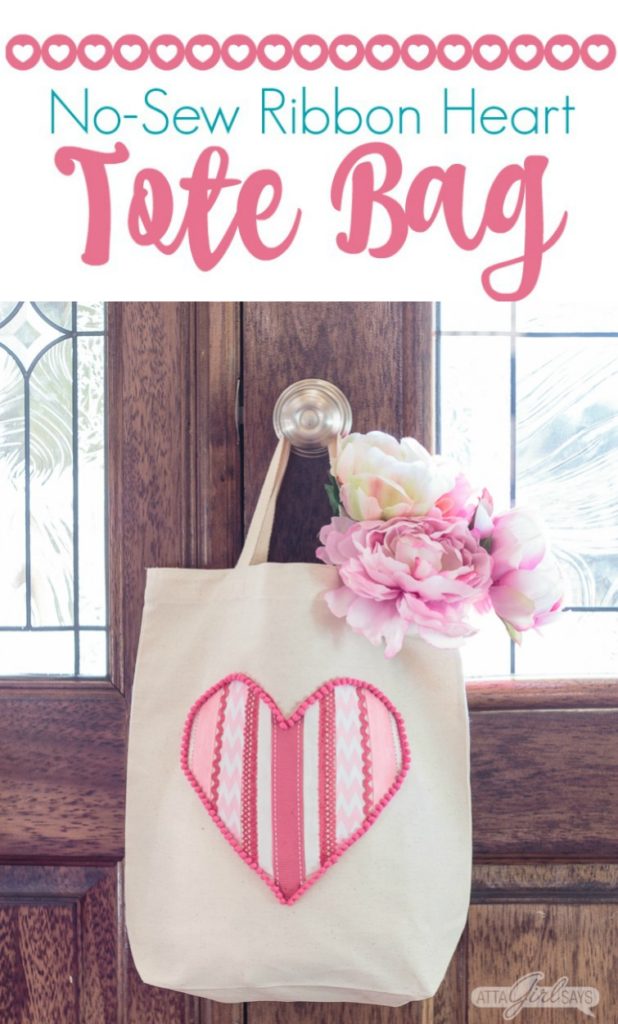
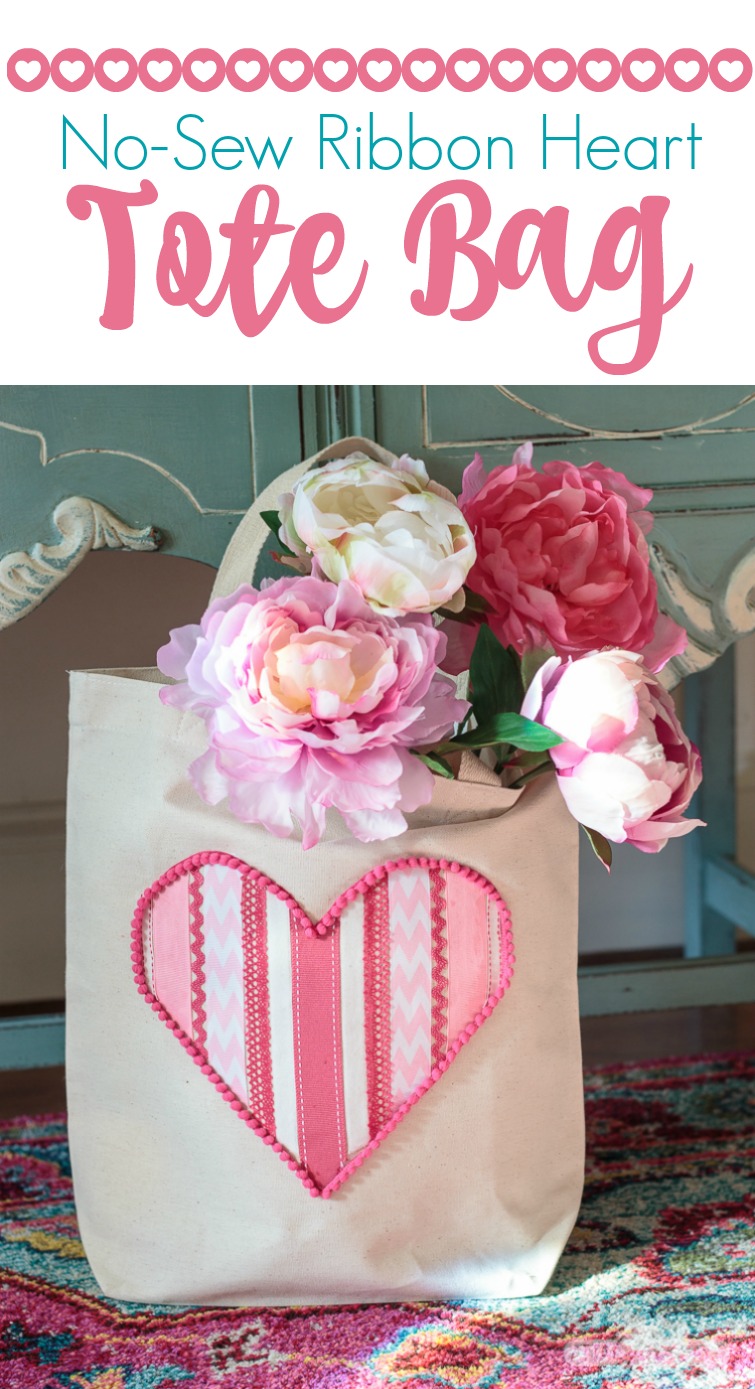
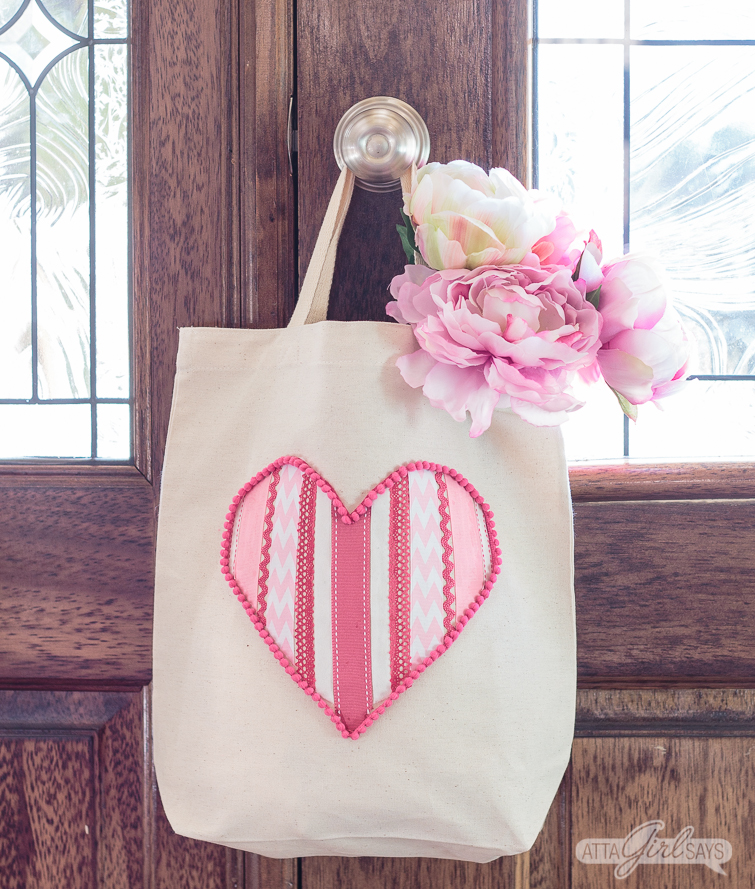
Use up your scrap ribbon and add a little flair to those trips to the market by making this cute tote bag with a DIY heart decal.
I’m a sucker for a pretty purse or a cute tote bag. My closet might be overflowing with them…
But you can never have too many bags or craft supplies. Am I right?
Plus, when you make this cute tote bag, you’ll have the chance to clear out all those ribbon scraps you’ve been hoarding saving.
I made this bag Valentine’s Day gift to myself, but it would also make a great gift for your best gal pal. Or how about making a bunch to use as swag bags for your Galentine’s Day Party. (We’re friends, so you I’m going to admit to you that I have enough scrap ribbon to make LOTS of these cute tote bags!)
[clickToTweet tweet=”This project is giving me all the <3 eyes! What a great way to use up all your scrap ribbon! #totebag #ribboncrafts #hearts” quote=”This project is giving me all the <3 eyes! What a great way to use up all your scrap ribbon!”]
This post contains affiliate links for your shopping convenience. If you make a purchase based on my referral, I earn a small commission at no additional cost to you. Read my full disclosure policy here.
Supplies
- Canvas tote bag
- Assorted ribbon, rick rack and pom-pom trim
- Fabric glue
- Paper heart template
- Disappearing fabric marker
- Scissors
- Iron
Instructions
First, wash, dry and iron the tote bag.
Slide a piece of wax paper inside the tote bag so you don’t glue it together as you’re adding the ribbon.
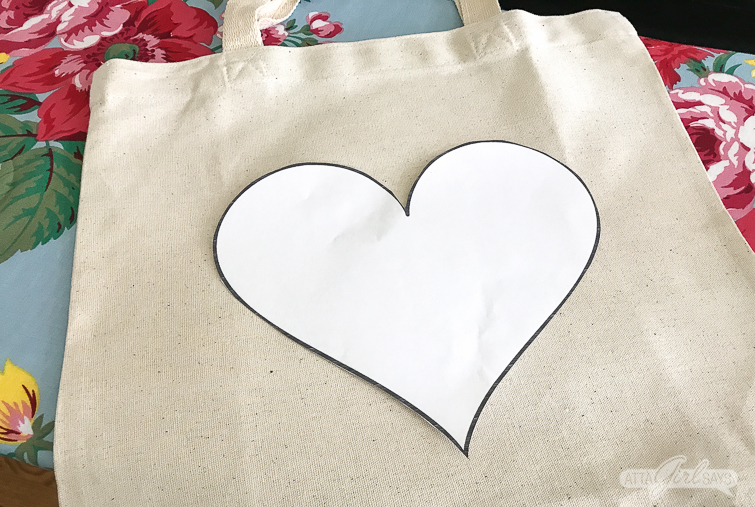
Draw or print out a heart-shaped template. Cut it out and trace it onto the tote bag, using a disappearing fabric marker.

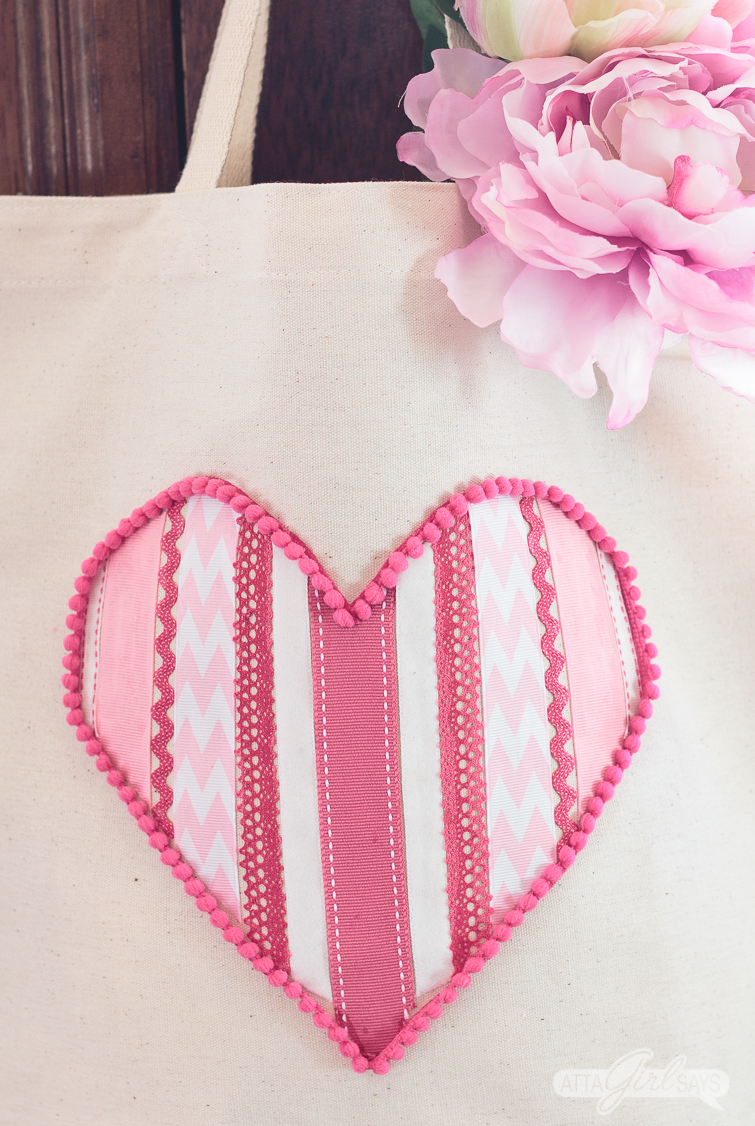
Choose the ribbon you want to use. I find it helpful to lay out the pattern before I start cutting to make sure I like how everything looks.
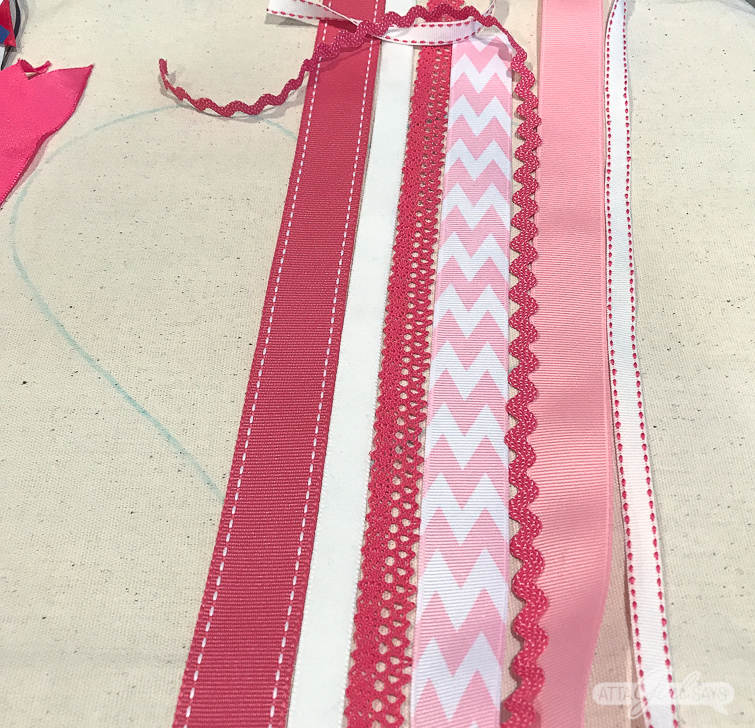
Once you’ve got the pattern sorted out, trim each piece of ribbon to fit the heart.
Starting in the center, use permanent fabric glue to affix the ribbon to the tote bag. Use a thin layer of glue on the back of each piece of ribbon, making sure to cover to the edges. You may find it helpful to use a paintbrush to apply the glue.
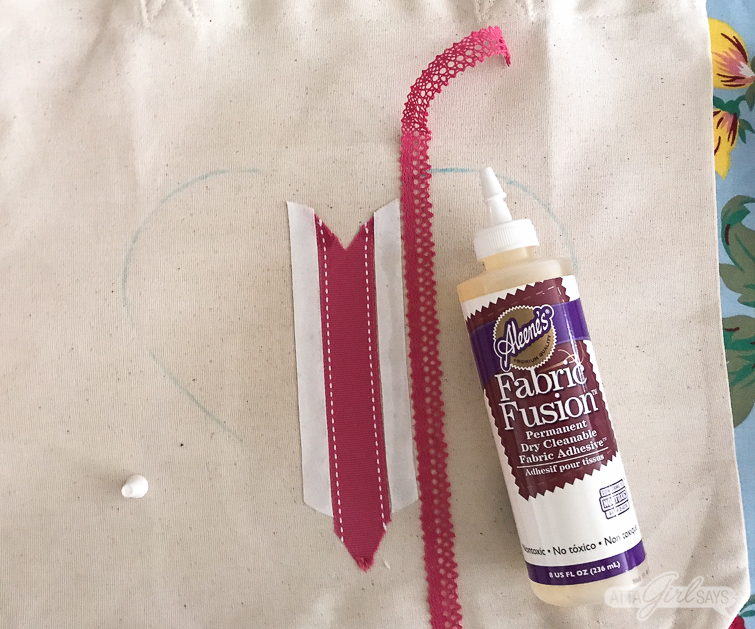
Be sure that you are using permanent fabric glue, not temporary glue that is used for basting when sewing. You can also use iron-on Stitch Witchery or double-stick fabric tape, if you can find it, to attach the ribbon to the tote bag. But the glue is probably the least expensive and easiest option.
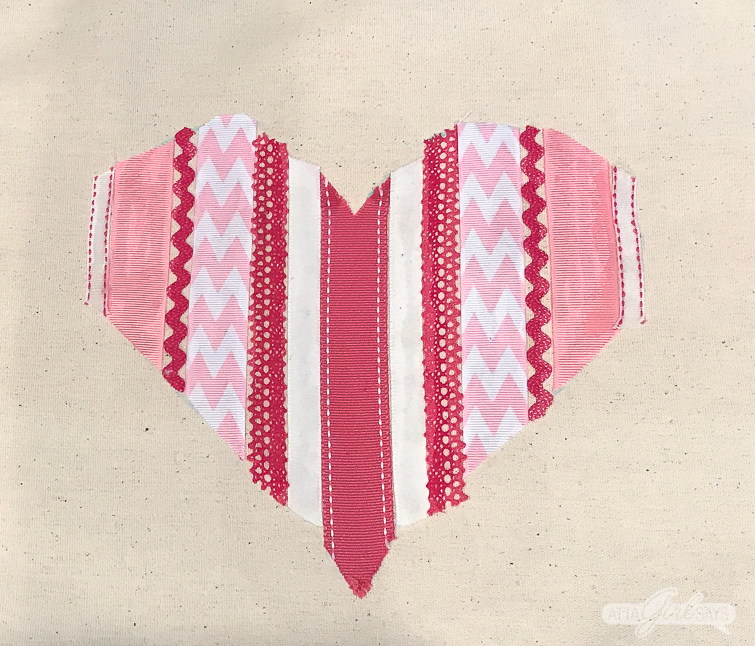
I let the glue set for a few minutes before adding the next piece of ribbon or trim.
Once you’ve completed the ribbon heart, glue pom-pom trim around the perimeter, covering any raw edges. I found it helpful to glue the trim in small sections, about an inch at a time. I let each section dry for a few minutes before adding more glue. This helped ensure that the trim was fully adhered to the tote bag.
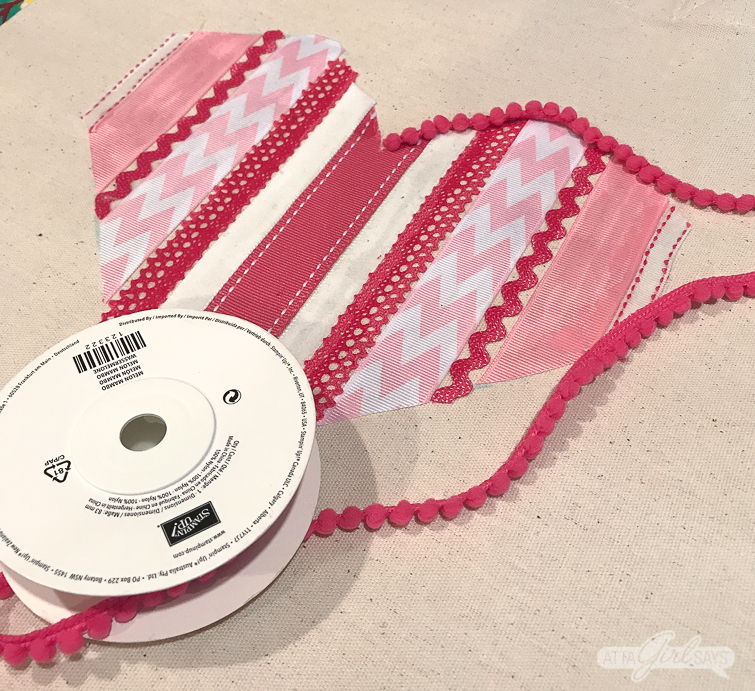
Once you’ve glued the trim around the entire heart, cut off any excess. Allow the fabric glue to set for 48 hours before using the tote bag. When laundering your cute tote bag, follow the instructions from the glue manufacturer.
I’ve used this same technique to make ribbon heart cocktail napkins, kitchen towels and T-shirts. And yes, even your sleeve!
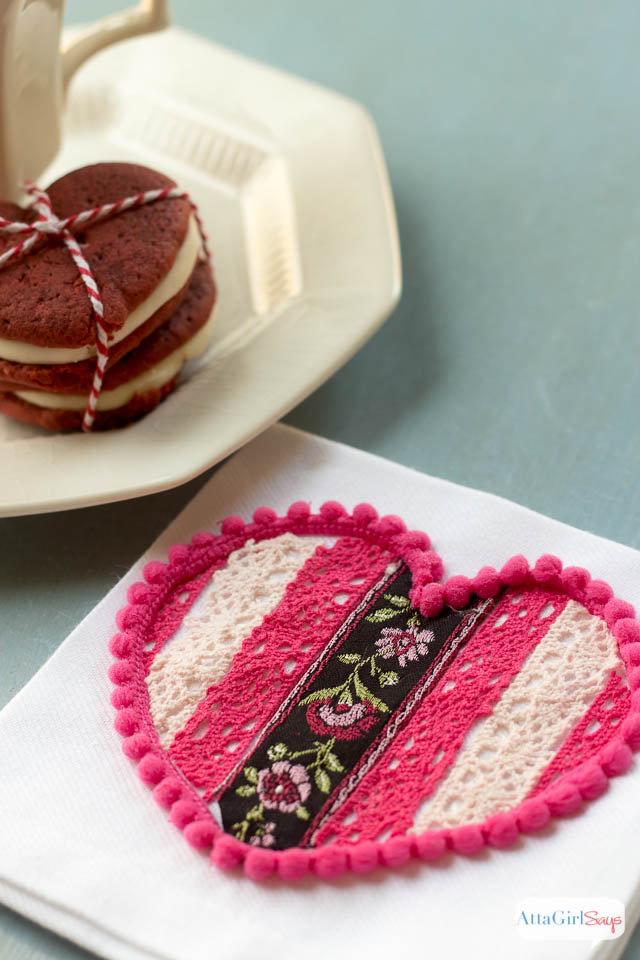
A smaller project like napkins is a great way to use up scrap ribbon. Be sure to check out this post for more tips on adding embellishments to fabric without sewing.

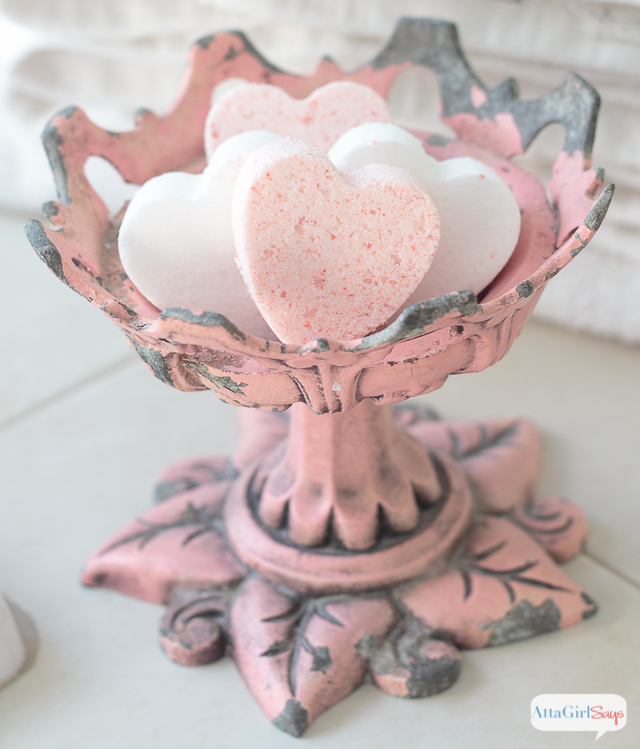
Don’t miss these other cute Valentine’s Day ideas:
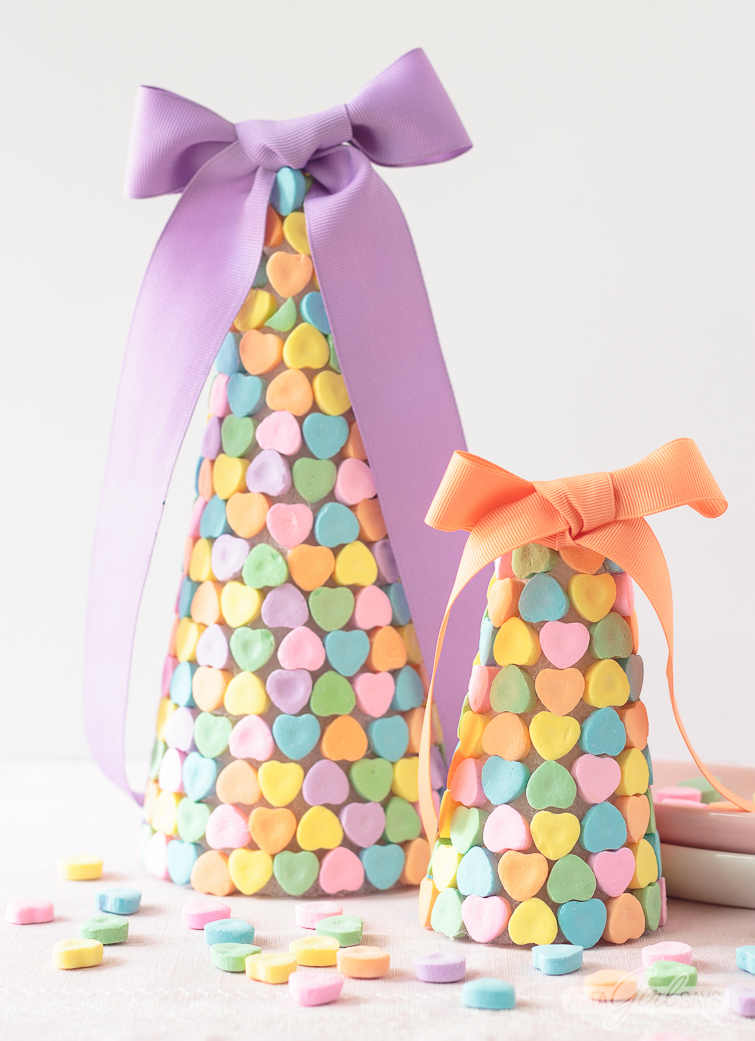
Conversation Heart Centerpieces

Cinnamon Sugar Pie Crust Hearts
Leave a Reply